| Build Thread, Page :
1 2 3 4 [ 5 ] 6 7 8 9 10 11 (211 posts, 20 posts per page, 11 pages in total)
|
[ < Prev ] [ Next > ] |
| David Duckett, Comment for image # 43597 | 12 Nov 21 13:10 |
| What Don said….; |
| Don C, Comment for image # 43597 | 12 Nov 21 11:44 |
| We've all seen your work. It's not beyond your abilities.
|
| bobgood, Comment for image # 43595 | 11 Nov 21 11:53 |
| Just noticed this pic - looks very good Don. |
| bobgood, Comment for image # 43597 | 11 Nov 21 11:51 |
| It looks like this is a very tricky job Don, way beyond my ability! Hope it comes out well.... |
| edbecky, Comment for image # 43595 | 11 Nov 21 10:12 |
| How long did you heat it and what temp. Seems the 265 in the video was too cool.
Never mind saw your other post. |
| edbecky, Comment for image # 43595 | 11 Nov 21 10:10 |
| Looks good Don. I'm not having much luck with the Jug Canopy. I'll probably just carve it. |
| edtherenderman, Comment for image # 43595 | 11 Nov 21 08:16 |
| I've never tried this, but I think I'm going to on the Bugatti. I've been trying to 3D print the canopy with clear filament, but not getting the results I want. I think I can use my 3D print as a buck to stretch the plastic over, so going to give that try. Thanks for showing the Process Don! |
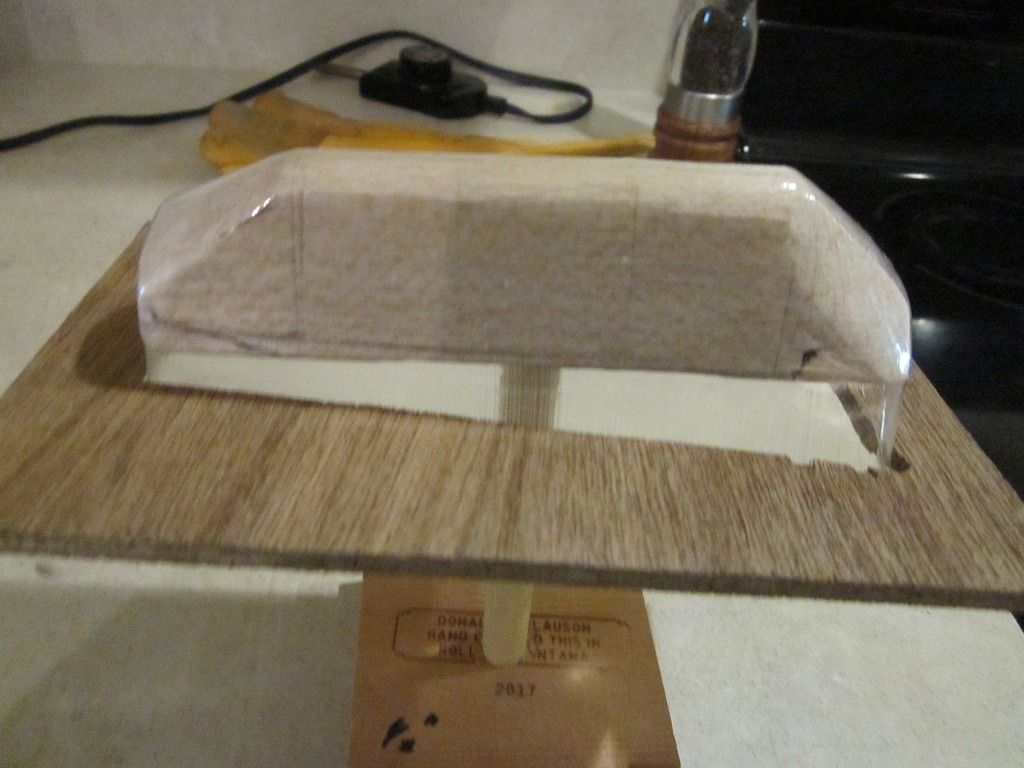
| Don C, Image # 43597 | 10 Nov 21 21:24 |
This should be 1st . ready to go. Oven heated to 280. Let it heat for about 5 minutes, then move quickly. If it doesn't go all the way down over the mold, back in the oven for a longer time. It will flatten out and give you a second chance.. |
| Don C, Image # 43596 | 10 Nov 21 21:18 |
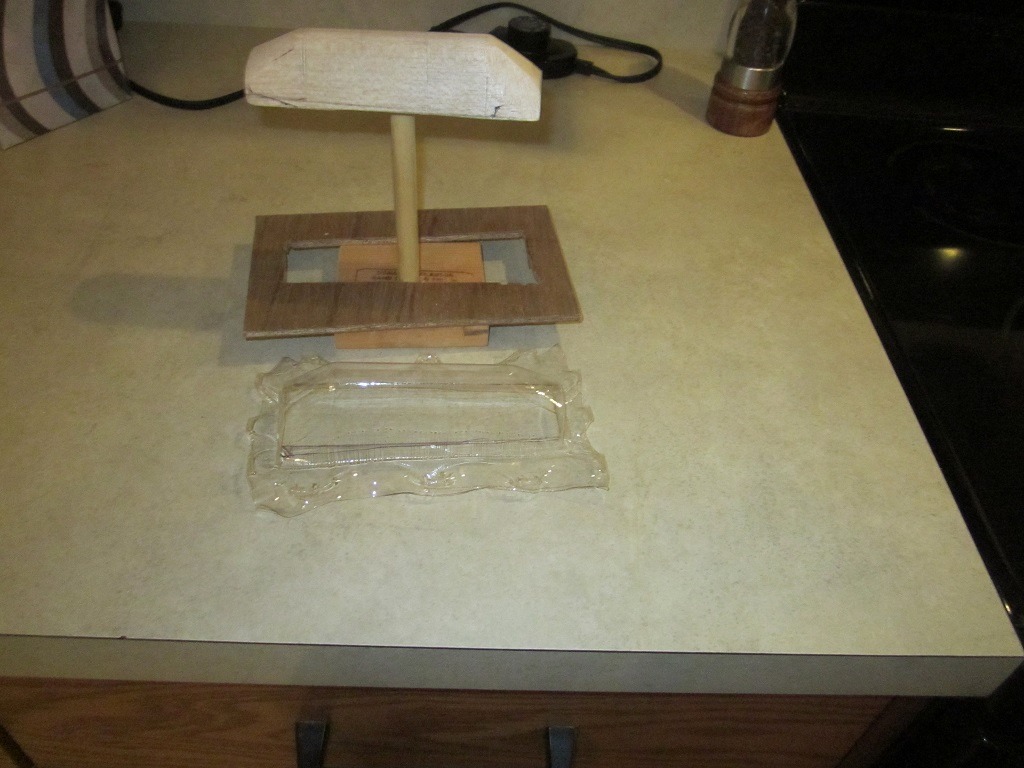
Its helpful to mark where to cut before removing it from the form. I made 2 in case I messone up fitting or painting. |
| Don C, Image # 43595 | 10 Nov 21 21:15 |
Cooled . Haad ro work a bit to get it off the form |
| Don C, Comment for image # 43587 | 08 Nov 21 13:07 |
| Ed, there should be a 3 way drawing on line that you can blow up to the correct scale. Or plans on Hip Pocket. |
| edbecky, Comment for image # 43587 | 07 Nov 21 11:06 |
| Thanks. I'm working on the mold. Please keep the pics coming.
The plans have no full size top view which makes it a little difficult. I'm relying on builds on this site and eBays photos for guidance. |
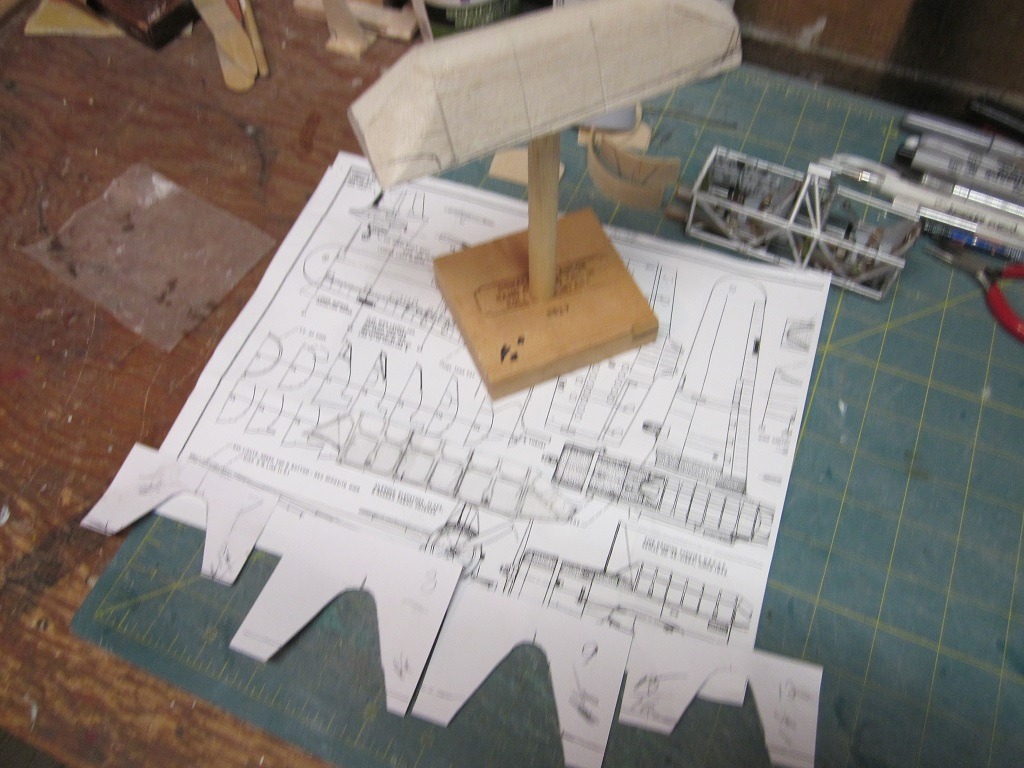
| Don C, Image # 43588 | 06 Nov 21 20:38 |

Center is fairly easy. Always redrawing lines to keep a center. Hope this help[s, Ed. |
| Don C, Comment for image # 43587 | 06 Nov 21 20:27 |
| This pic's fuzzy, but the forms at the bottom were made from the 4 fuselage profiles just below the stand. I may have to do some more shaping on 2 sides of the wind screen. |
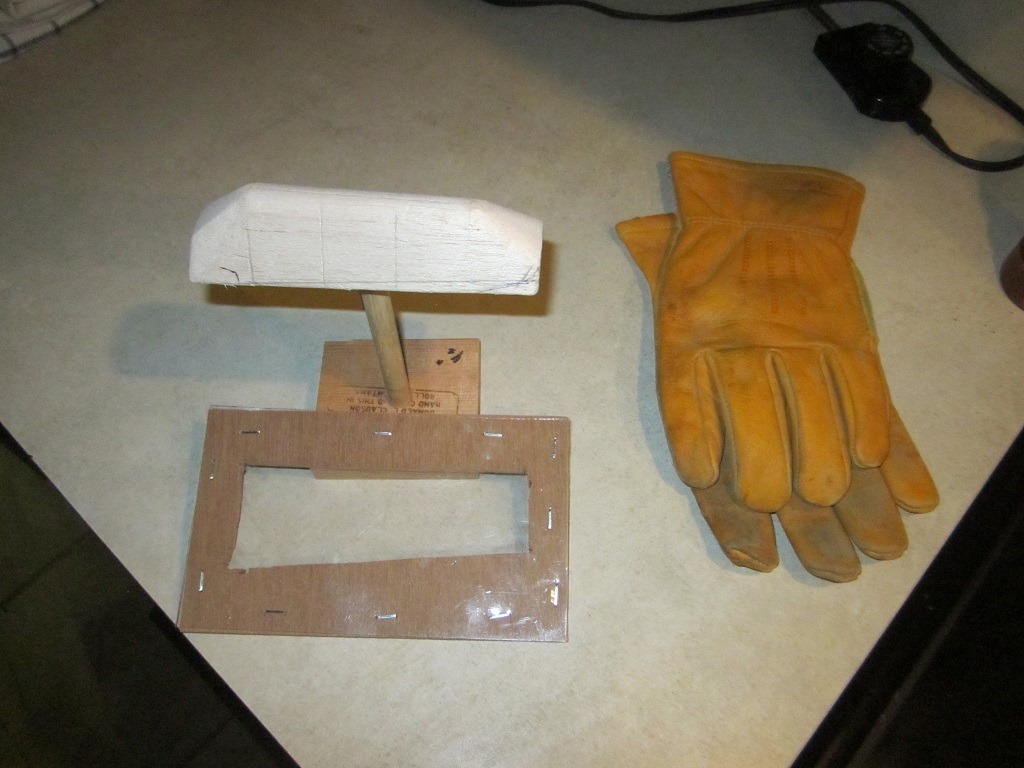
| Don C, Image # 43587 | 06 Nov 21 20:16 |
Basic form finished. Front and rear will be ,hopefully cut to final shape after it's formed. dry |
| edbecky, Comment for image # 43579 | 05 Nov 21 09:31 |
| Got it. Will definitely give this a try. If I buy the canopy with shipping it cost as much as I paid for the entire kit.(There's always that option if the mold doesn't work out) |
| edbecky, Comment for image # 43578 | 05 Nov 21 09:19 |
| Looking good Don! |
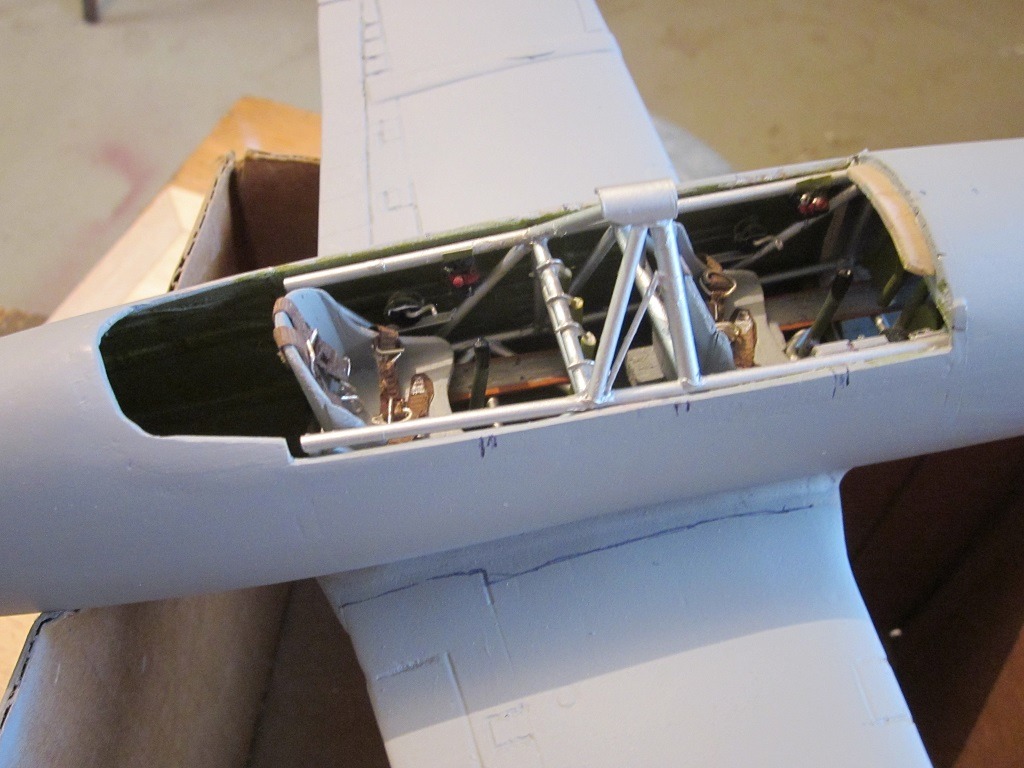
| heywooood, Comment for image # 43572 | 04 Nov 21 21:49 |
| I agree - those belts and hardware you made look just right, Don |
| Don C, Image # 43579 | 04 Nov 21 14:13 |

Edbecky - Here's the start to carvomg a mold for the canopy. I'll try to remember to post strps as I go so you can see them. |
| Don C, Image # 43578 | 04 Nov 21 14:10 |
Had to remove most of the former ahead of the cockpit. Now it fits where it should. Have to make a canopy before putting the 2 instrument panel in. lds |
| Build Thread, Page :
1 2 3 4 [ 5 ] 6 7 8 9 10 11 (211 posts, 20 posts per page, 11 pages in total)
|
[ < Prev ] [ Next > ] |
