| Build Thread, Page :
1 2 3 4 5 [ 6 ] 7 8 9 10 11 >> (294 posts, 20 posts per page, 15 pages in total)
|
[ < Prev ] [ Next > ] |
| David Duckett, Image # 33878 | 10 Apr 15 16:59 |
|
| rayl, Comment for image # 33874 | 10 Apr 15 16:42 |
| David, if I might make a comment: I have found that a pair of "Cuticle Scissors" with the curved blades make life a lot easier when trimming out canopies ( and other vac-formed parts for that manner). If you go back and look at John's spinning prop pic, there is a similar pair laying in the foreground. |
| David Duckett, Comment for image # 33867 | 10 Apr 15 16:40 |
| You can see how well the decals adhere:-) |
| David Duckett, Comment for image # 33876 | 10 Apr 15 14:50 |
| Hopefully they will help. These can be frustrating:-) |
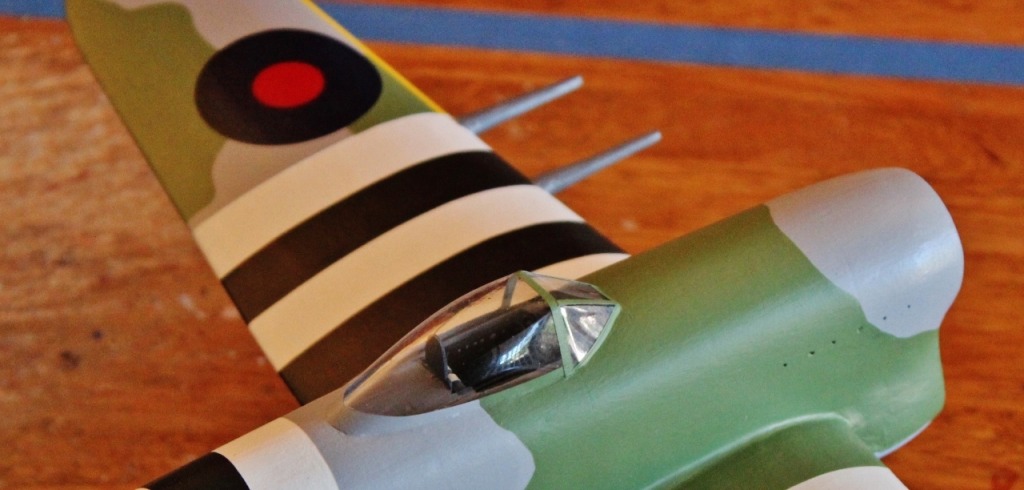
| David Duckett, Image # 33877 | 10 Apr 15 14:38 |
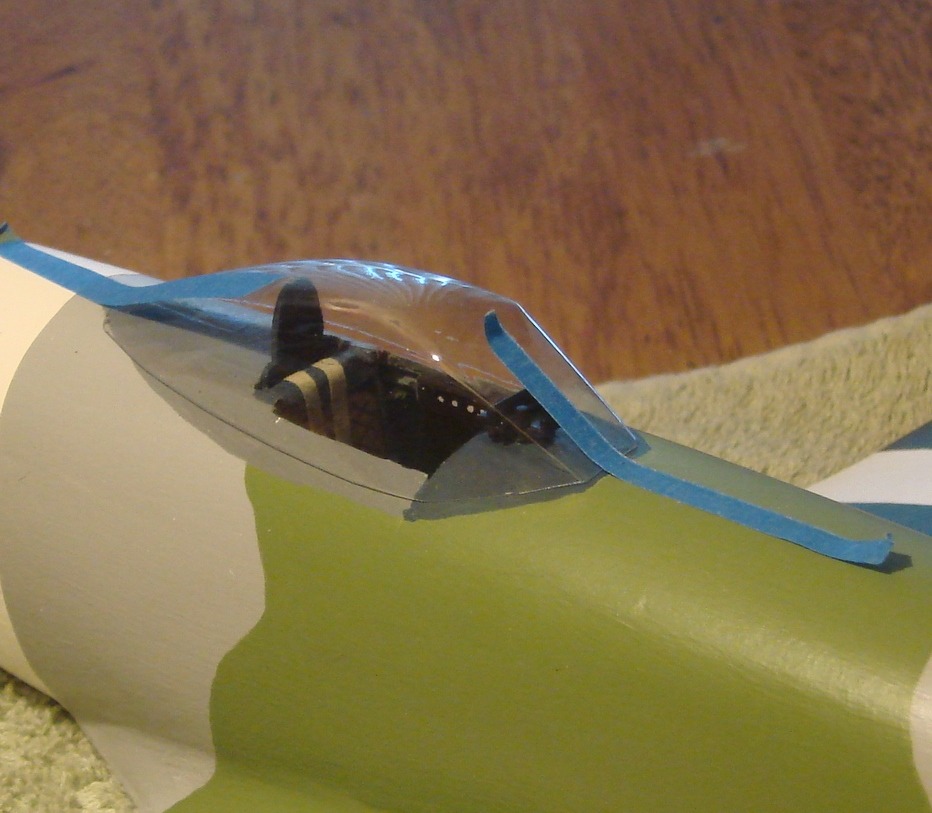
Pardon the poor quality photo:-( Once the canopyis in place and all gaps filled, I taped off the bottom and painted that area with the same color used on the interior. This will insure all the cockpit interior is the same color. Not doing this will cause the outside paint to show through. I used painted masking tape for the frame outline going across the top of the canopy and for the two front frames. |
| Don C, Comment for image # 33876 | 10 Apr 15 14:38 |
| Thanks, for both lessons. |
| David Duckett, Image # 33876 | 10 Apr 15 14:33 |
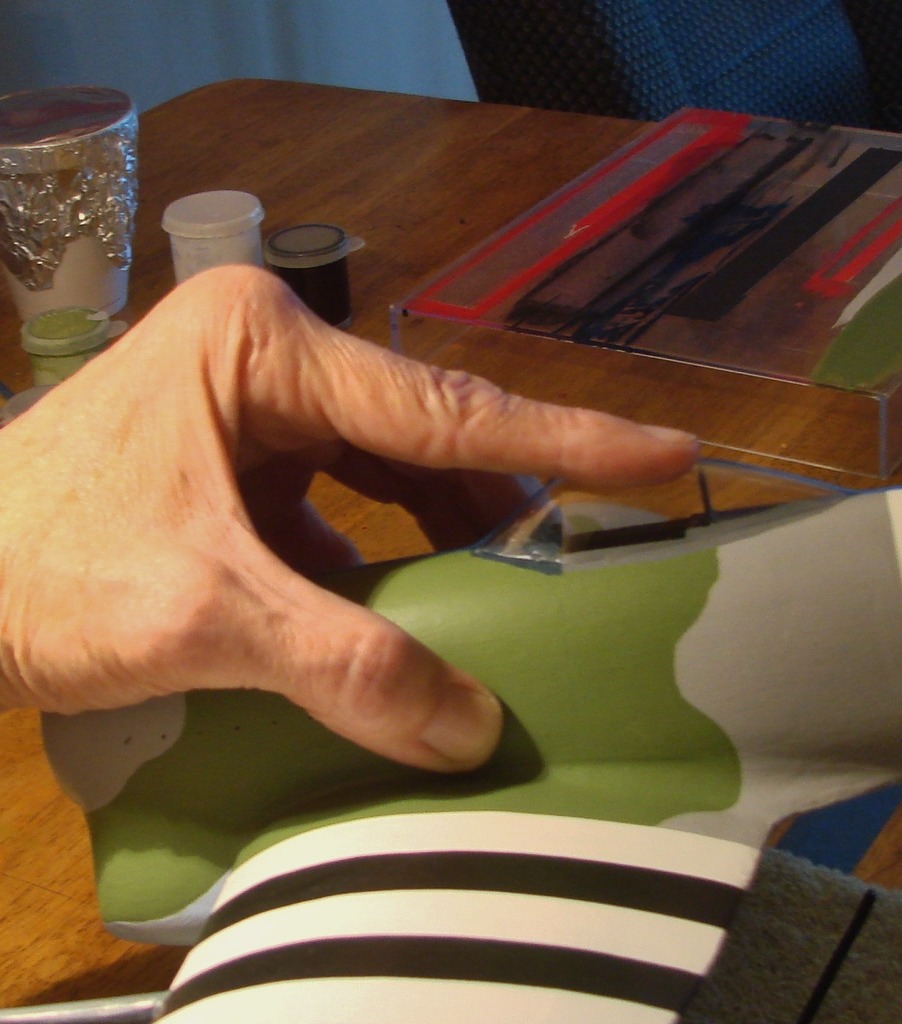
Gently pressing down on the canopy will force the sides into contact with the fuselage. Put a very small drop on each side, about where my finger is, to secure. Finally put a small drop at the rear. Once securely in place, I used the pin to apply VERY small amounts of CA around the eges to seal. I filled a couple of small gaps with white glue. |
| David Duckett, Image # 33875 | 10 Apr 15 14:29 |
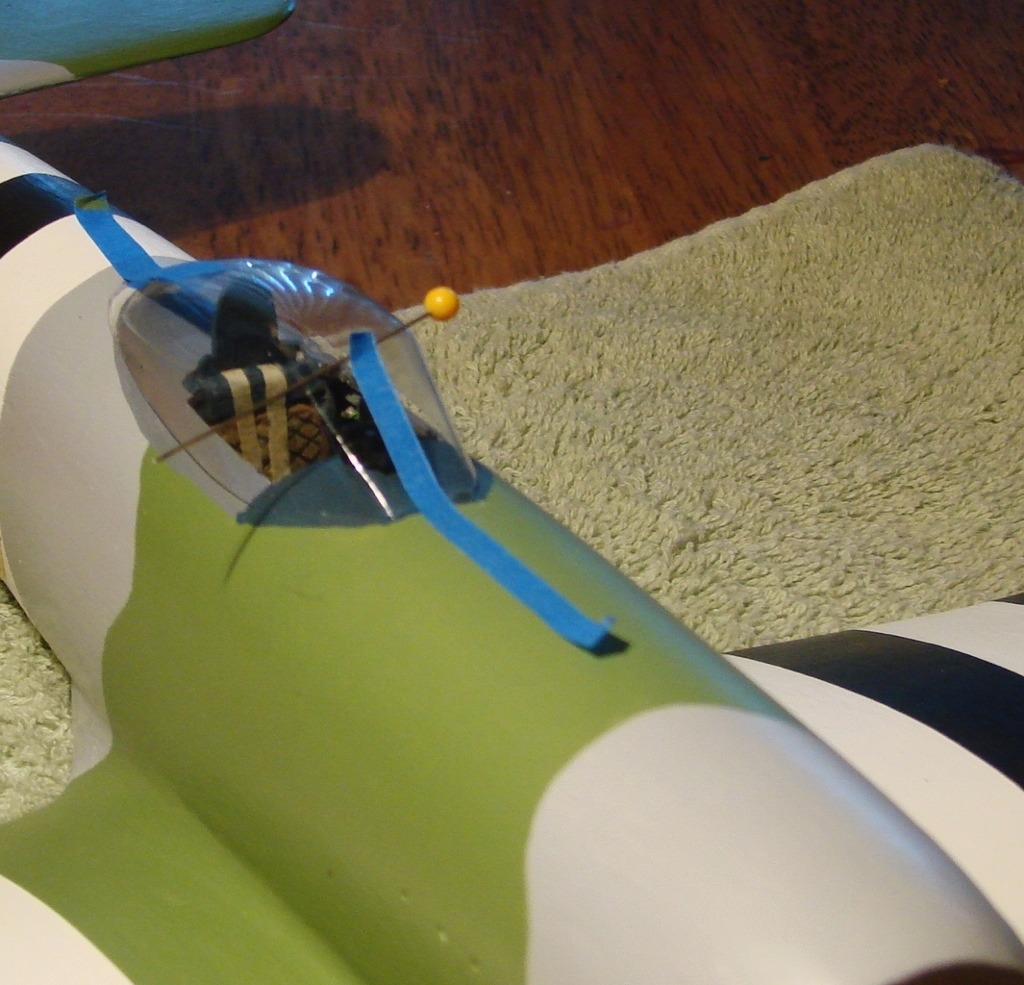
See the pin? Use a straight pin to put a TINY amount of medium CA at the very edge of the front. While true that CA will fog plastic, used in very small amounts it won't show. VERY SMALL AMOUNTS! |
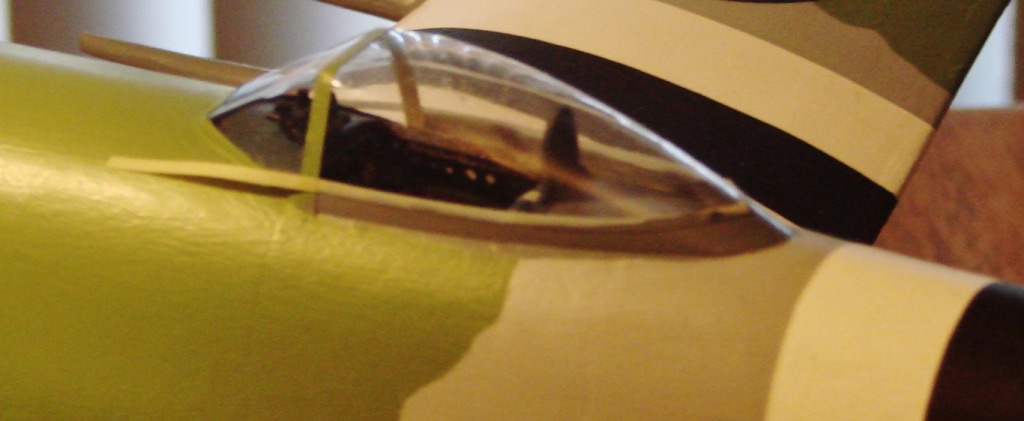
| David Duckett, Image # 33874 | 10 Apr 15 14:27 |
Canopy 101: The canopies in Diels kits are molded without frames so they are smooth all over. They are also made of very thin plastic. You must trim the extra material away from the molded piece to make it fit. You MUST cut as carefully as you can, making small cuts until it fits. I painted the cockpit interior outside the lines to insure everything inside is covered. THen start by taping the canopy in place front and rear, making sure it is aligned properly. |
| David Duckett, Image # 33873 | 10 Apr 15 14:16 |
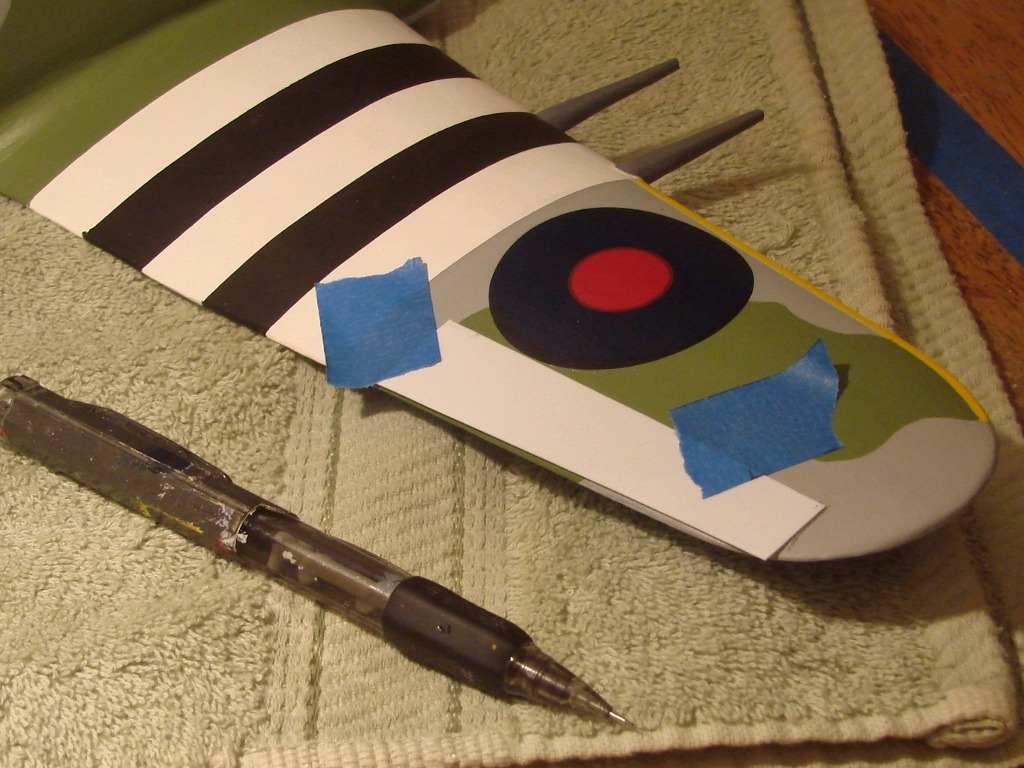
Et Voila! |
| David Duckett, Image # 33872 | 10 Apr 15 14:16 |
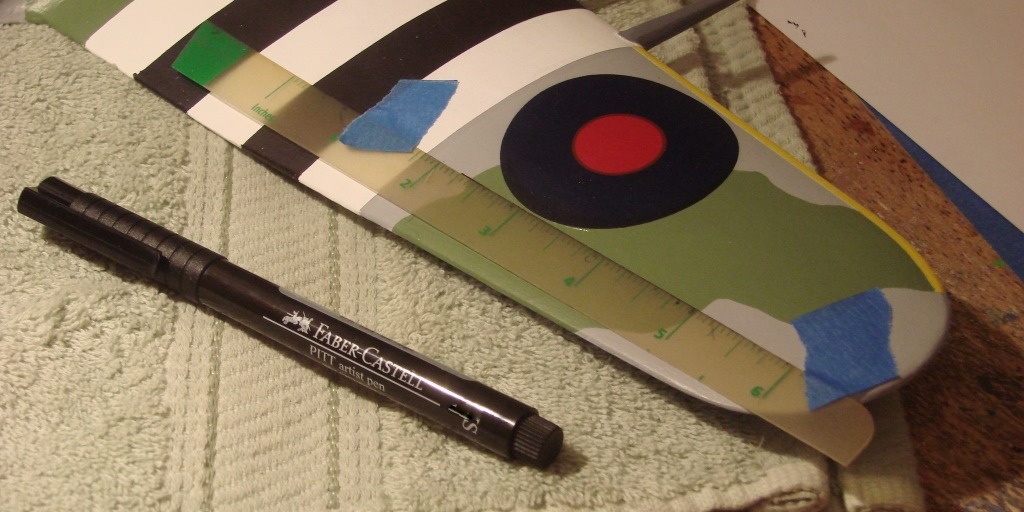
Tape a straight edge in place and draw the line. I use Faber-Castell artist pens in Superfine and Extra superfine sizes. |
| David Duckett, Image # 33867 | 10 Apr 15 14:08 |
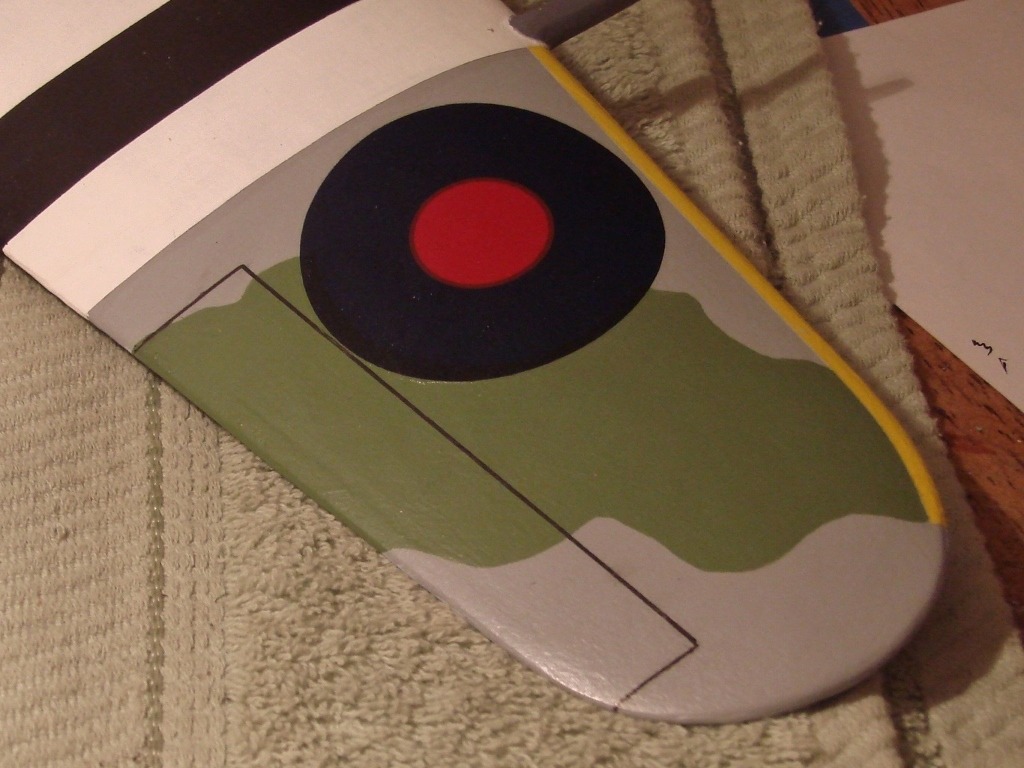
Panel lines 101: Make a pattern from styrene, tape in place, mark outline with pencil. |
| David Duckett, Comment for image # 33853 | 09 Apr 15 20:42 |
| Thank you. |
| rayl, Comment for image # 33850 | 09 Apr 15 20:06 |
| Yessir, the "how to dood it" works just fine now. Thanks, James. |
| Don C, Comment for image # 33850 | 09 Apr 15 18:47 |
| First time I ever got in. Thanks James! |
| jgood, Comment for image # 33850 | 09 Apr 15 18:46 |
| The How To's are online again. Sorry about that! |
| julinick, Comment for image # 33853 | 09 Apr 15 12:32 |
| Excellent!! |
| jgood, Comment for image # 33850 | 09 Apr 15 12:31 |
| Will fix it ASAP. |
| David Duckett, Comment for image # 33850 | 09 Apr 15 10:18 |
| Dope misspelled dope. The letters are pretty small in that box. There's nothing there now but Bill Parker has a copy. Perhaps he can post it. Thanks, guys:-) |
| Don C, Comment for image # 33850 | 09 Apr 15 09:56 |
| Either can I, James.
Nice prop, DD. |
| Build Thread, Page :
1 2 3 4 5 [ 6 ] 7 8 9 10 11 >> (294 posts, 20 posts per page, 15 pages in total)
|
[ < Prev ] [ Next > ] |
