| Build Thread, Page :
1 2 [ 3 ] 4 5 6 7 (128 posts, 20 posts per page, 7 pages in total)
|
[ < Prev ] [ Next > ] |
| heywooood, Comment for image # 39485 | 09 Oct 17 18:29 |
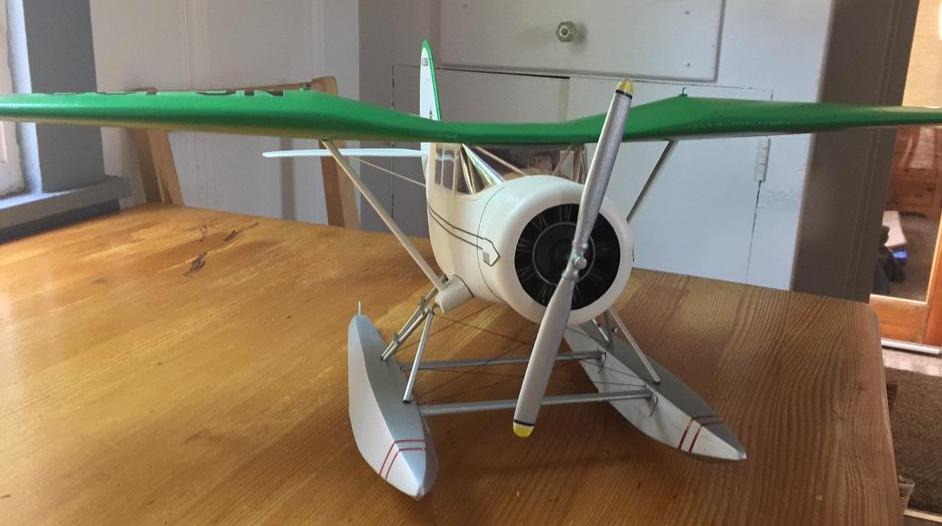
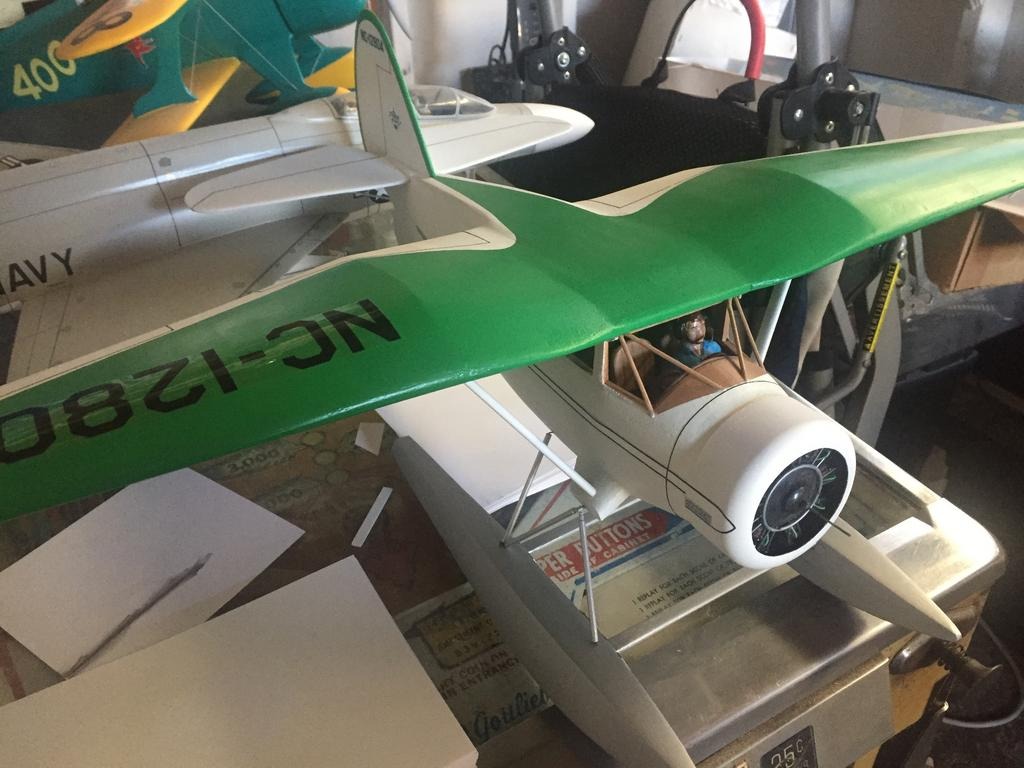
| Thanks John..Huey77 says they really burned fuel. I can see why, she's a beast even without floats. |
| John M Oshust, Comment for image # 39485 | 09 Oct 17 18:15 |
| Beautiful! |
| heywooood, Comment for image # 39485 | 09 Oct 17 18:10 |
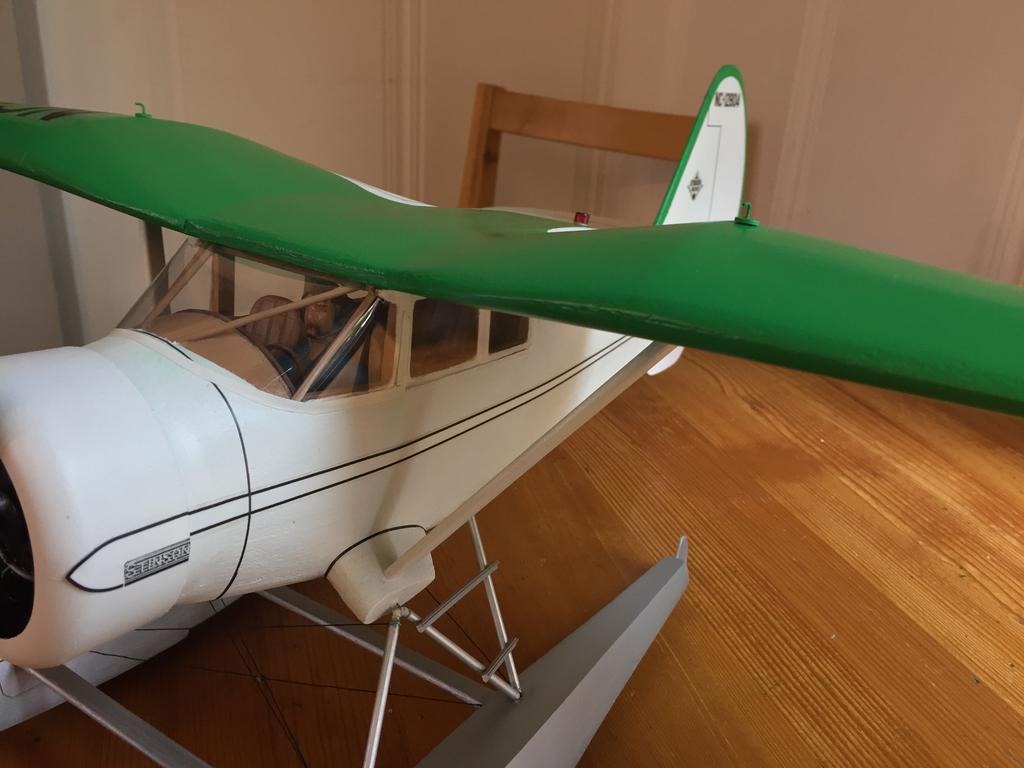
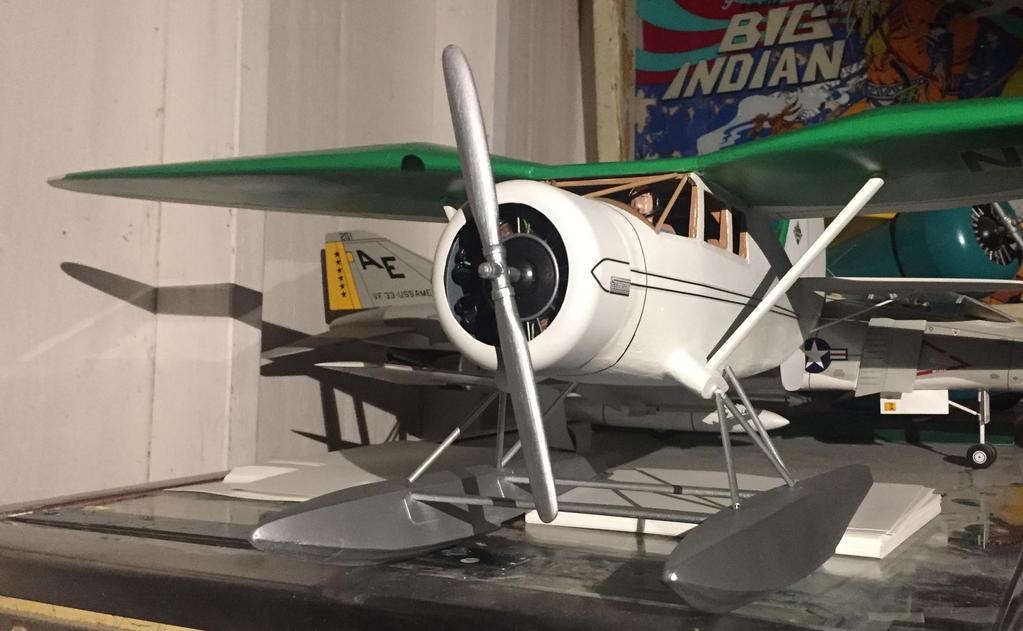
| The glass is installed.. |
| heywooood, Image # 39485 | 09 Oct 17 17:52 |

|
| heywooood, Image # 39484 | 09 Oct 17 17:51 |
|
| heywooood, Image # 39482 | 09 Oct 17 17:51 |
|
| heywooood, Image # 39481 | 09 Oct 17 17:50 |
|
| heywooood, Image # 39480 | 09 Oct 17 17:50 |
|
| heywooood, Comment for image # 39460 | 07 Oct 17 21:40 |
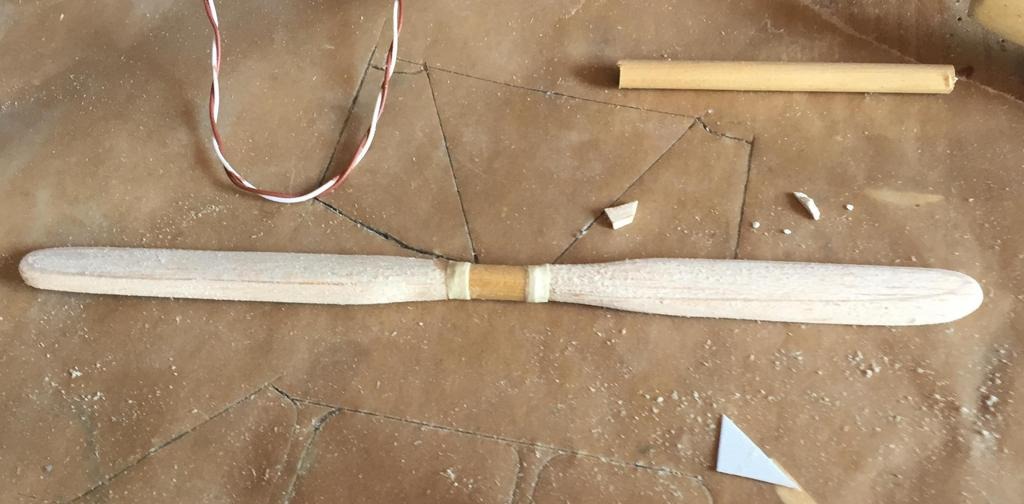
| here is the finished prop..I might add colored tips in yellow or green |
| heywooood, Comment for image # 39459 | 07 Oct 17 21:40 |
| here you can see the aluminum prop shaft. The blade attachment collars are not yet applied, what you see here is the preliminary wrap I use to help structurally hold the blades to the center section. The whole seamed area is soaked in CYA adhesive over and under the tape. |
| heywooood, Comment for image # 39458 | 07 Oct 17 21:36 |
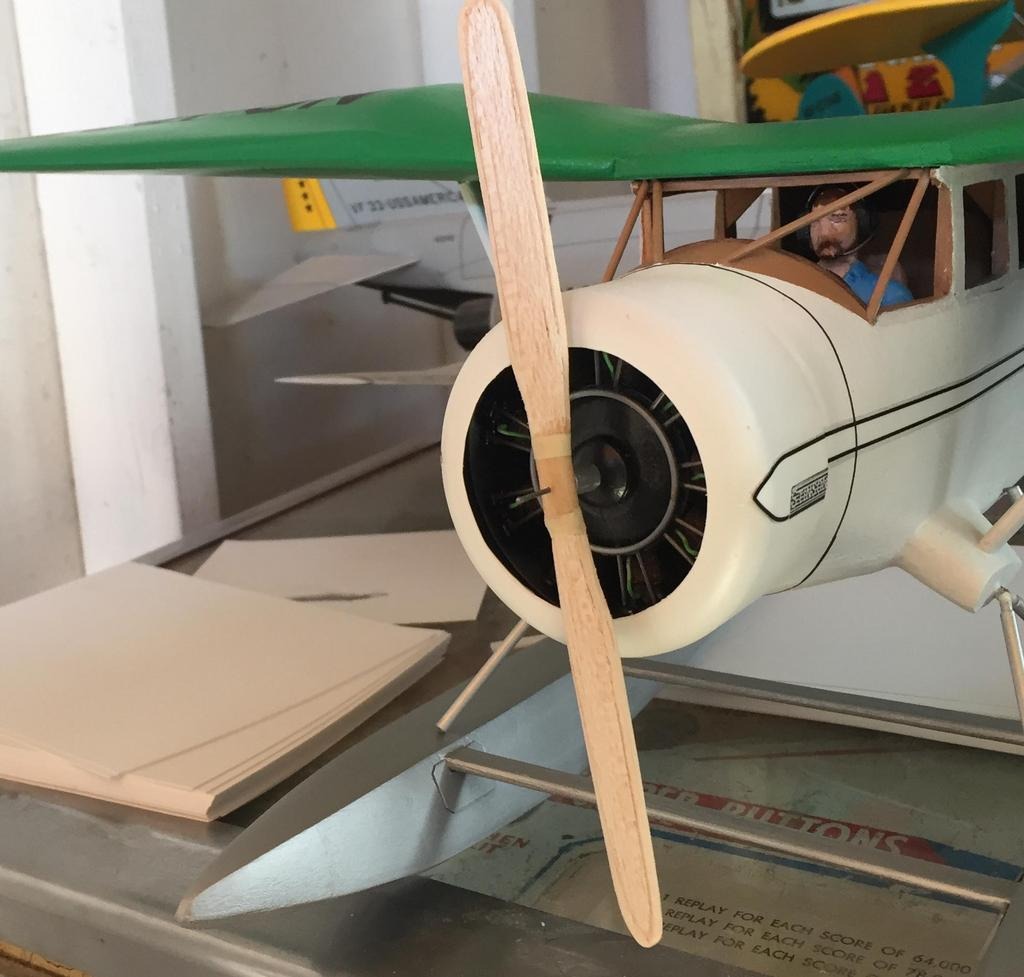
| prop assembly. A section of wood dowel is used for the center..two blades are produced using balsa stock. they are measured, a longitudinal center line is drawn in pencil and then the cutaways are penciled in. The blade is roughly carved to shape with the x-acto blade. the back of the prop blades are 'hollowed' using sandpaper wrapped around 1/2" dia. wood dowel. Then the prop is shaped with a sanding block. The ends that mate to the hub center section are rounded then glued to the center making sure to include a slight 'incidence' or blade angle. Then the completed prop is sanded and sealed. The prop shaft and hub are made with aluminum tubing stock. The blade attachment collars are simulated with strips of masking tape wrapped to the proper thickness then sealed. Once the entire assembly is ready it is painted. |
| heywooood, Image # 39460 | 07 Oct 17 21:29 |
|
| heywooood, Image # 39459 | 07 Oct 17 21:29 |
|
| heywooood, Image # 39458 | 07 Oct 17 21:28 |
|
| heywooood, Comment for image # 39456 | 06 Oct 17 23:57 |
| for the larger areas I mask sections with wax paper. Just cut a few suitable sections of WP from the roll, apply blue tape to the edges, and seal off the larger areas of the airplane that need to be protected. I used to use clear plastic wrap but it tends to 'cling' to the aircraft and can create other issues during removal. The wax paper masks make no trouble at all |
| heywooood, Comment for image # 39456 | 06 Oct 17 23:53 |
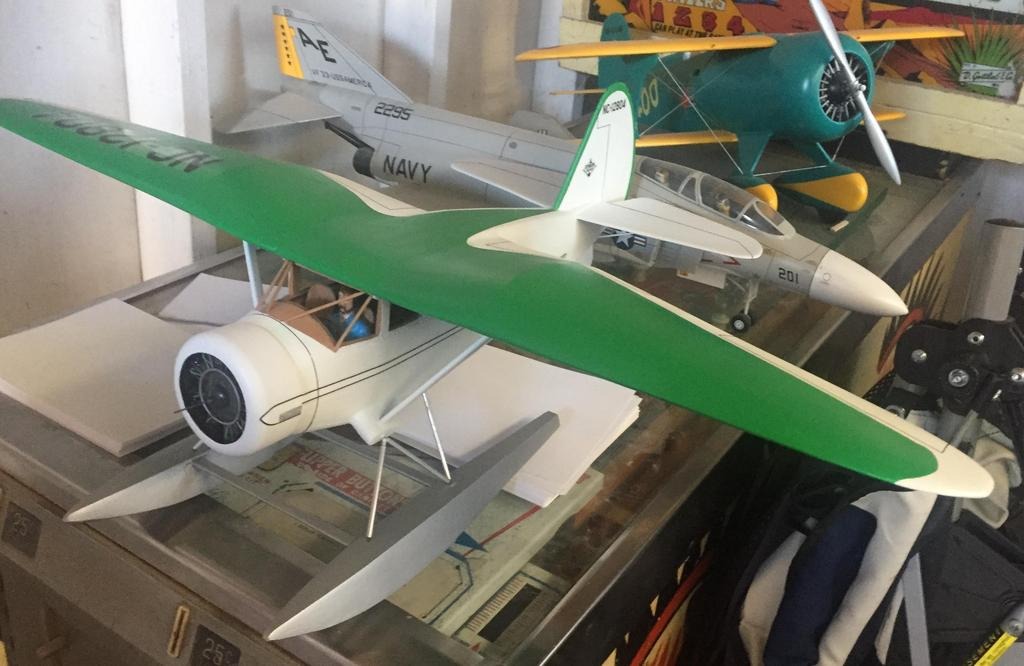
| I just love this paint scheme on the Stinson's wing...I used the plan diagram and cut along the demarcation lines - then laid just the curved sections over some strips of 1" blue tape that I applied to glass. trace along the edge of paper plan template onto the tape, then carefully cut along that line with the x-acto knife...once the curved sections of tape are applied to the wing they are connected with the straight runs and you have your mask. Then just protect the rest of the plane as always and spray the color on. |
| heywooood, Comment for image # 39453 | 06 Oct 17 20:36 |
| glad to hear it - mine too... |
| heywooood, Comment for image # 39457 | 06 Oct 17 20:35 |
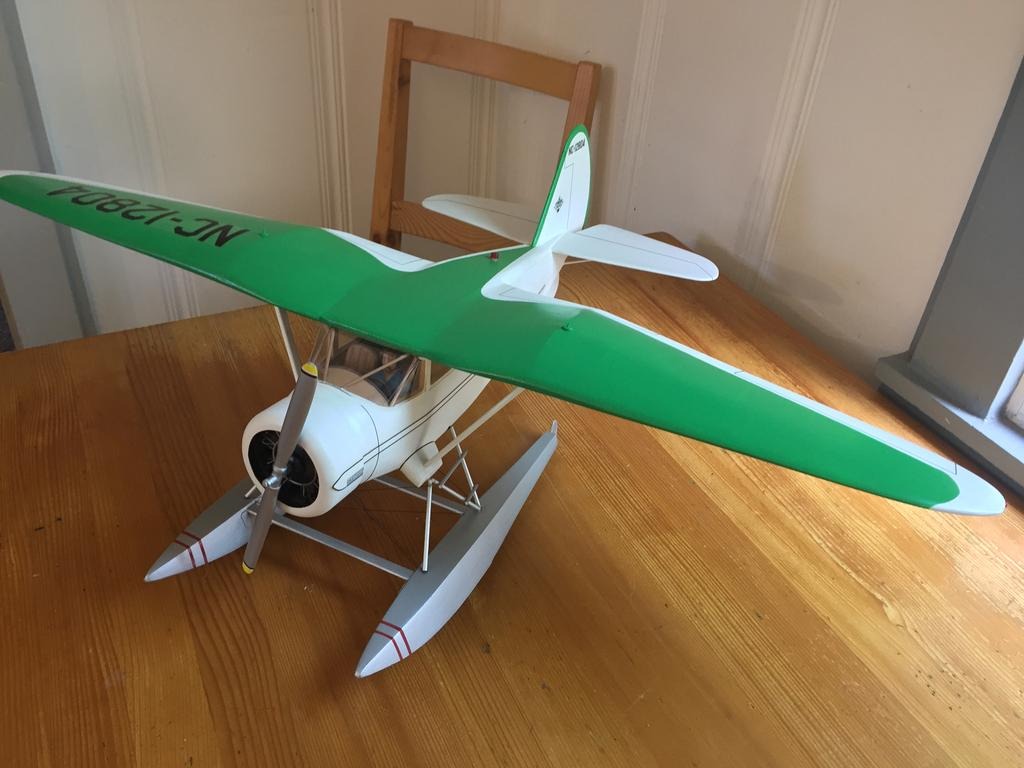
| registration and logo's applied.. |
| heywooood, Image # 39457 | 06 Oct 17 20:35 |
|
| heywooood, Image # 39456 | 06 Oct 17 20:34 |
|
| Build Thread, Page :
1 2 [ 3 ] 4 5 6 7 (128 posts, 20 posts per page, 7 pages in total)
|
[ < Prev ] [ Next > ] |
