| Image Comments |
| edbecky | 02-Oct-19 22:55 |
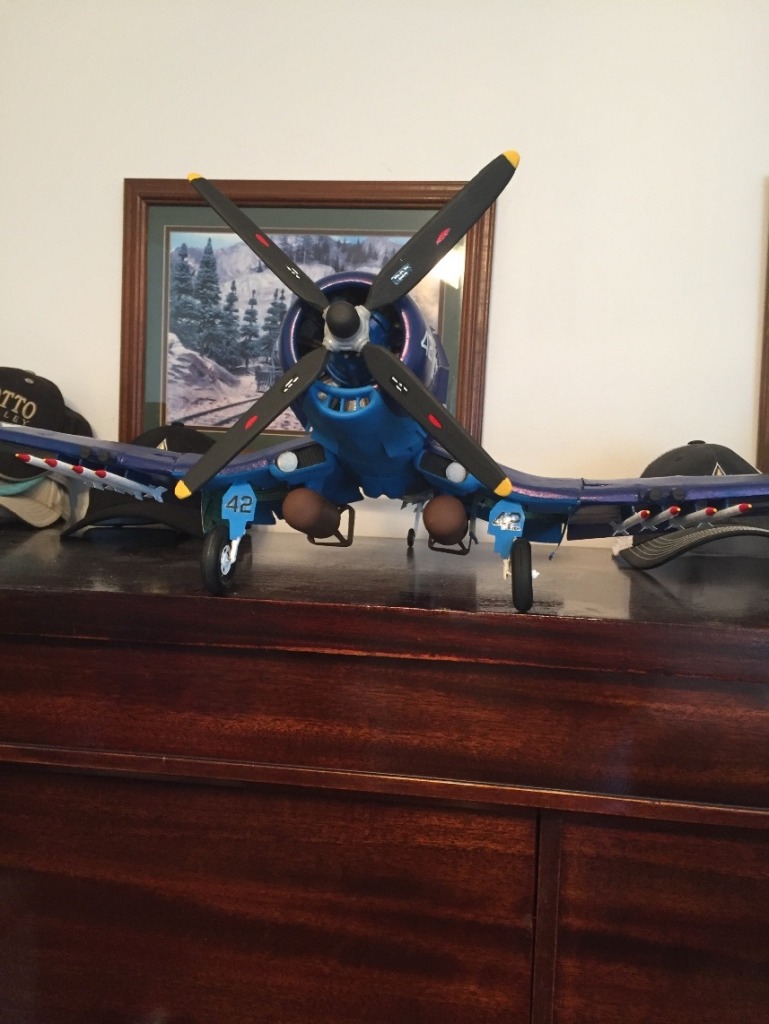
| Finished. Glued prop in place. Asked other half to come in ofice and see. You guessed it . First thing she did was spin the prop. I glued it again. :) |
| edtherenderman | 03-Oct-19 08:44 |
| Nice build! I know decals are a pain, but they sure can make a model! I've pretty much resorted to creating my own in photoshop and printing them out on inkjet waterslide paper. The decal sheets that I find in models are tool thin, and if the kit is old, are too crunchy. And I can print as many copies as I need so when I do mess one (or five!) up, I've got extras. You did a great job with these! |
| Don C | 03-Oct-19 11:03 |
| Nice model! Were there any #^$@* as the prop was being reglued? John Oshust designed a very simple bearing which prevents that problem. He or I will post a picture shortly. Again, very nice job.
|
| heywooood | 03-Oct-19 12:34 |
| she turned out very nicely - no pun intended |
| edbecky | 03-Oct-19 12:58 |
| Thanks, Was really a fun build. No cussing when the wife reconfigured the prop. I save that for the decals. |
| Don C | 04-Oct-19 12:15 |
| There's a diagram of the assembly in Mr. O's F3-F2 pictures, number 1 page of the build images. It was a grandkid that got me to use it. |
| edbecky | 04-Oct-19 16:04 |
| Thanks Don, I'm about to take a look. |