| Build Thread, Page :
1 2 [ 3 ] 4 (62 posts, 20 posts per page, 4 pages in total)
|
[ < Prev ] [ Next > ] |
| David Duckett, Image # 1379 | 18 Apr 06 18:57 |
The clear pieces are glued on with Testors wood cement and the areas to be painted are painted once just to seal the mask. Using wood glue allows you to do it quickly and easily and you can seal the edges where the plastic meets the covering with your fin |
| David Duckett, Image # 1378 | 18 Apr 06 18:49 |
The clear parts have beecovered with a mask and the brand name is Parma. You paint four coats of it onto the CLEAN pieces allowing each coat to dry very thoroughly before applying the next one. It goes on milky and dies to the haze you see here on the rea |
| David Duckett, Image # 1377 | 18 Apr 06 18:29 |
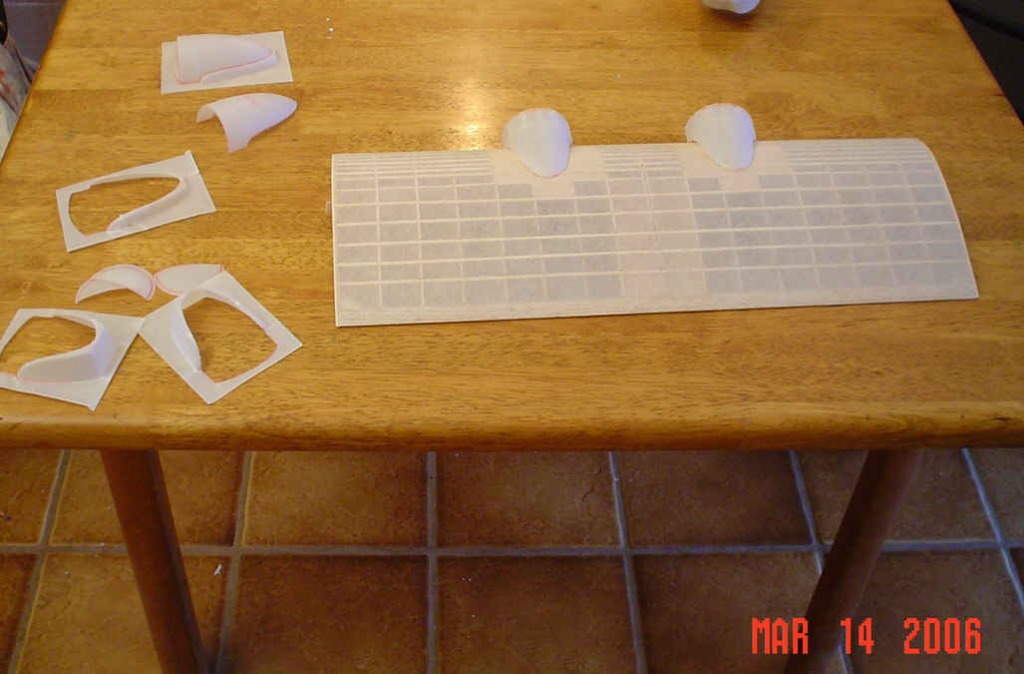
For these I fill the halves of the plastic piece with filler along with the wire and fill the other half with filler and let them very thoroughly dry. It's best to remove any excess filler as you do this but it can be sanded away when it's dry. When each |
| David Duckett, Image # 1376 | 18 Apr 06 18:21 |
In the mornings over coffee, and after the cats are fed, I'll spend that time looking at it all and trying to see if there's anything I forgot to do. |
| David Duckett, Image # 1375 | 18 Apr 06 18:16 |
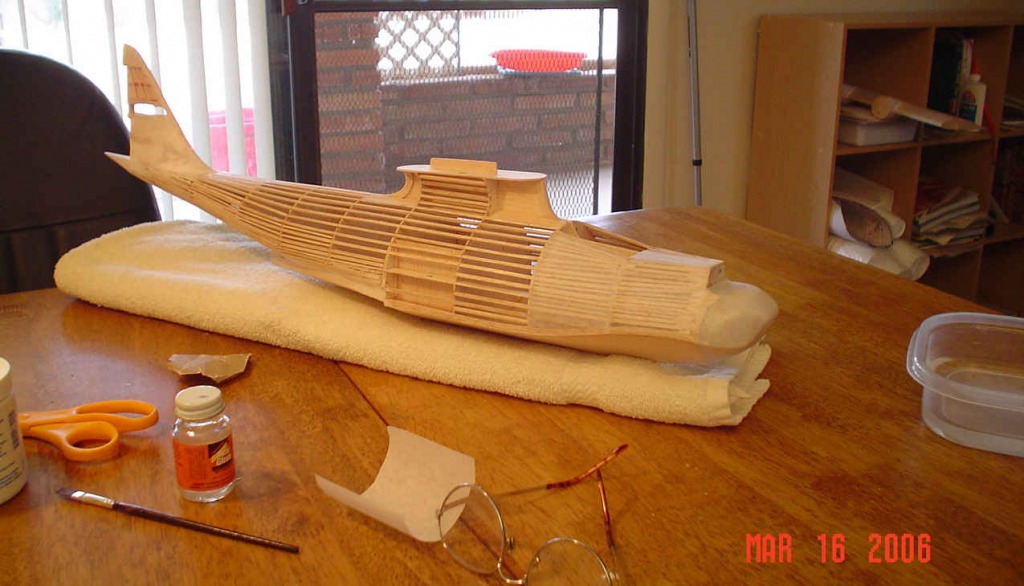
Lay it on damp and it will naturally do this. All you have to do is dope it top and bottom. In this particular case I had to cut a slit it the area where the curve is the greatest and starts outward . Otherwise all I had to do was wait for it to dry and t |
| David Duckett, Image # 1374 | 18 Apr 06 18:10 |
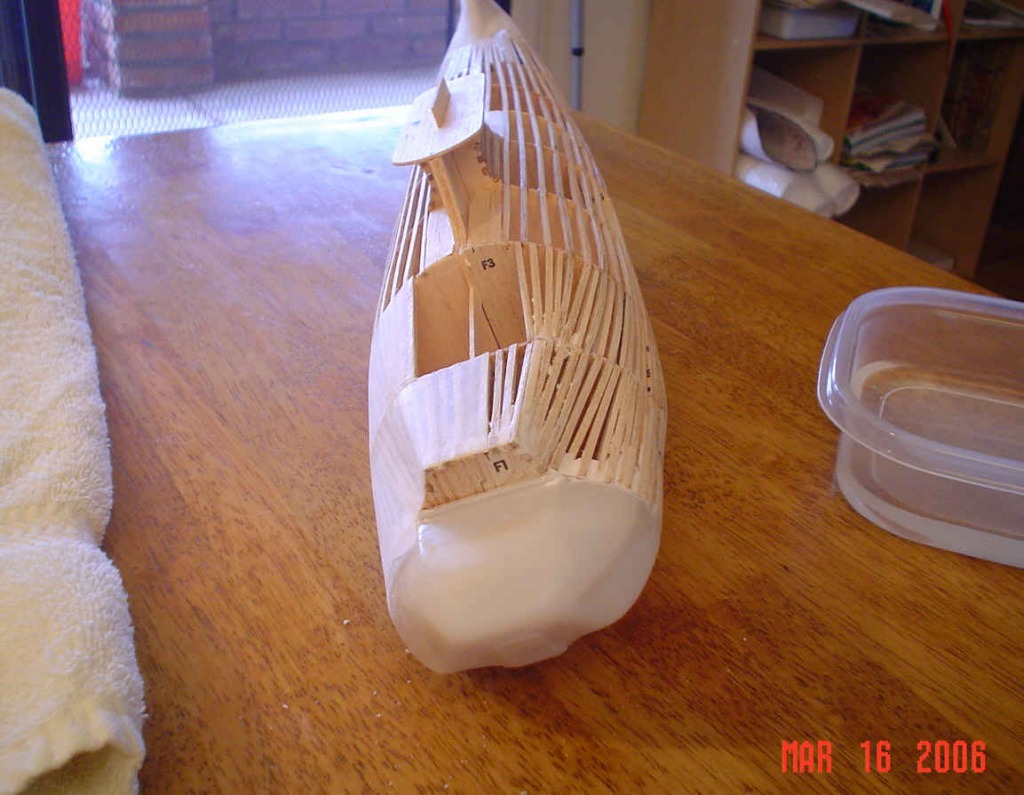
Works this way, too. The plans say to cover part of the base of the fin with tissue and cover the front part of it with two plastic pieces. Later you glue the top portion of the fin to the stabilizer and that entire structure is the glued to the base on t |
| David Duckett, Image # 1373 | 18 Apr 06 17:52 |
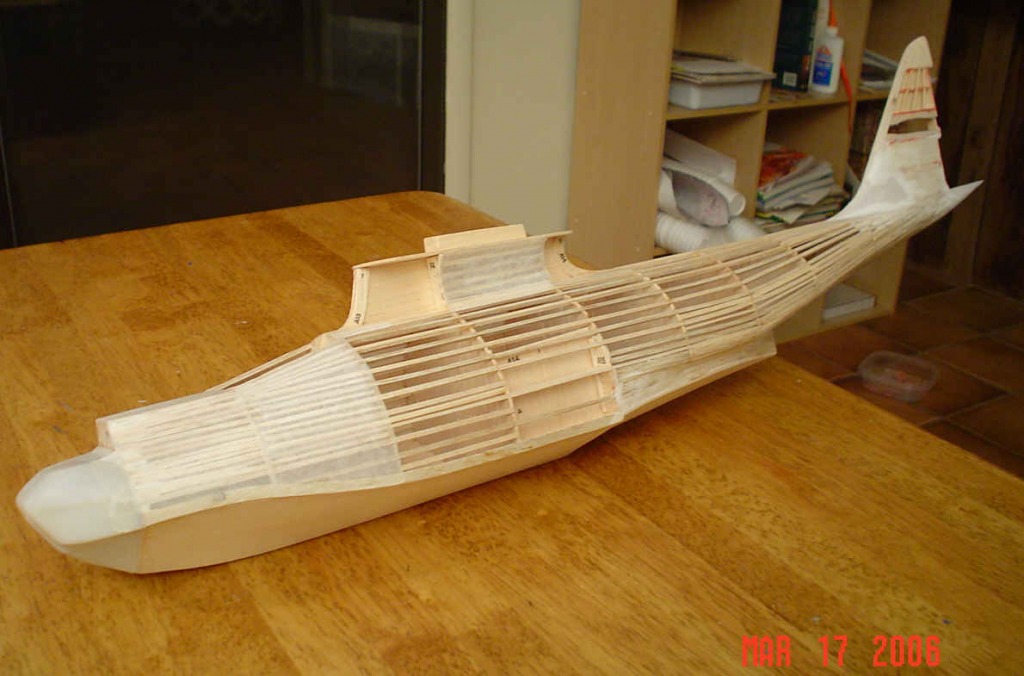
On the right you can see the extra stringers and lightweight filler combined at the place where the plastic piece meets the wood and on the left you can see why you do it. It doesn't look possible but one piece covers the first section. The secret is to p |
| David Duckett, Image # 1372 | 18 Apr 06 17:39 |
Covering the fuselage starting at the front and covering as much of the plastic piece as I can with silkspan and then doping it on. There are 2 pieces here, the first is from the plastic to F 2 and the second piece is between F 2 and F 3. Also here for th |
| David Duckett, Image # 1371 | 18 Apr 06 17:31 |
Cutting out and fitting the engine halves. |
| David Duckett, Image # 1370 | 18 Apr 06 17:28 |
Top of wing covered and dry but not trimmed. |
| David Duckett, Image # 1369 | 18 Apr 06 17:24 |

Excess trimmed away. |
| David Duckett, Image # 1368 | 18 Apr 06 17:23 |
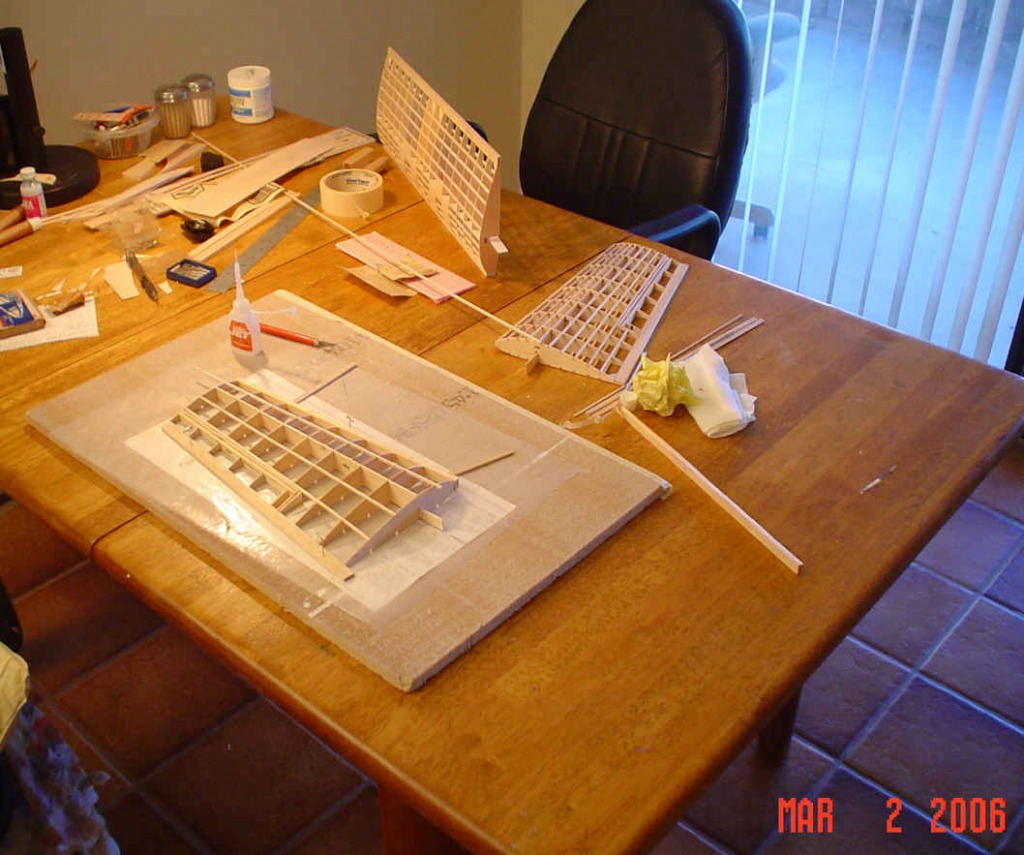
Bottom of the wing covered and waiting to be trimmed. The extra wood will support the wing at the center, provide a solid base to attach the plastic engines, and the others are where the struts will be glued. |
| David Duckett, Image # 1367 | 18 Apr 06 17:19 |
Everything with double stringers. Those are pieces of scrap 1/16 glued between the stringers at front where the engines go. |
| David Duckett, Image # 1366 | 18 Apr 06 17:15 |
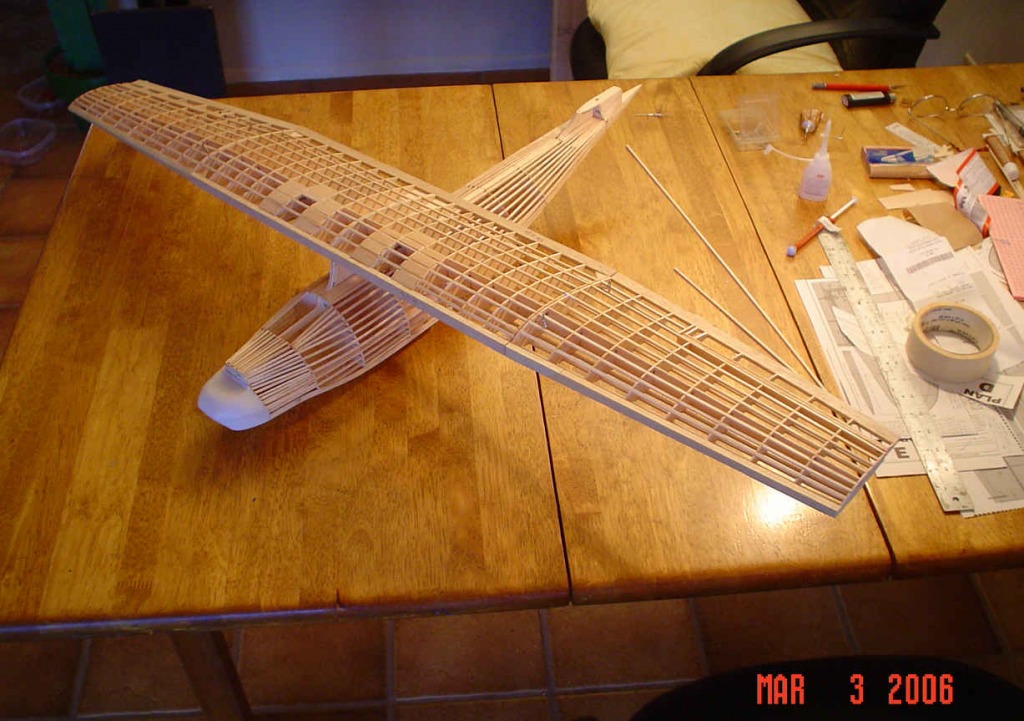
Building the outer panels including the ailerons. The other sections already have doubled stringers. |
| David Duckett, Image # 1365 | 18 Apr 06 17:11 |
Reason for the extra wood. |
| David Duckett, Image # 1364 | 18 Apr 06 17:10 |

Wing center section built per plans. |
| David Duckett, Image # 1363 | 18 Apr 06 17:07 |

Adding balsa for support when the wing attaches to the fuselage. Not in plans |
| David Duckett, Image # 1362 | 18 Apr 06 17:00 |

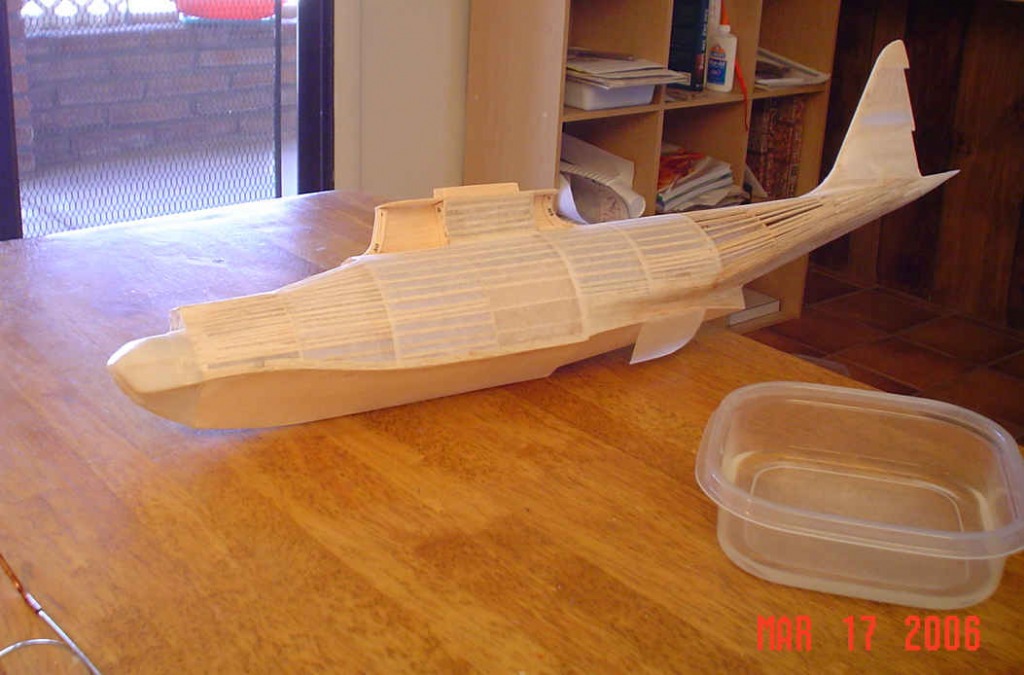
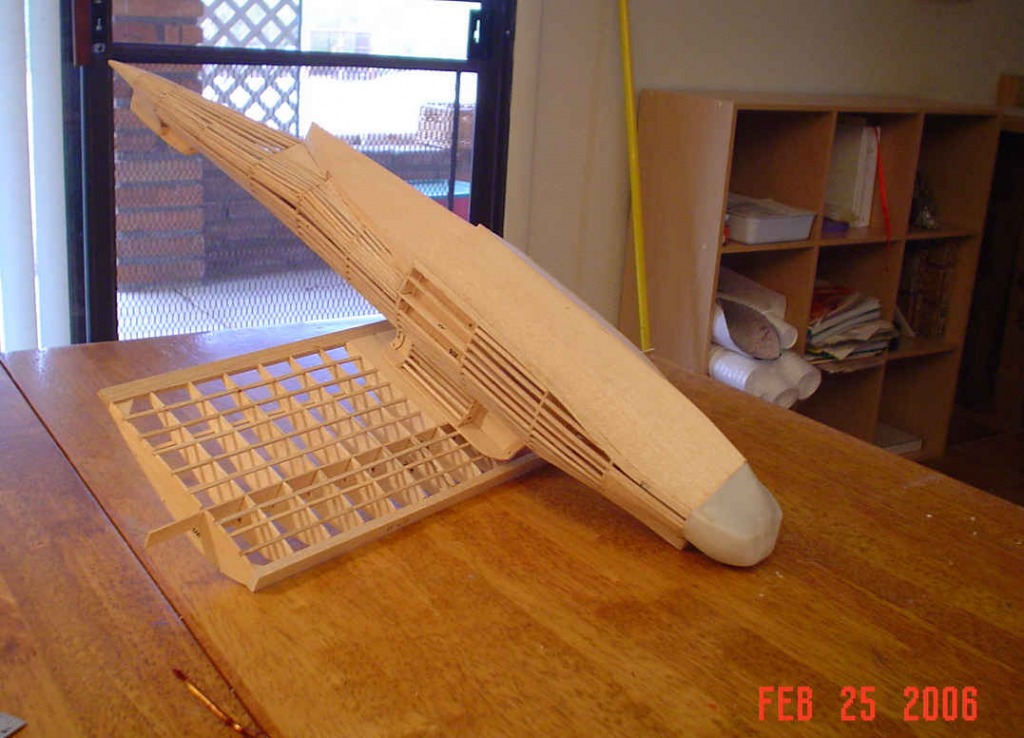
all the stringers almost make it solid. The hull is covered with 1/32" sheet |
| David Duckett, Image # 1361 | 18 Apr 06 16:58 |

Additional stringers between F 1 and F 2 and bottom above the hull. |
| David Duckett, Image # 1360 | 18 Apr 06 16:55 |

plastic nose piece full of clay glued on and stringers doubled |
| Build Thread, Page :
1 2 [ 3 ] 4 (62 posts, 20 posts per page, 4 pages in total)
|
[ < Prev ] [ Next > ] |
