| Build Thread, Page :
1 2 3 4 5 [ 6 ] 7 8 9 10 11 >> (244 posts, 20 posts per page, 13 pages in total)
|
[ < Prev ] [ Next > ] |
| Creosotewind, Image # 32496 | 27 Oct 14 15:22 |

Missile hanging bracket. Basswood. I carved two copies. |
| Creosotewind, Image # 32495 | 27 Oct 14 15:21 |
Originally the horizontal stabilators went straight across on the model. They needed a slight downward cant. I was going to leave them alone, but in the final days, I knew it wouldn't look right. So I cut and sanded until I had the right angle. (But not a right angle.) |
| Creosotewind, Image # 32494 | 27 Oct 14 15:19 |
I carved the ID lights out of basswood (one for each side) and glued them to two layers of thick card stock. |
| Creosotewind, Image # 32493 | 27 Oct 14 15:17 |
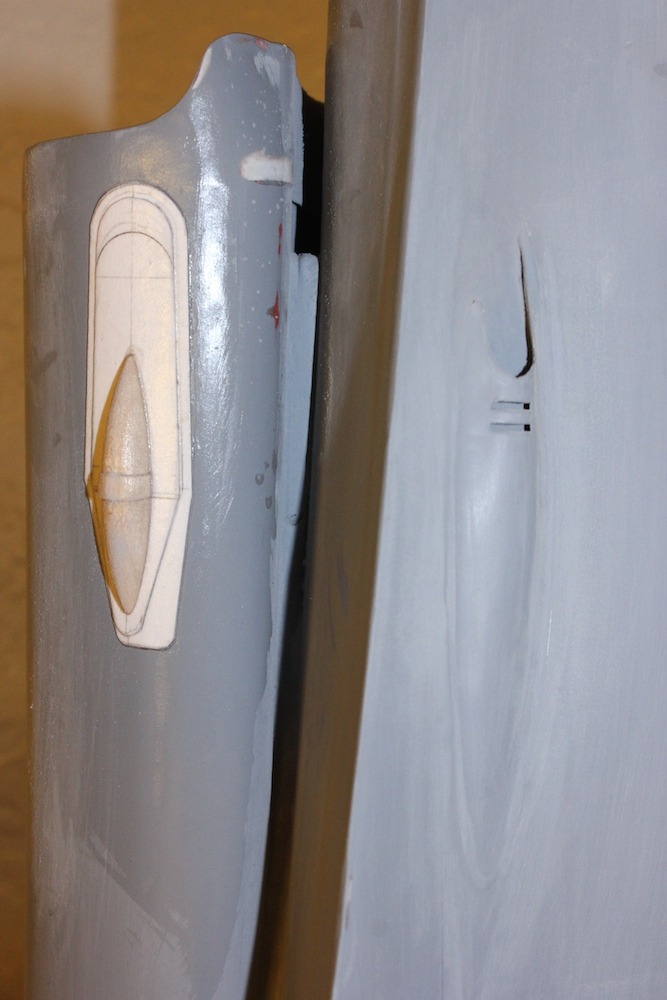
I used two pieces of tape to define the canopy frame. I also used the tape to make very thin fins on the nose cone. Not sure what they do, but they are a slight, but prominent feature. |
| Creosotewind, Image # 32492 | 27 Oct 14 15:16 |
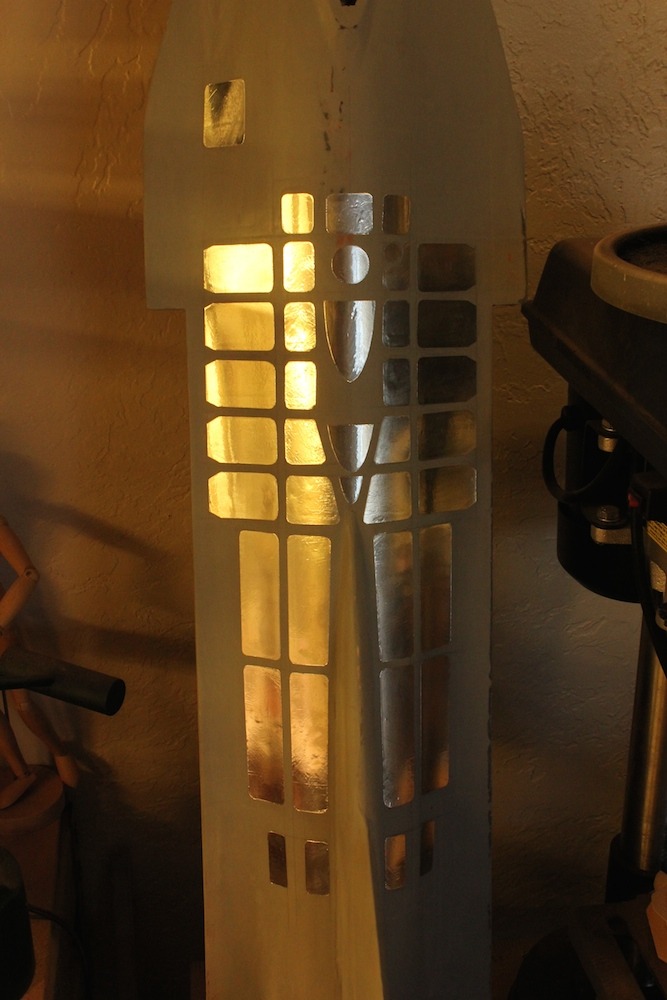
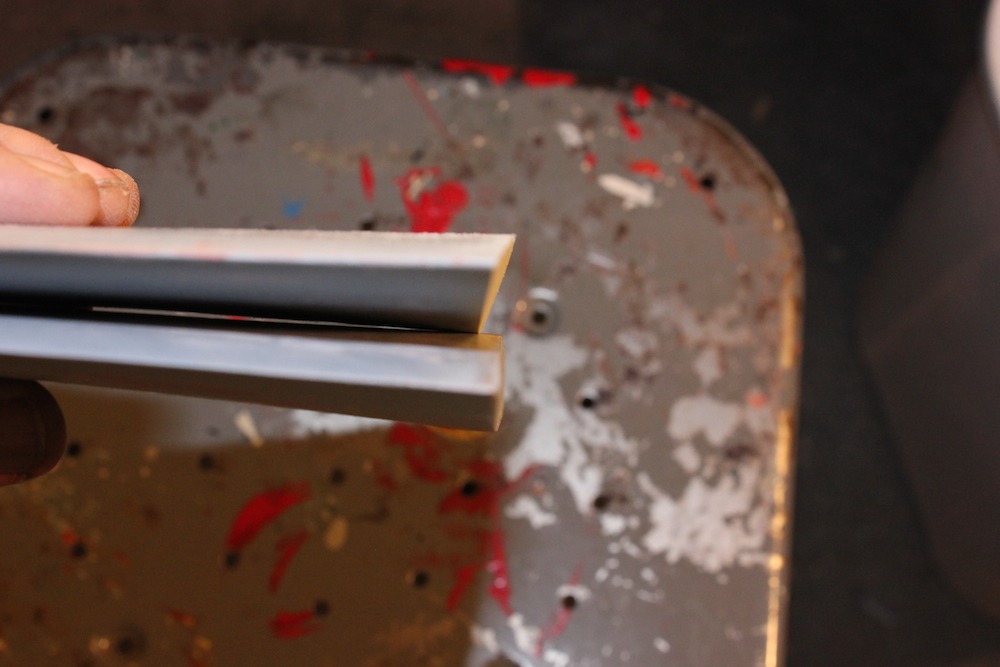
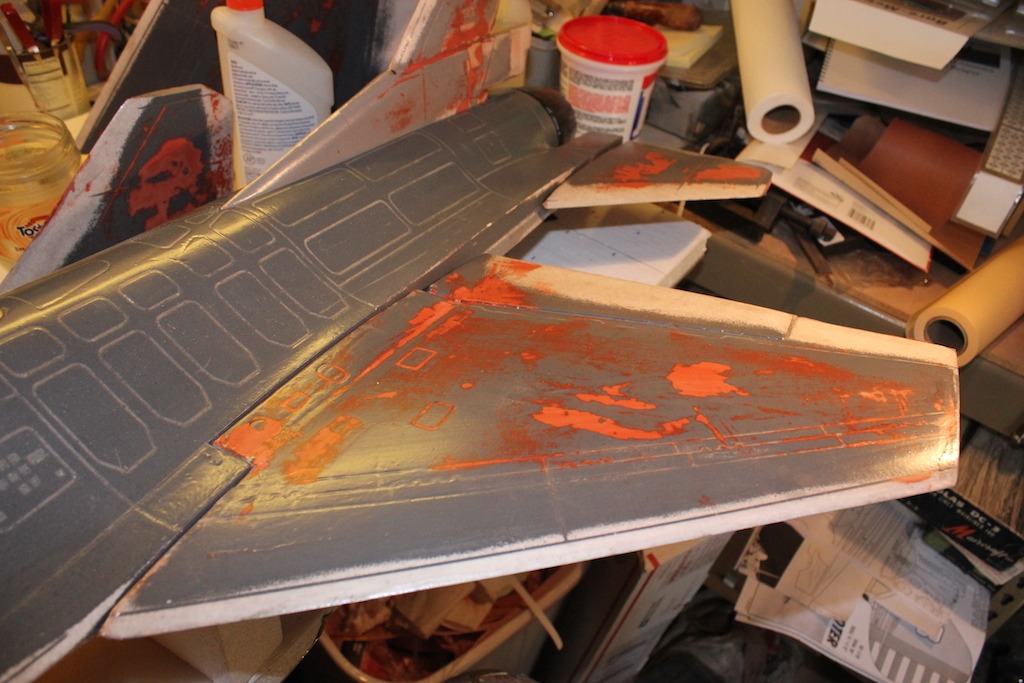
The multiple panels are very conspicuous on this plane. I used aluminum duct tape. Self adhesive, thin and flexible. |
| Creosotewind, Image # 32491 | 27 Oct 14 15:15 |
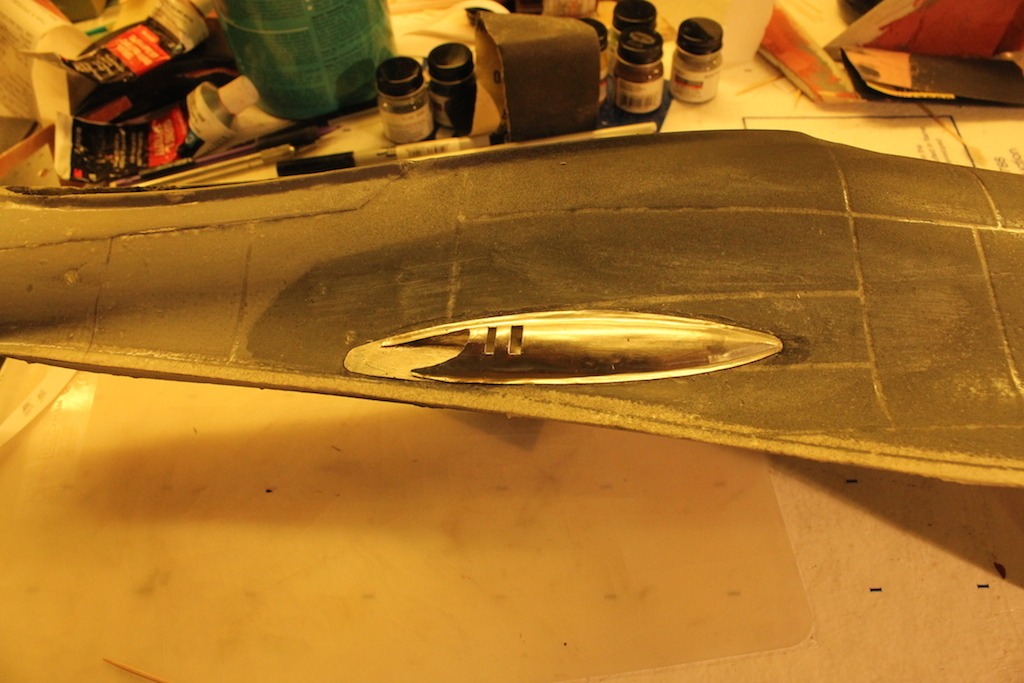
Detail of the gun and air intake. |
| poppy, Comment for image # 32330 | 25 Sep 14 12:31 |
| Looks smooth as silk! |
| BriandKilby, Comment for image # 32330 | 25 Sep 14 08:42 |
| looks awesome, would make a perfect drone. lol. |
| julinick, Comment for image # 32330 | 24 Sep 14 22:09 |
| This is freaking cool!!!!! |
| Creosotewind, Image # 32330 | 24 Sep 14 19:44 |
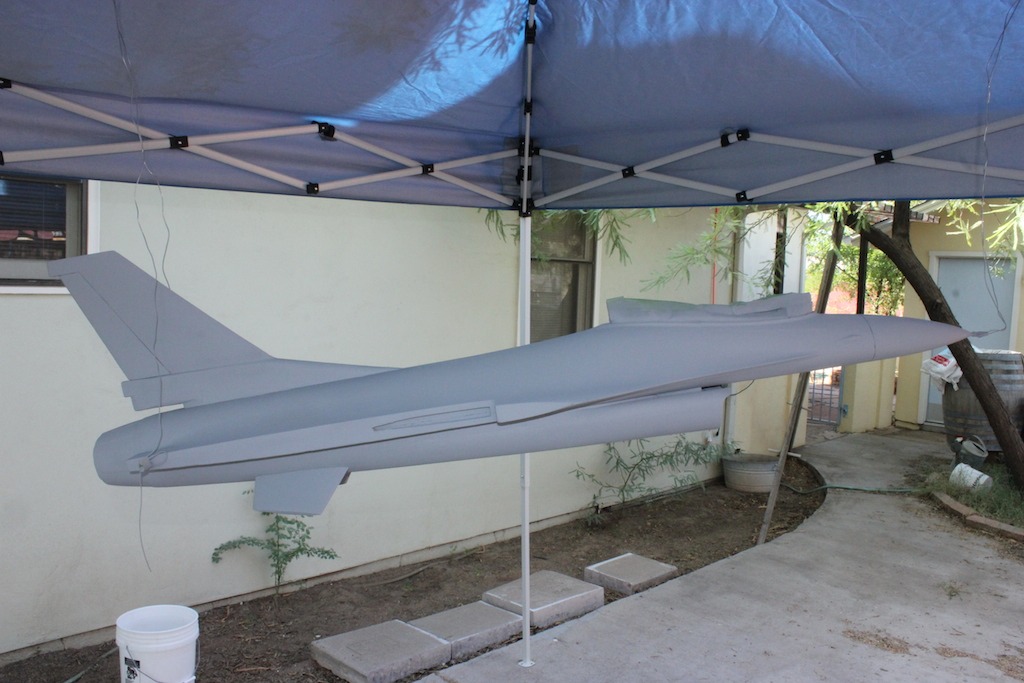
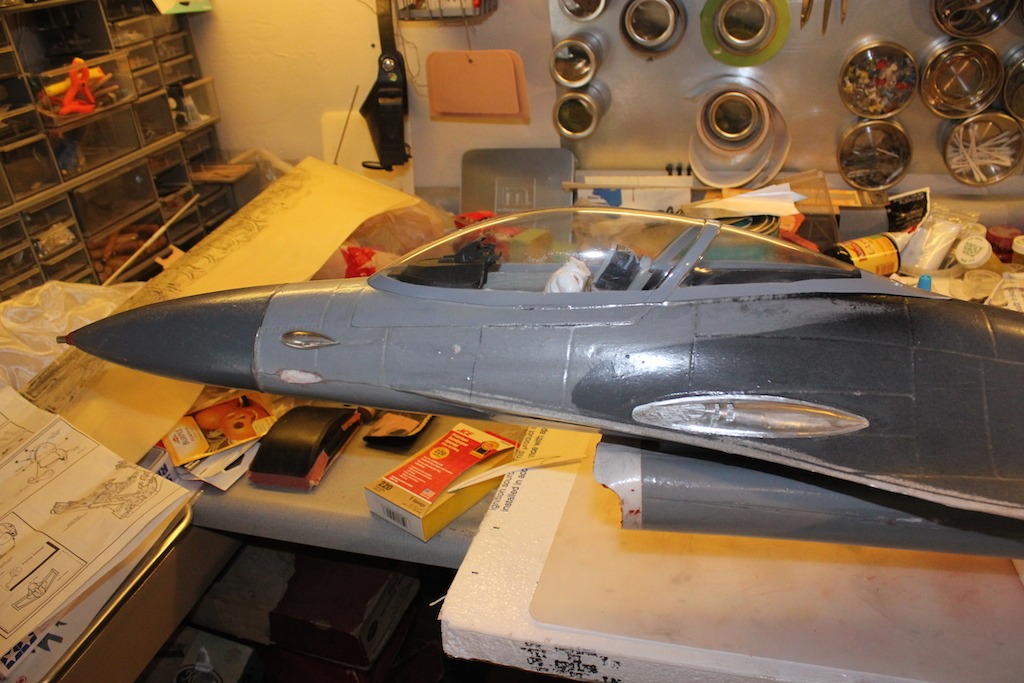
Primer coat. |
| Creosotewind, Image # 32329 | 24 Sep 14 19:44 |
Prepping for paint. A pop up tent and some wire. |
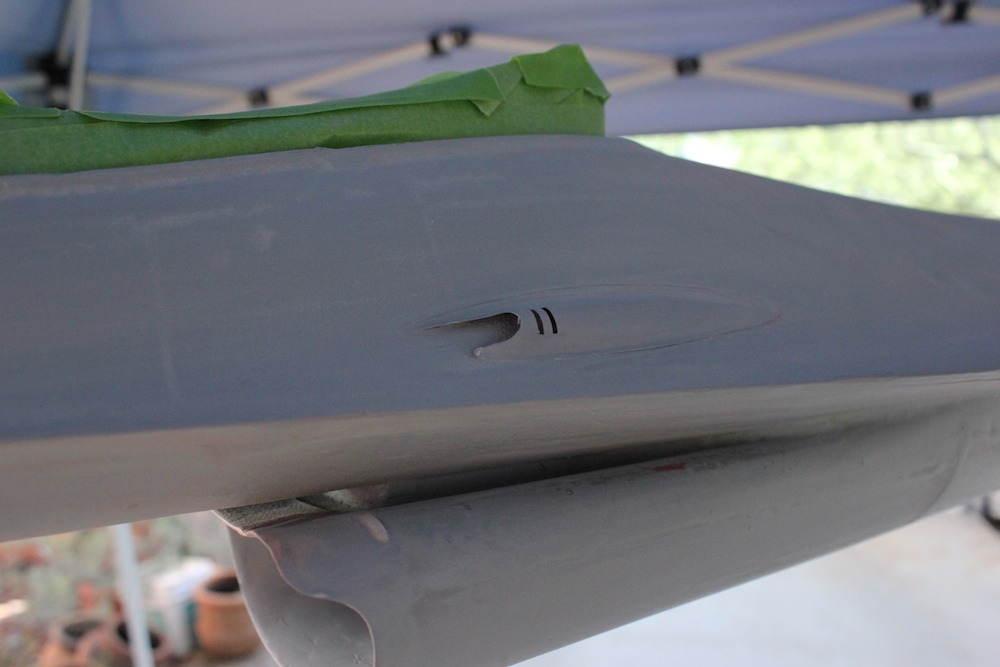
| Creosotewind, Image # 32328 | 24 Sep 14 19:43 |
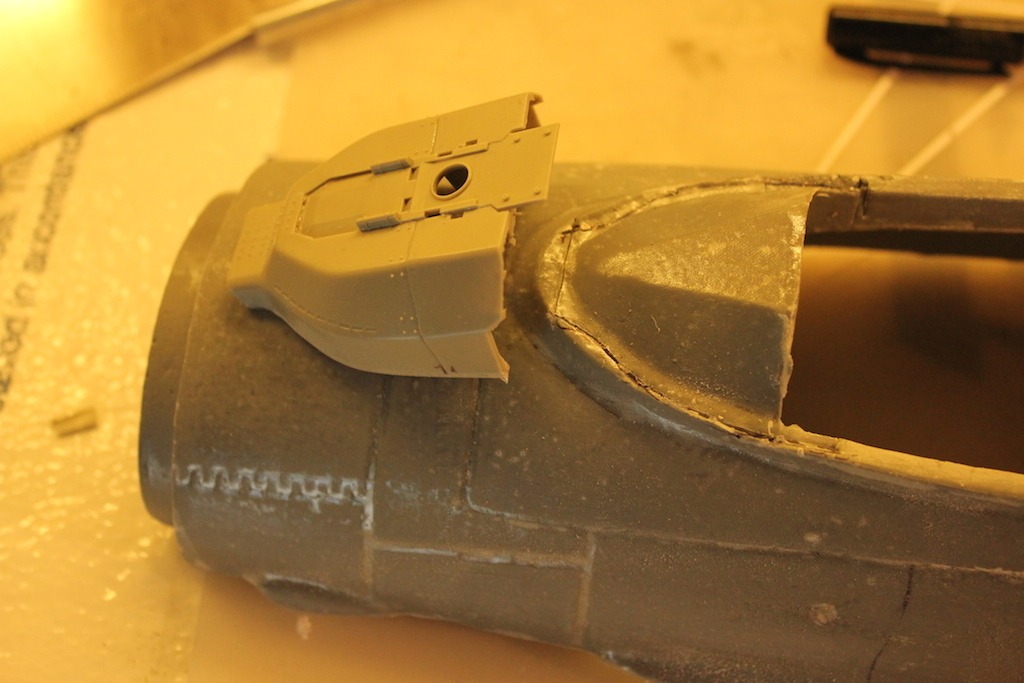
Putty sanded off. New gun mount. |
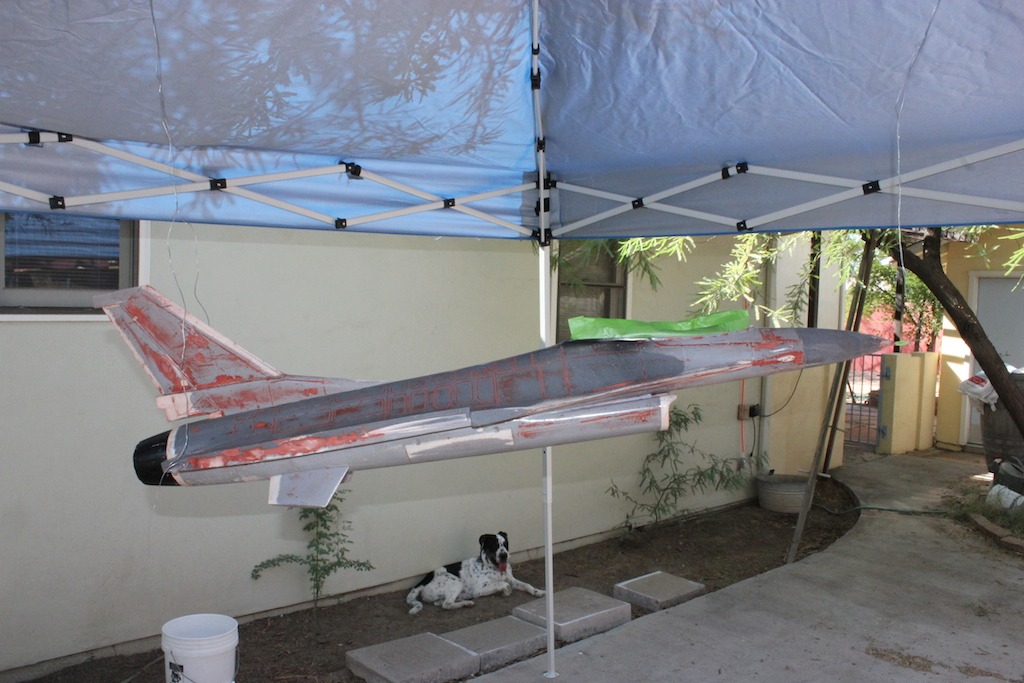
| Creosotewind, Image # 32327 | 24 Sep 14 19:41 |
The fuselage was fiberglassed and sealed, so I covered the whole thing with auto filler. Sands easily and filled the very heavy panel lines. |
| Creosotewind, Image # 32326 | 24 Sep 14 19:39 |
A layer of fiberglas cloth, lots of layers of Minwax Polycrylic. But if you sand through, the auto putty will eat through the styrofoam. More layers of Minwax, more sanding, more sealing. But the final result is glass smooth, and very solid. |
| Creosotewind, Image # 32325 | 24 Sep 14 19:35 |
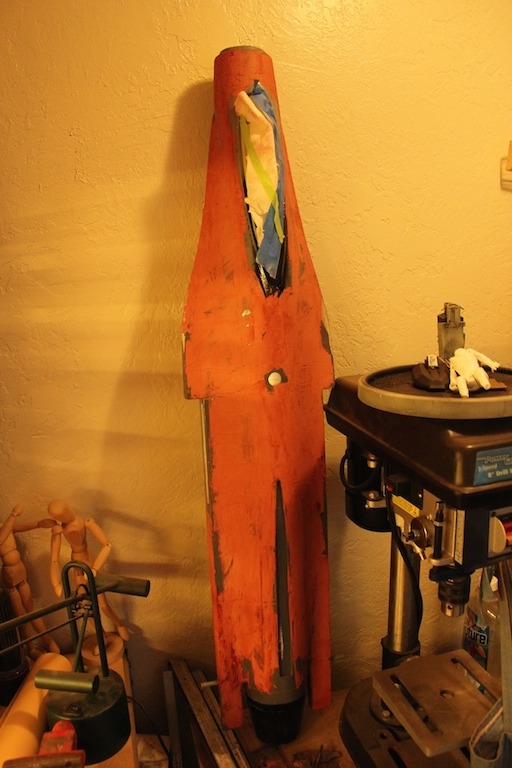
The headless horseman rides again. |
| Creosotewind, Image # 32324 | 24 Sep 14 19:30 |
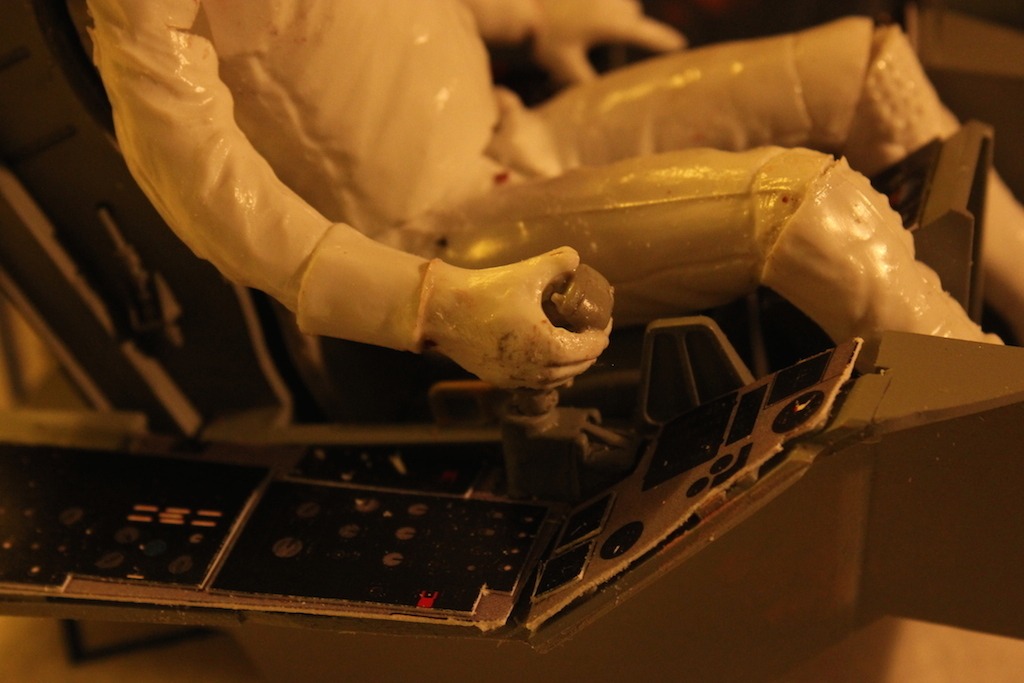
Close up of the pilot's hand on the throttle control stick. |
| Creosotewind, Image # 32323 | 24 Sep 14 19:29 |
Superglued onto the model. I actually tore this one up removing it so I could fix the leading edge of the fuselage. Oh well, I made one, I can make another. |
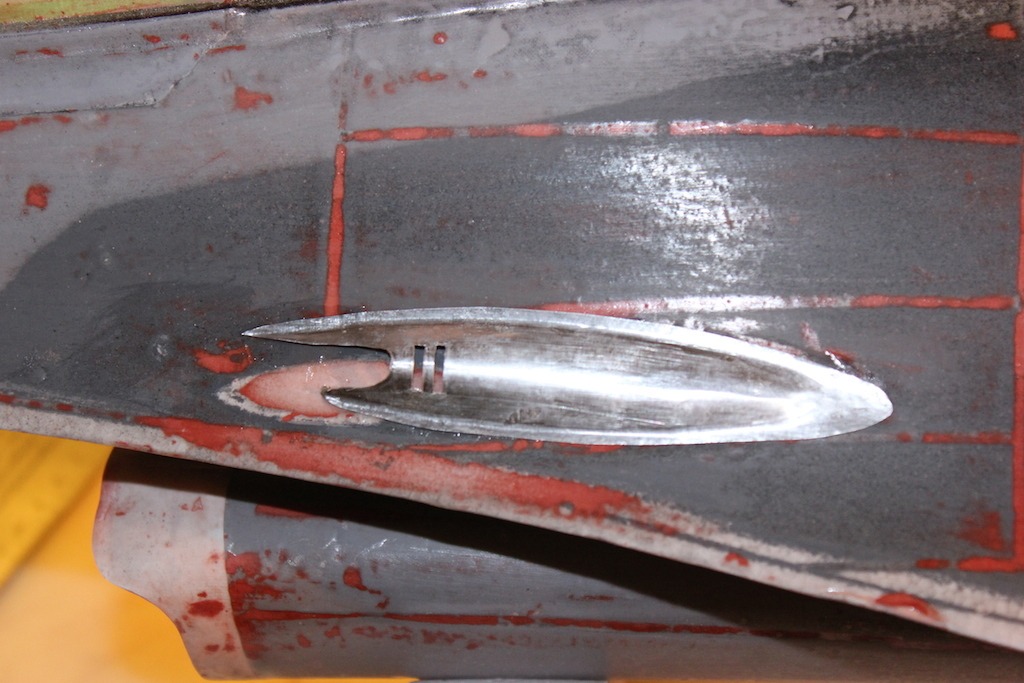
| Creosotewind, Image # 32322 | 24 Sep 14 19:28 |
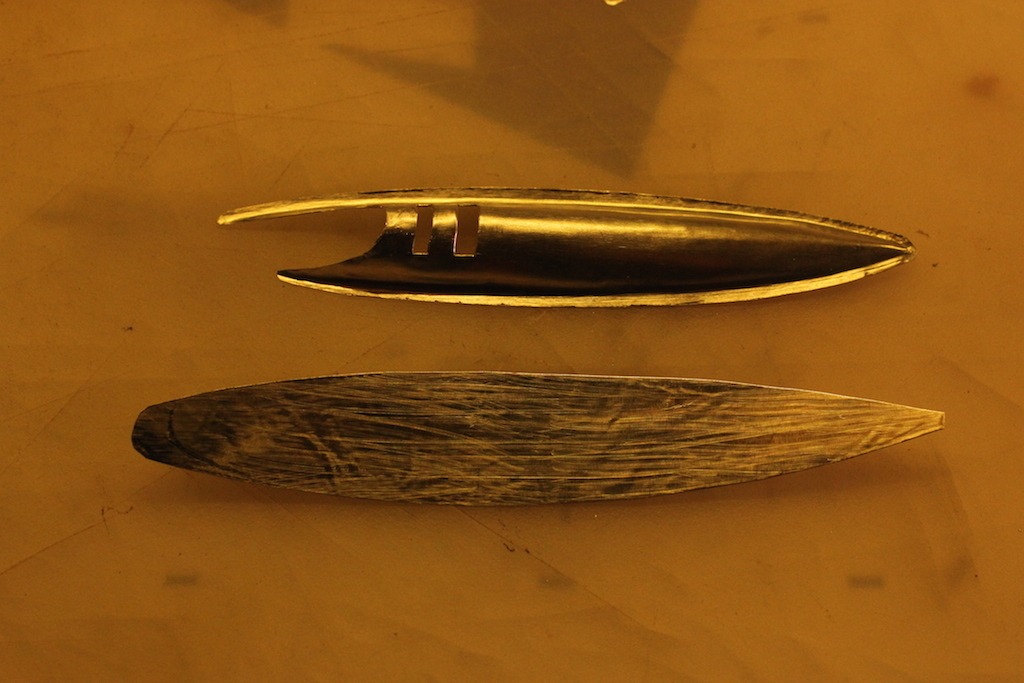
New housing for the cannon. Again, tooled aluminum. |
| Creosotewind, Image # 32321 | 24 Sep 14 19:27 |
Replacement for the molded in HUD from the Italerie kit. |
| Creosotewind, Image # 32320 | 24 Sep 14 19:26 |
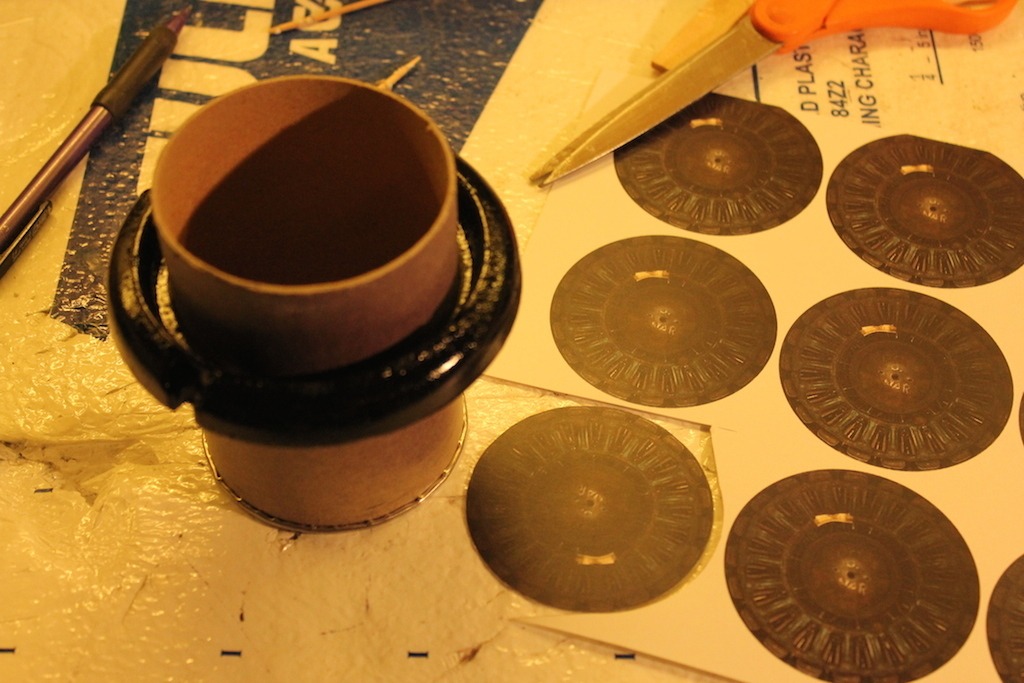
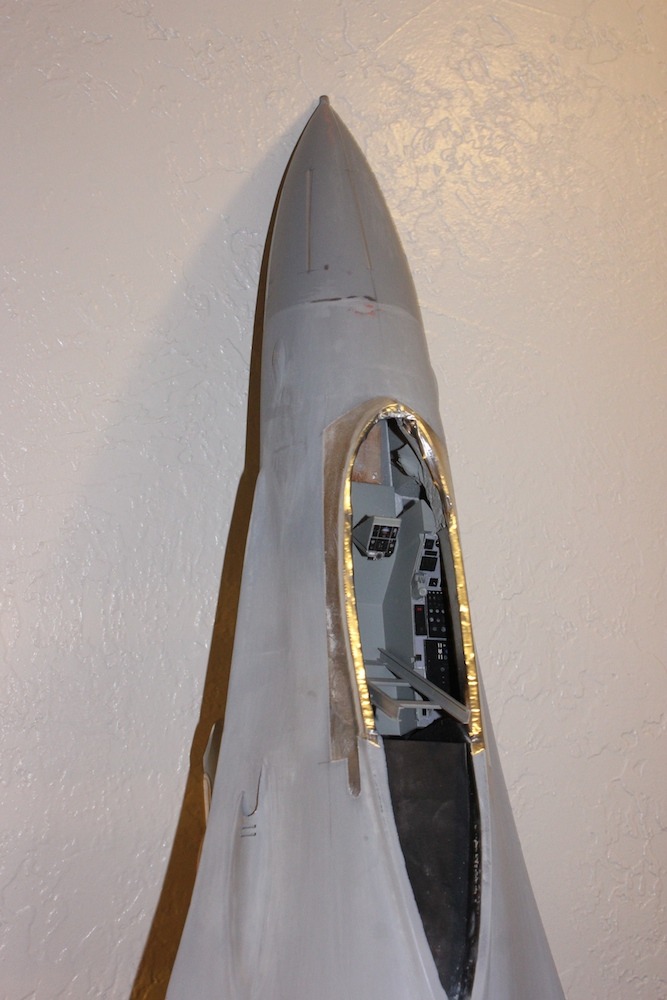
The cardboard tube will help to block off the fuselage. The images are photos from the inside of an F-16 engine. I'll add one of those later. |
| Build Thread, Page :
1 2 3 4 5 [ 6 ] 7 8 9 10 11 >> (244 posts, 20 posts per page, 13 pages in total)
|
[ < Prev ] [ Next > ] |
