| Build Thread, Page :
[ 1 ] 2 (37 posts, 20 posts per page, 2 pages in total)
|
[ Next > ] |
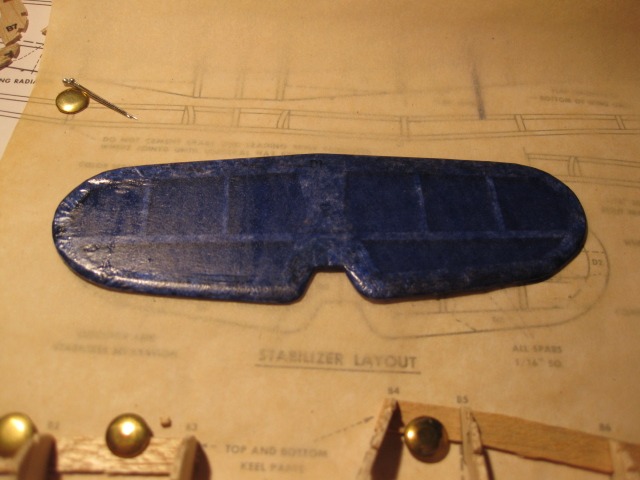
| PencilCricket, Image # 30021 | 31 Oct 13 07:39 |
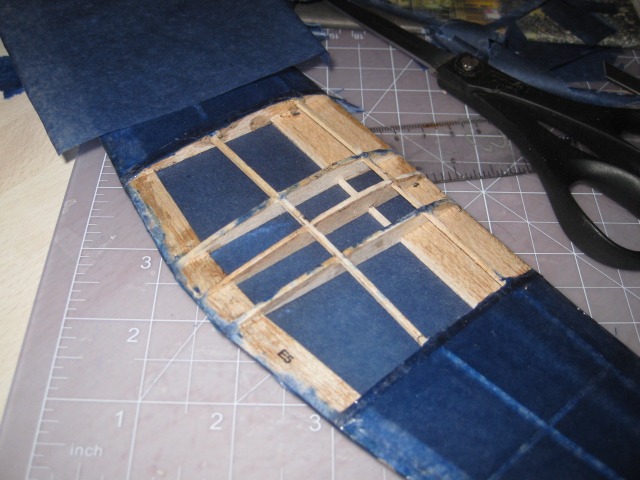
This is at least the fifth time I've had to tissue this central part of the wing... |
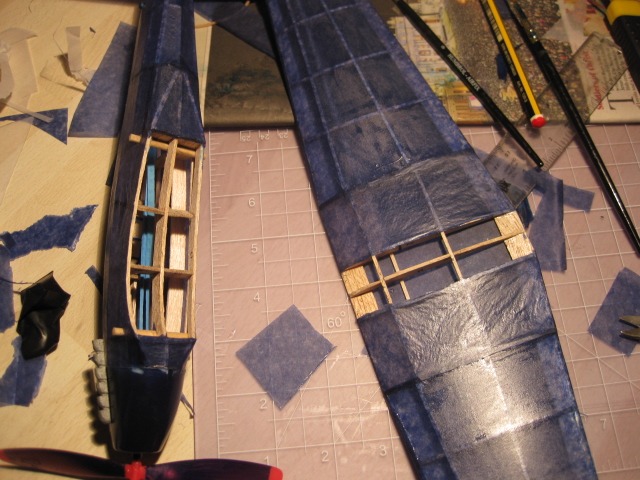
| PencilCricket, Image # 30020 | 31 Oct 13 07:11 |
Wings attached, tried a couple of test glides in the garden. Second one looked very good, banking slightly left and neither diving nor stalling, but when it landed the wings pinged off and in doing so tore some of the upper surface. Stripped this off to revela a couple of broken stringers, probably from yesterday's crash. |
| John Cooper, Comment for image # 30015 | 30 Oct 13 12:47 |
| That might work, but would probably be a rather large tab. The standard way of accounting for prop torque is to angle the prop thrust to the right. Also, if you are using any tab on the wing you should put in some left rudder to counter the tab and keep the plane straight or make it turn to the left. Low wing rubber models usually don't fair well in a right turn. |
| PencilCricket, Comment for image # 30015 | 30 Oct 13 12:03 |
| Thanks for the tips. I was thinking of putting the tab closer to the fuselage in the prop wash so it corrects the torque under power and has less of an effect when gliding. Anything to be said for this? |
| John Cooper, Comment for image # 30015 | 30 Oct 13 11:26 |
| Too bad about the crash; this is a very nice looking model. Rubber bands are not a bad idea, but you can also limit damage by attaching the wing with 4 dots of glue, so that it will break away easily on a crash. Also, 44g is slightly on the heavy size, but still reasonable for an outdoor model. I would also suggest a 3cmx 1cm tab of paper on the rear outer edge of the port wing, at 45 degrees - this will keep it from spiraling left. Also, right and down thrust will be helpful - a little piece of 1/16 square balsa under the prop bearing, CAed at the top, right of the indent in the cowl, can do this. |
| PencilCricket, Image # 30016 | 30 Oct 13 11:19 |
Two pieces of dowel added, and a little patching up. Just need to let the shrinking dope do its stuff and it's ready to go again :-) |
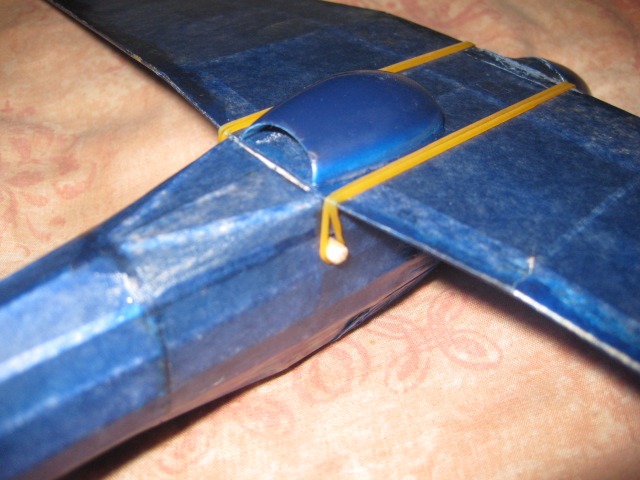
| PencilCricket, Image # 30015 | 30 Oct 13 07:51 |
Maiden flight didn't go as well as planned... Not a total write-off at least, perhaps I should attach the wings with rubber bands? |
| PencilCricket, Comment for image # 29991 | 25 Oct 13 11:07 |
| It feels a little heavy and I'm sure more experienced modellers have a greater skill at using a lot less glue. Anyway, it's surprisingly well-balanced and a few test glides in the garden seem to indicate it's not a complete brick... Next step is to take it to the cricket club and see what it's like under rubber power (yes, it's the band in the kit) |
| jgood, Comment for image # 29991 | 25 Oct 13 10:49 |
| Great job, I like the dark blue colour scheme. Not sure on the weight, but Howard (who's on here) would know. Let us know how the test flight goes! Are you using kit rubber? |
| frwyflyer, Comment for image # 29991 | 24 Oct 13 19:40 |
| Looks pretty nice to me.. |
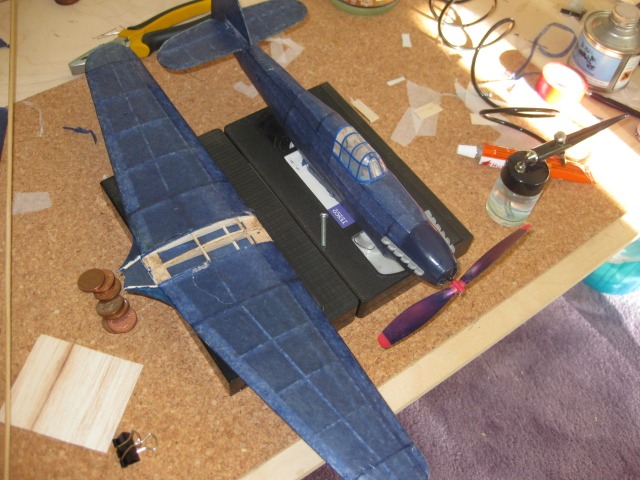
| PencilCricket, Image # 29993 | 24 Oct 13 14:52 |
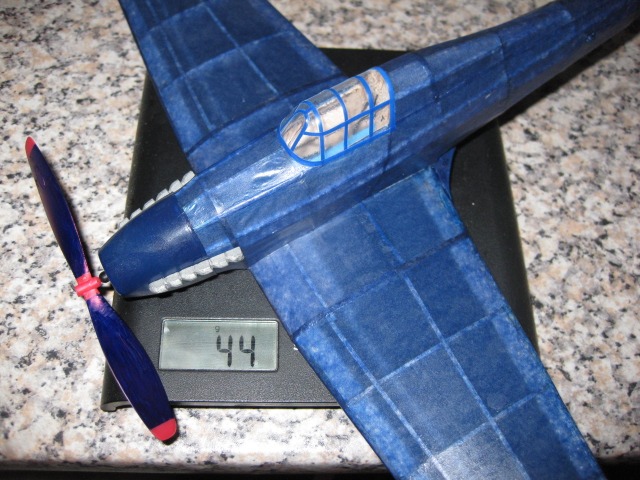
44g - is that good or bad? Bad I'm guessing. Took a lot of weight to balance it out. |
| PencilCricket, Image # 29992 | 24 Oct 13 14:27 |

Here are the exhausts I made in situ. Left the undercarriage off but the radiator was needed or it just wouldn't look right. |
| PencilCricket, Image # 29991 | 24 Oct 13 14:23 |
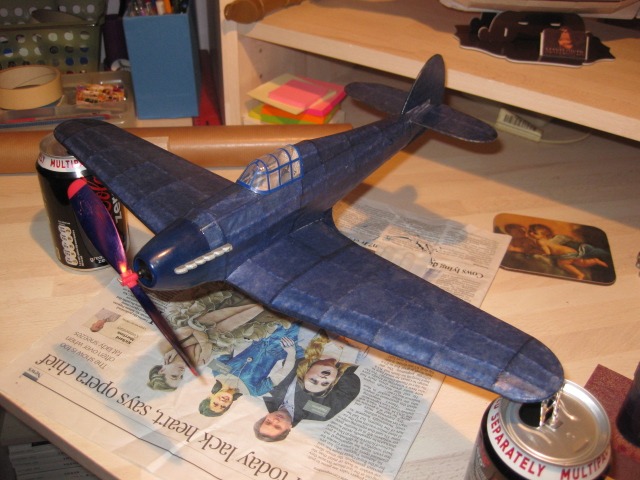
All covered (not the tidyest of jobs) and essentially finished, just decals left but I might try a test flight before then |
| PencilCricket, Image # 28380 | 18 Jan 13 06:16 |
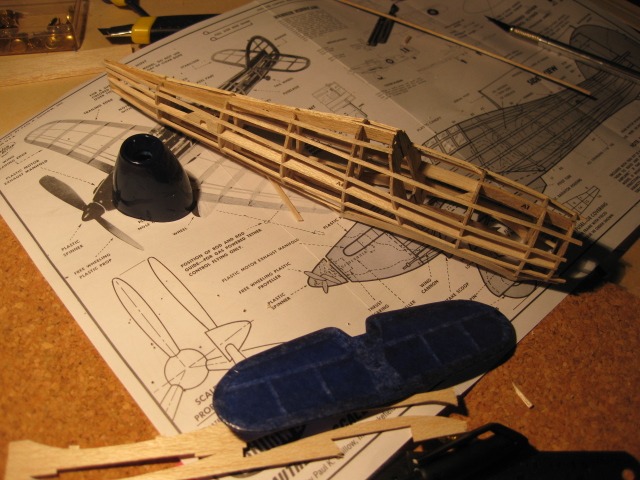
Fuselage all done bar the covering. The painted nose gives an idea of the eventual colour. |
| PencilCricket, Image # 28365 | 16 Jan 13 01:22 |
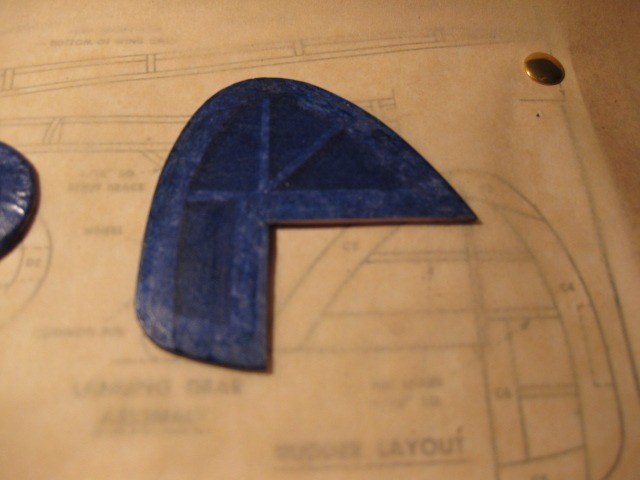
...and here's the rudder. This is pretty much perfect. |
| PencilCricket, Image # 28364 | 16 Jan 13 01:21 |
Here's the covered elevetor, a little messy but I'm getting better... |
| PencilCricket, Comment for image # 28343 | 15 Jan 13 19:08 |
| Yeah I thought I'd make up the Hurricane as best I could to get all the mistakes out of the way. This is just plain old tissue paper I picked up at a craft shop. I'll post some photos in a bit but I'm definitely getting better at tissue covering. |
| peregrin, Comment for image # 28343 | 15 Jan 13 15:16 |
| LB1.. I used Peck Polymer's "domestic" tissue and had pretty good results using glue stick and water/alcohol. I do want to try the Esaki, but that it is more expensive and I was pretty happy with the cheap stuff. I do have a fair amount of experience with monokote which is very tough and forgiving and probably provides some intangible facility with covering wing/fuselage. |
| lukebozek1, Comment for image # 28343 | 15 Jan 13 14:52 |
| Try using Esaki tissue, you won't be disappointed at all. I tried using some of the West Wings Tissue but ended up removing it and using the Easki. No comparison. Shiny side down. |
| peregrin, Comment for image # 28343 | 15 Jan 13 14:41 |
| PC! I missed this photo... a little disconcerting after all that work isn't it! Your next pic looks pretty good IMO and I'll bet the dope will shrink it a little more. Is this practice for the Cherokee? |
| Build Thread, Page :
[ 1 ] 2 (37 posts, 20 posts per page, 2 pages in total)
|
[ Next > ] |
