| Build Thread, Page :
<< 24 25 26 27 28 29 30 31 32 (631 posts, 20 posts per page, 32 pages in total)
|
[ < Prev ] [ Next > ] |
| julinick, Comment for image # 24907 | 02 Feb 12 18:53 |
| Lots of construction going on here, but I'm sure it's all worth it in the long run. |
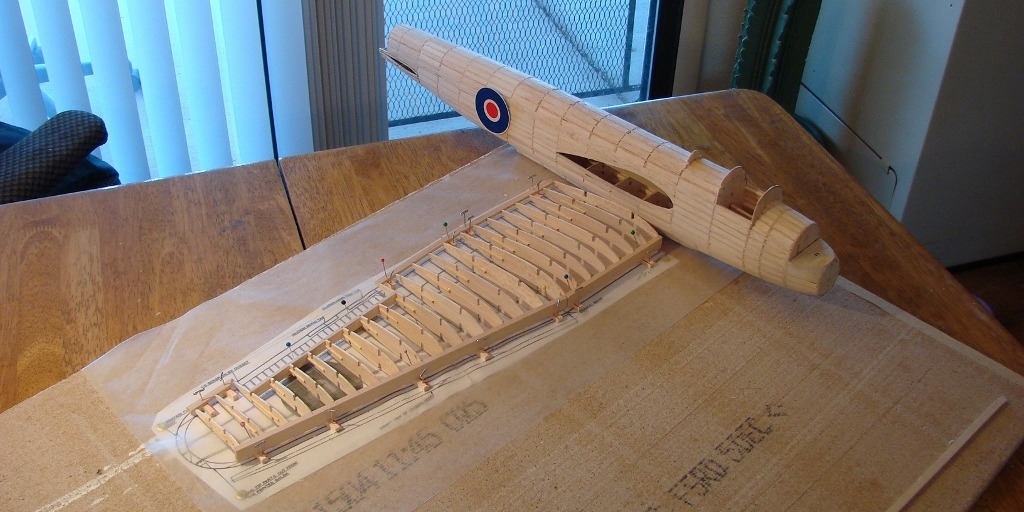
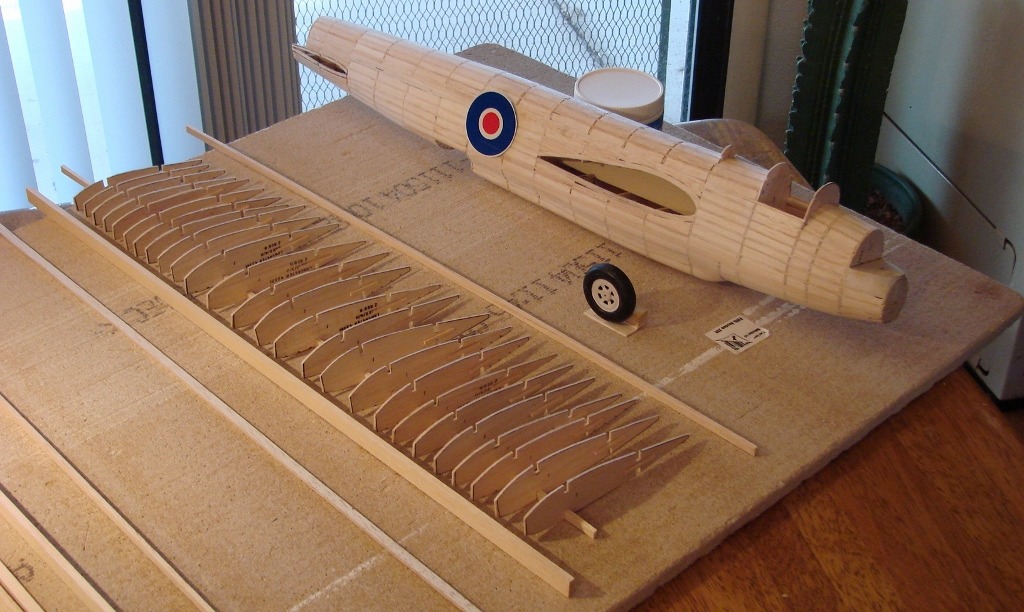
| David Duckett, Image # 24908 | 02 Feb 12 18:27 |
|
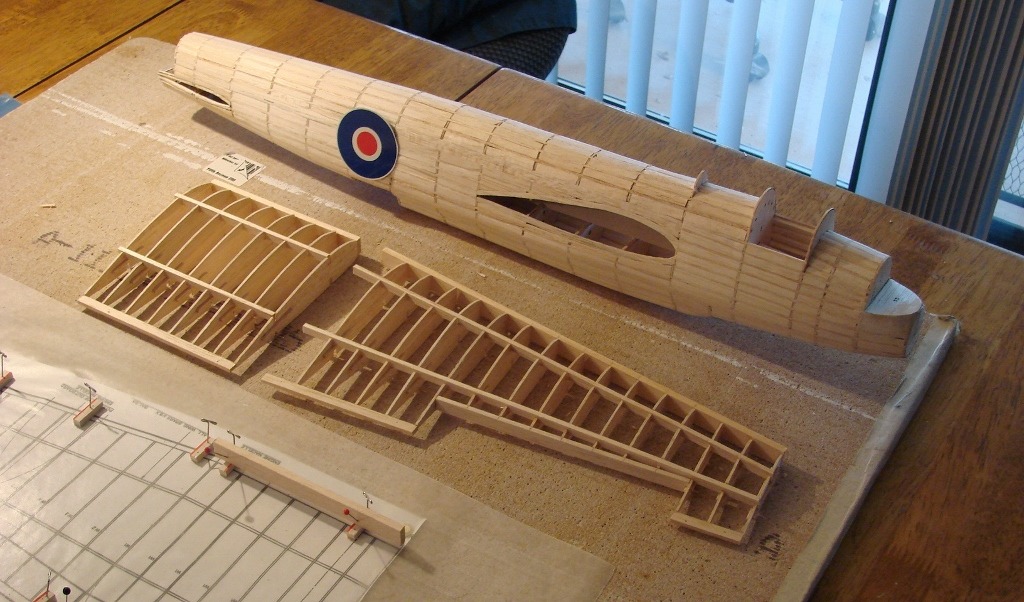
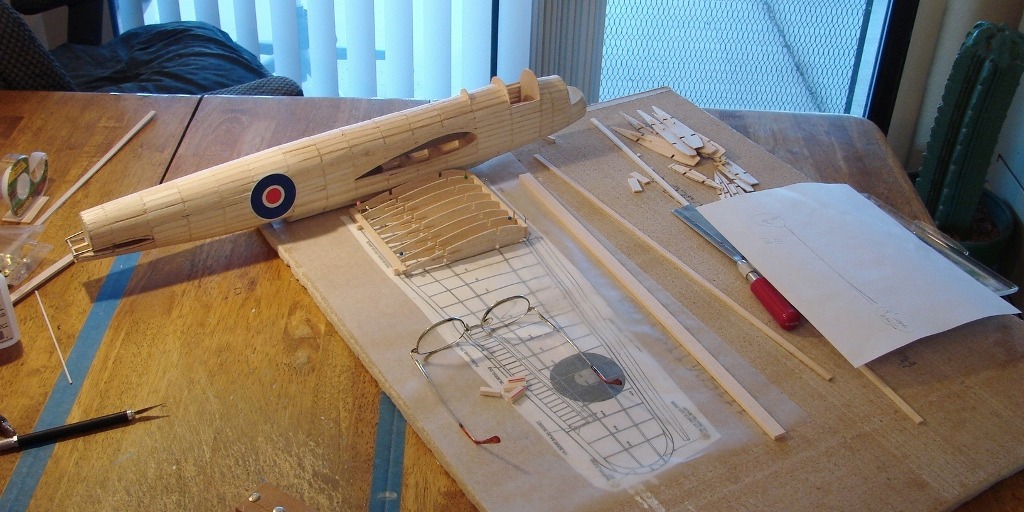
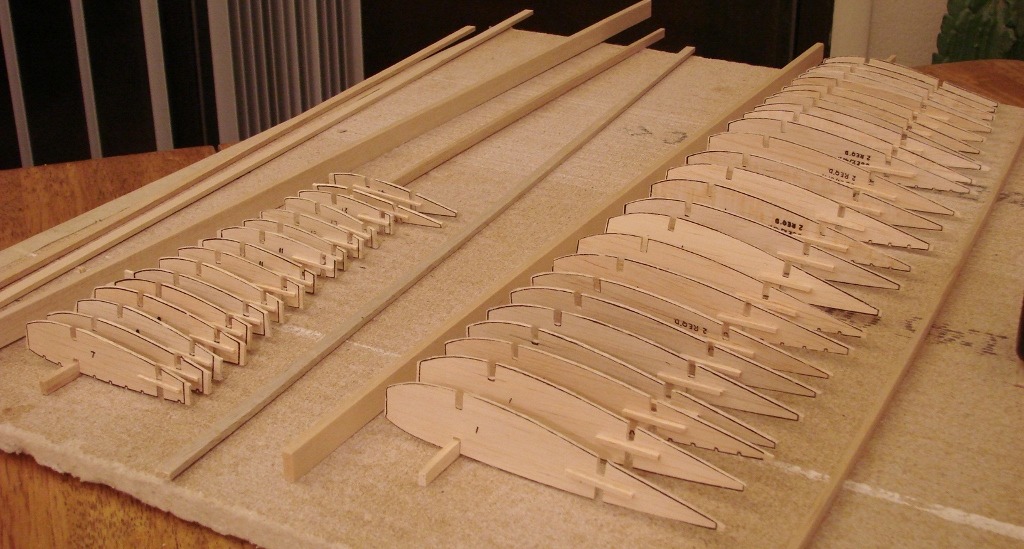
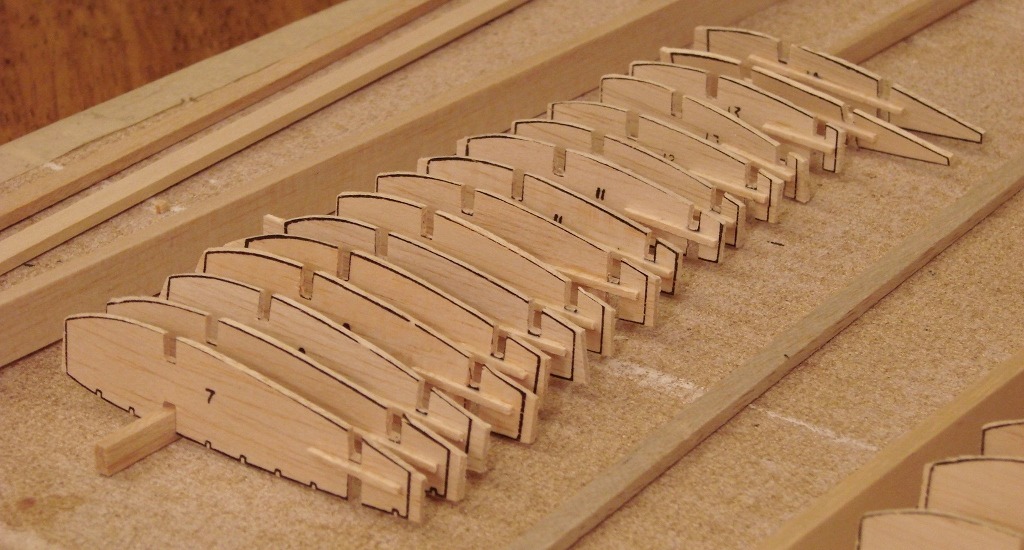
| David Duckett, Image # 24907 | 02 Feb 12 18:14 |
So far... |
| David Duckett, Image # 24906 | 02 Feb 12 18:13 |
Ready for the spars |
| David Duckett, Image # 24905 | 02 Feb 12 18:12 |

The aileron spar is glued in place after the two framing ribs, W-6 and W-14, are in place.This is 1/8" x 5/16" and is different than the plan calls for. Blocks keep the spar straight. |
| David Duckett, Image # 24904 | 02 Feb 12 18:08 |
Eight W-1's. 1/4" rear risers and 3/16" front risers to keep the leading and trailing edges elevated and level during construction |
| David Duckett, Image # 24903 | 02 Feb 12 18:05 |
THe spars and trailing edge are 1/8" x 1/4", the leading edge is 1/2" x 3/16". |
| David Duckett, Image # 24901 | 02 Feb 12 18:00 |
3/32" strip glued on both sides of the larger ribs.I left excess on both the front and rear of the ribs as they will be cut to fit individually. |
| David Duckett, Image # 24900 | 02 Feb 12 17:57 |
1/16" strip glued on both sides to strengthen a very weak spot |
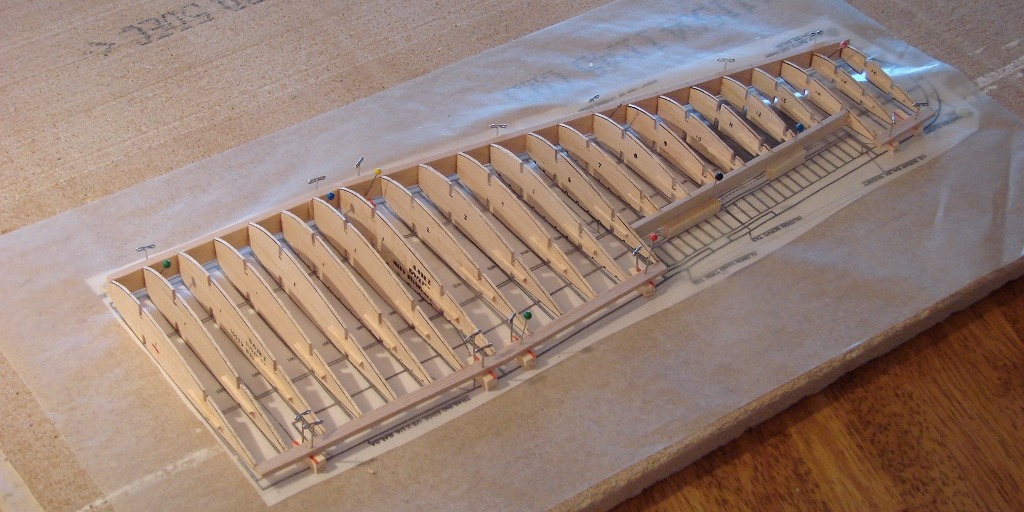
| David Duckett, Comment for image # 24875 | 02 Feb 12 06:27 |
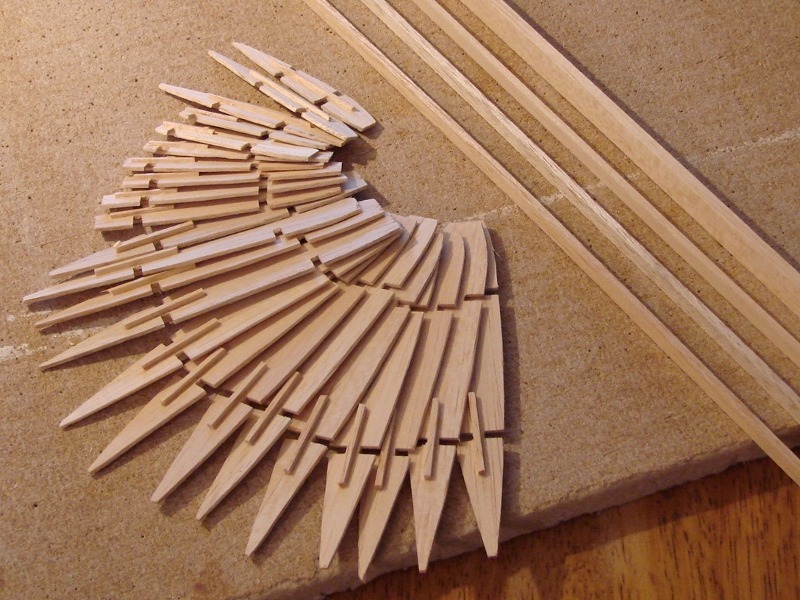
| There are 46 ribs total. |
| lukebozek1, Comment for image # 24875 | 02 Feb 12 06:20 |
| Substantial wing, unlike the average EZ frame. There are quite a few ribs here, nice work! |
| David Duckett, Comment for image # 24874 | 01 Feb 12 19:47 |
| I think it came in the mail. Handy for fine tuning the notches. |
| John M Oshust, Comment for image # 24874 | 01 Feb 12 19:06 |
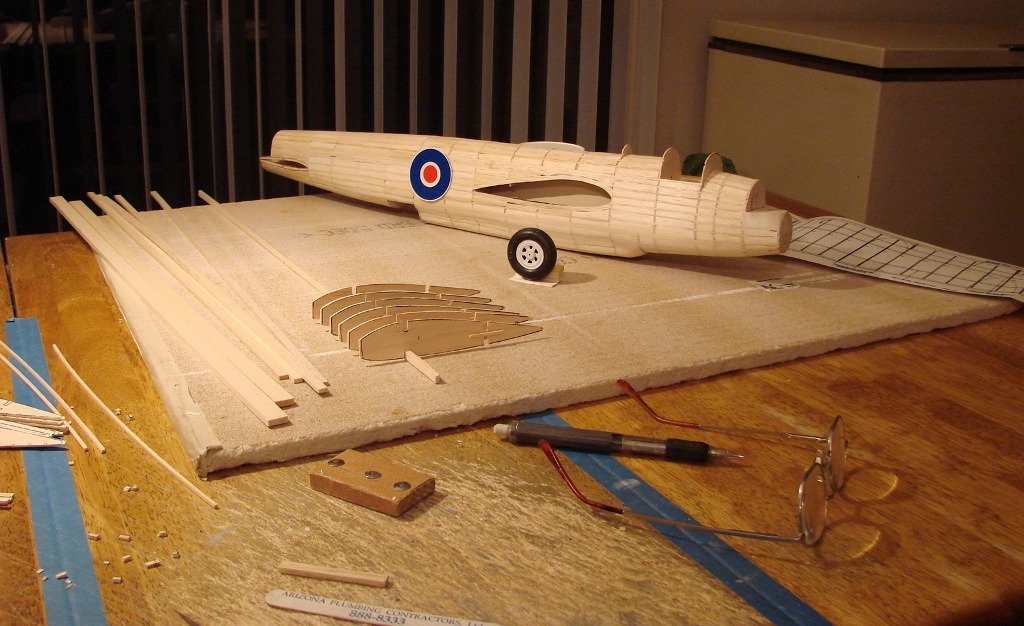
| Commercial for Arizona Plumbing Contractors??? They owe you! |
| David Duckett, Image # 24875 | 01 Feb 12 17:35 |
|
| David Duckett, Image # 24874 | 01 Feb 12 17:35 |
|
| David Duckett, Image # 24873 | 01 Feb 12 17:34 |

|
| David Duckett, Comment for image # 24849 | 31 Jan 12 08:40 |
| Whew is right but it's done. I feel like a machine when I'm doing this but I'm always pleased with the results. The spaces between stringers were all close to 1/4" or 3/16" so most of the infill is with that size wood. The space between the formers was fairly close all around cause being one piece, they were easy to align to 90 degrees and that helped, too. It still needs to be sanded and minor gaps filled with glue and then the blocks will be added and carved before filler is added. |
| poppy, Comment for image # 24849 | 30 Jan 12 21:06 |
| Whew!!! |
| John M Oshust, Comment for image # 24849 | 30 Jan 12 21:04 |
| You are a very patient, puppy! Seeing the filler plugs in your sleep yet? |
| David Duckett, Comment for image # 24849 | 30 Jan 12 21:03 |
| Thank you. Bed!!:-) |
| Build Thread, Page :
<< 24 25 26 27 28 29 30 31 32 (631 posts, 20 posts per page, 32 pages in total)
|
[ < Prev ] [ Next > ] |
