| Build Thread, Page :
1 2 3 [ 4 ] 5 6 7 8 9 10 11 (213 posts, 20 posts per page, 11 pages in total)
|
[ < Prev ] [ Next > ] |
| Don C, Comment for image # 43865 | 22 Apr 22 13:55 |
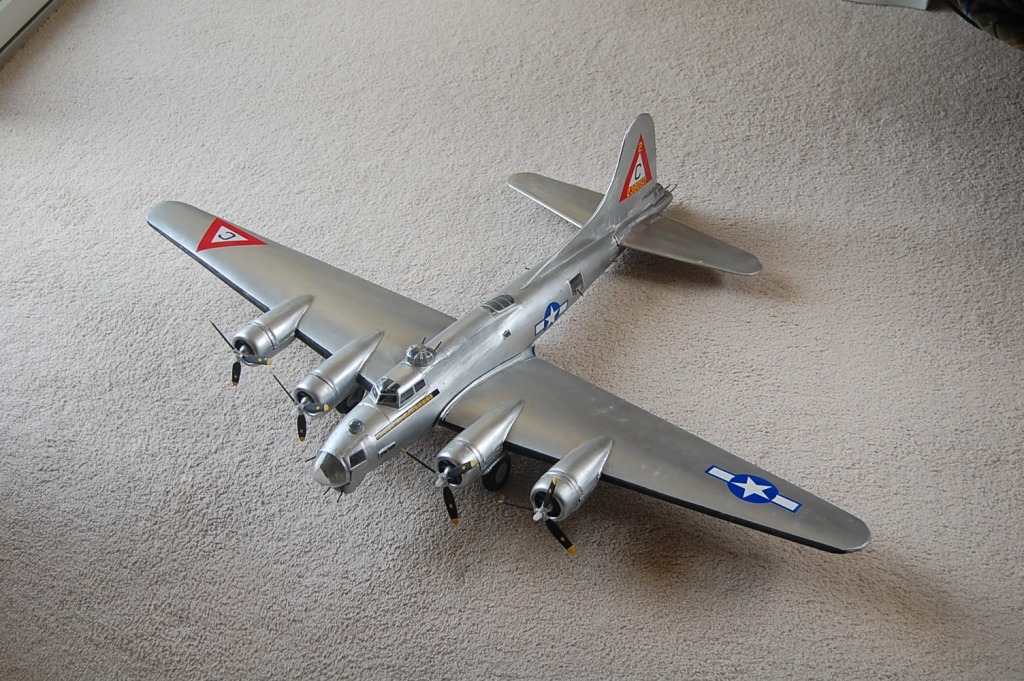
| Very nice work, Mark. |
| bobgood, Comment for image # 43865 | 22 Apr 22 11:50 |
| Looks super & just so real! What span is it Mark? |
| edtherenderman, Comment for image # 43865 | 22 Apr 22 10:29 |
| Wow! That came out really nice! Very challenging build with a good looking result. |
| mark eggebeen, Image # 43865 | 21 Apr 22 21:41 |
|
| mark eggebeen, Comment for image # 43849 | 29 Mar 22 22:20 |
| thanks, I usually throw these away ! |
| David Duckett, Comment for image # 43849 | 29 Mar 22 15:23 |
| The plans do not call for this. Trying to put anything in the areas where glass is involved is asking for disaster. The only place that actually uses it is the windscreen in front. Use a piece of plastic that food comes in, not a thick blob of plastic. For the glass areas on the door and windows, paint them. You’re trying to over build it. |
| mark eggebeen, Comment for image # 43835 | 24 Mar 22 10:30 |
| So…now I would like some help on how to do the card stock stuff |
| David Duckett, Comment for image # 43835 | 24 Mar 22 03:30 |
| Yes, we did! |
| mark eggebeen, Comment for image # 43835 | 23 Mar 22 22:38 |
| seems to me we have discussed this once before... lots of stringers and silkspan !!! |
| mark eggebeen, Comment for image # 43835 | 23 Mar 22 22:30 |
| the first two models I infilled...and it worked the third I filled between the stringers and it worked too this one just had too much space between the stringer to take the pressure of the sanding!!! My next one will be the B 25 and I plan to put in lots of stringers and then use silkspan. I have not tried that. wish me luck... |
| edtherenderman, Comment for image # 43835 | 23 Mar 22 12:47 |
| Oh, so you have put filler on top of the tissue! I've never tried that, but I can see why you are having the problem you are. I do an "infill" with sheet balsa (usually 1/16 or 3/16) between each former and stringer, sand that to shape, then fill with light weight spackling paste to fill any low spots. Sand that smooth, cover with tissue/dope, light sand, prime and paint. Lots of examples of this process on this site. |
| mark eggebeen, Comment for image # 43835 | 23 Mar 22 10:57 |
| My problem here is The build was tissue first Didn’t like it so I slathered on some filler , but when I sand I’ve been pressing too hard and ending up with thin spots that drop into the spaces between the stringers. |
| edtherenderman, Comment for image # 43835 | 23 Mar 22 07:59 |
| That's funny, but I can see the resemblance! Infill and sanding are not my most favorite part of model building, but the results are sure worth it! |
| mark eggebeen, Comment for image # 43835 | 22 Mar 22 22:15 |
| One of my greatgrandsons thought I was making a baseball bat |
| mark eggebeen, Image # 43835 | 19 Mar 22 22:36 |
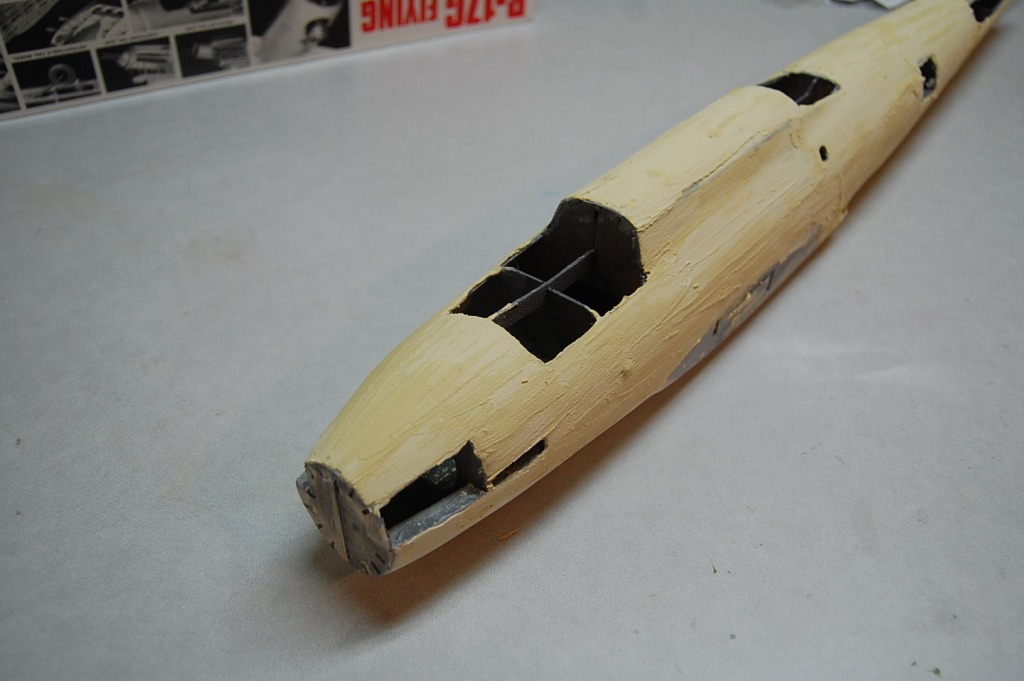
not too pretty...yet I'll be getting my exercise with all the sanding |
| mark eggebeen, Image # 43810 | 11 Mar 22 11:14 |
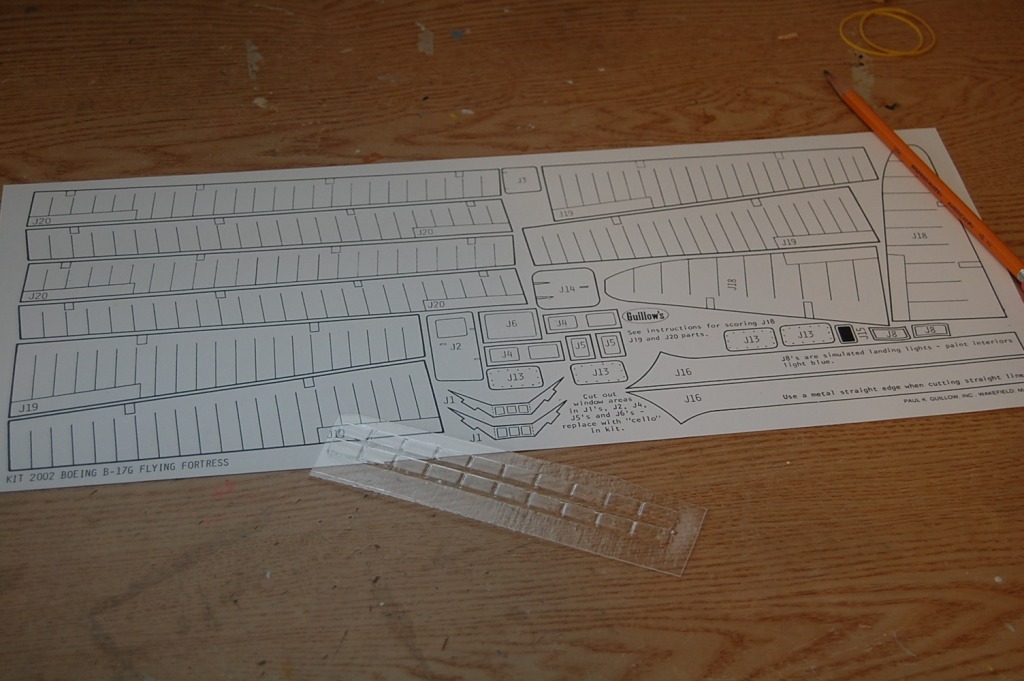
I have read the instuctions on the card..I have coated the card stock and have a piece of clear . .Now. I need some step by step to get me through the rest of this and ready to glue up. |
| mark eggebeen, Image # 43807 | 07 Mar 22 12:16 |
looks like everything is in the right places |
| mark eggebeen, Comment for image # 43806 | 07 Mar 22 12:15 |
| sorry wrong part number the picture is right |
| mark eggebeen, Image # 43806 | 07 Mar 22 12:12 |

on both builds so far I have not been able to find the location of this part ( # 25) |
| mark eggebeen, Image # 43797 | 28 Feb 22 16:23 |
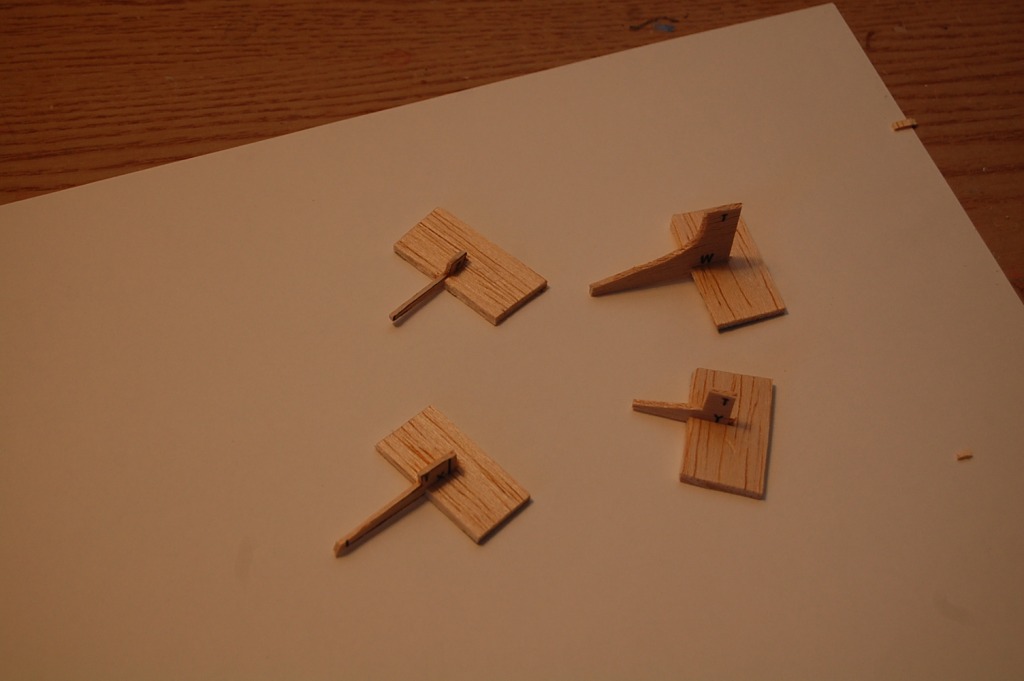
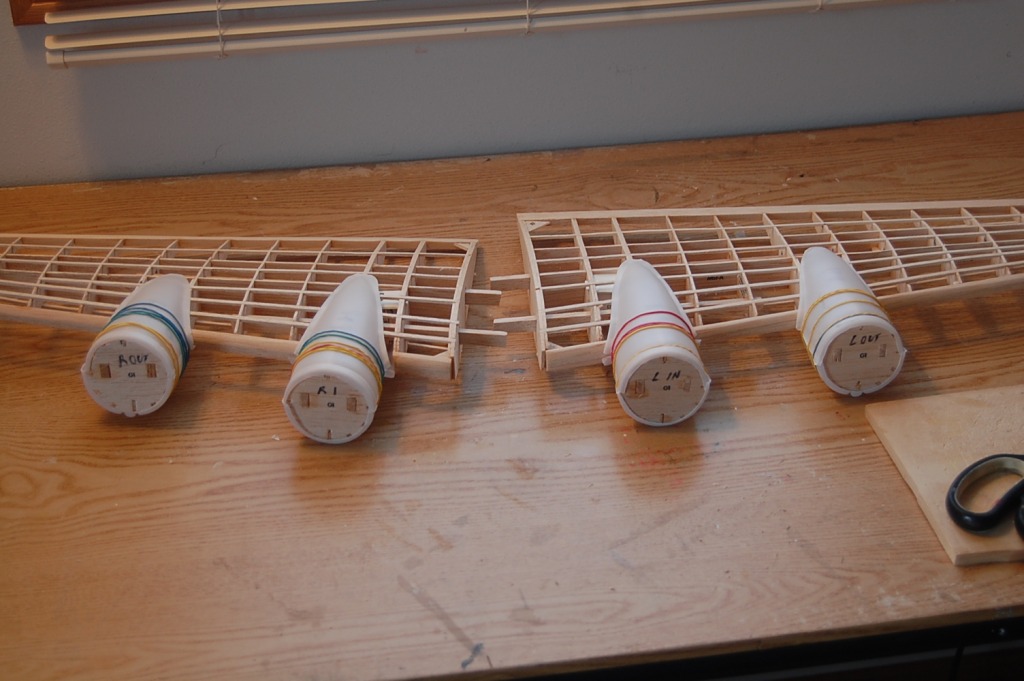
little helpers |
| Build Thread, Page :
1 2 3 [ 4 ] 5 6 7 8 9 10 11 (213 posts, 20 posts per page, 11 pages in total)
|
[ < Prev ] [ Next > ] |
