| Build Thread, Page :
<< 4 5 6 7 8 [ 9 ] 10 11 12 13 14 >> (423 posts, 20 posts per page, 22 pages in total)
|
[ < Prev ] [ Next > ] |
| John M Oshust, Image # 21417 | 02 Mar 11 15:55 |
|
| John M Oshust, Image # 21416 | 02 Mar 11 15:54 |
|
| John M Oshust, Image # 21415 | 02 Mar 11 15:54 |
Making simulated stiching. |
| John M Oshust, Image # 21414 | 02 Mar 11 15:53 |
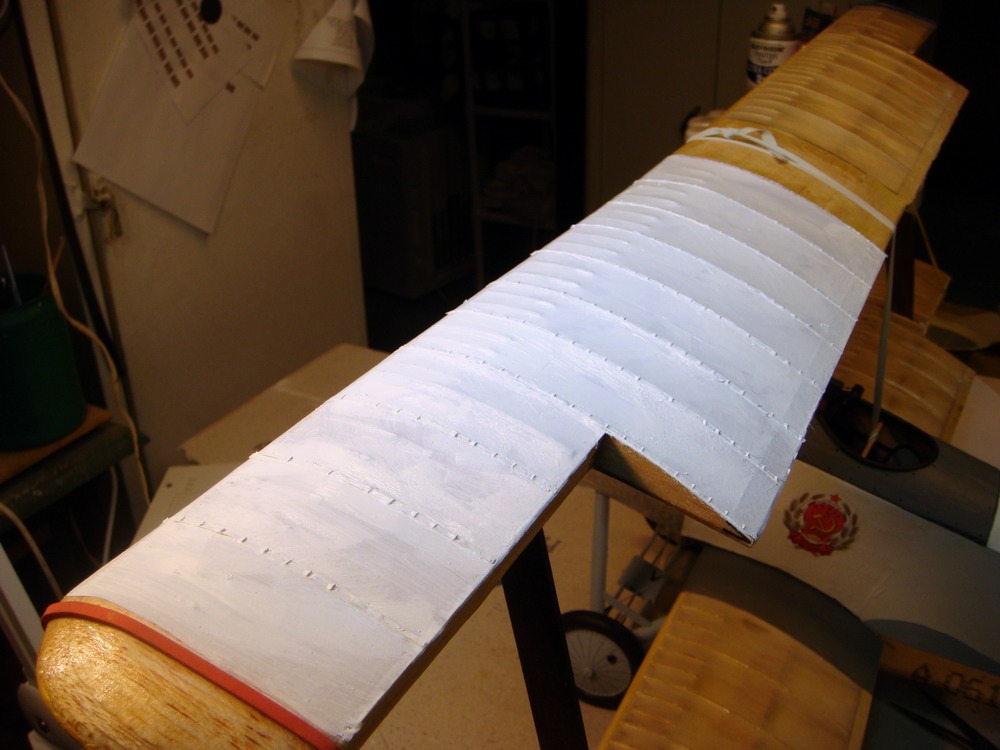
One coat of Cloud White....Ben Moore. The work on the stiching seems worth it. |
| John M Oshust, Image # 21413 | 02 Mar 11 15:52 |
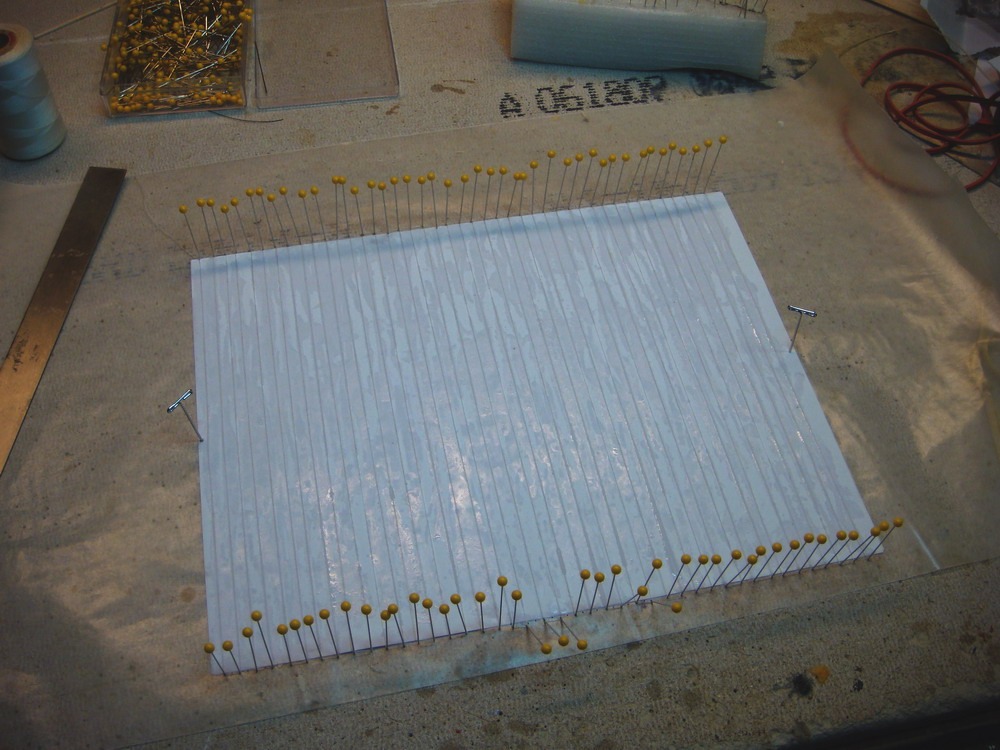
Letting the LW epoxy set until tomorrow....Then I will remove the top wing. |
| FLYBOYZ, Comment for image # 21396 | 01 Mar 11 17:59 |
| BEAUTIFUL John M ! |
| JohnG., Comment for image # 21396 | 01 Mar 11 17:30 |
| Wow....thar she blows...SUPER!!! |
| John M Oshust, Comment for image # 21398 | 01 Mar 11 16:57 |
| Polyspan must be sealed before painting. Ben Moore samples, Natucket Fog, I believe, is the blue.... the white, what else, Cloud White. |
| moostang51, Comment for image # 21398 | 01 Mar 11 16:51 |
| Nice u/w color choice, the polyspan seems to take paint well. The photo is not "Stonehengish" like the Corsair flap photos but it did remind me of the "To Tell The Truth" tv show credits. |
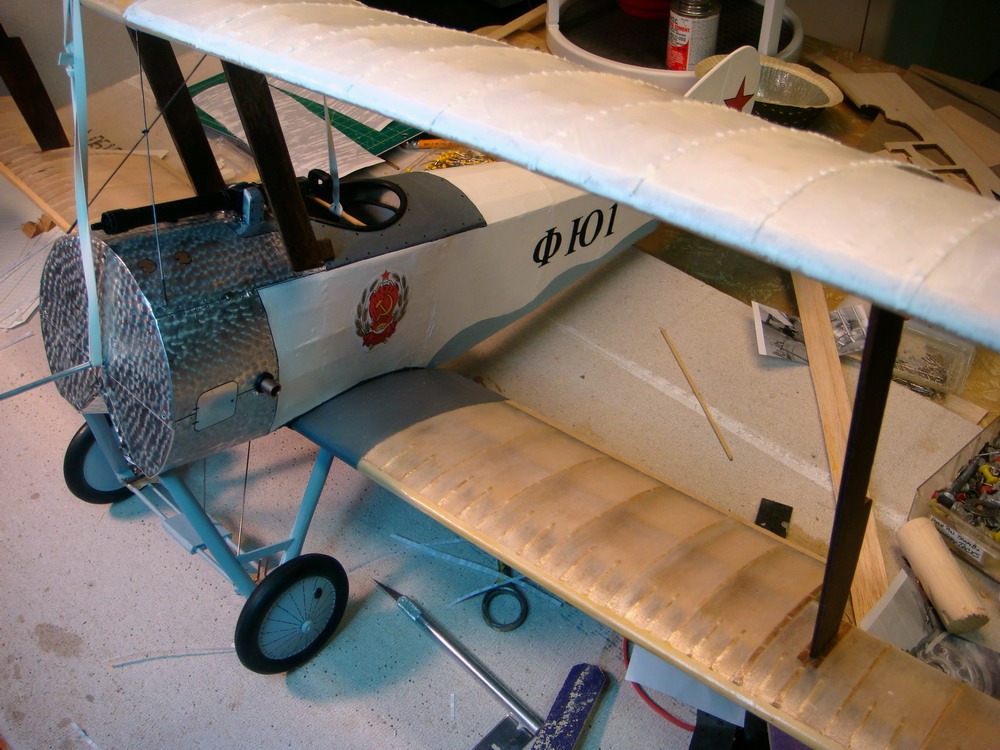
| John M Oshust, Image # 21398 | 01 Mar 11 16:43 |
A touch of color is in order before the wings are permanent. |
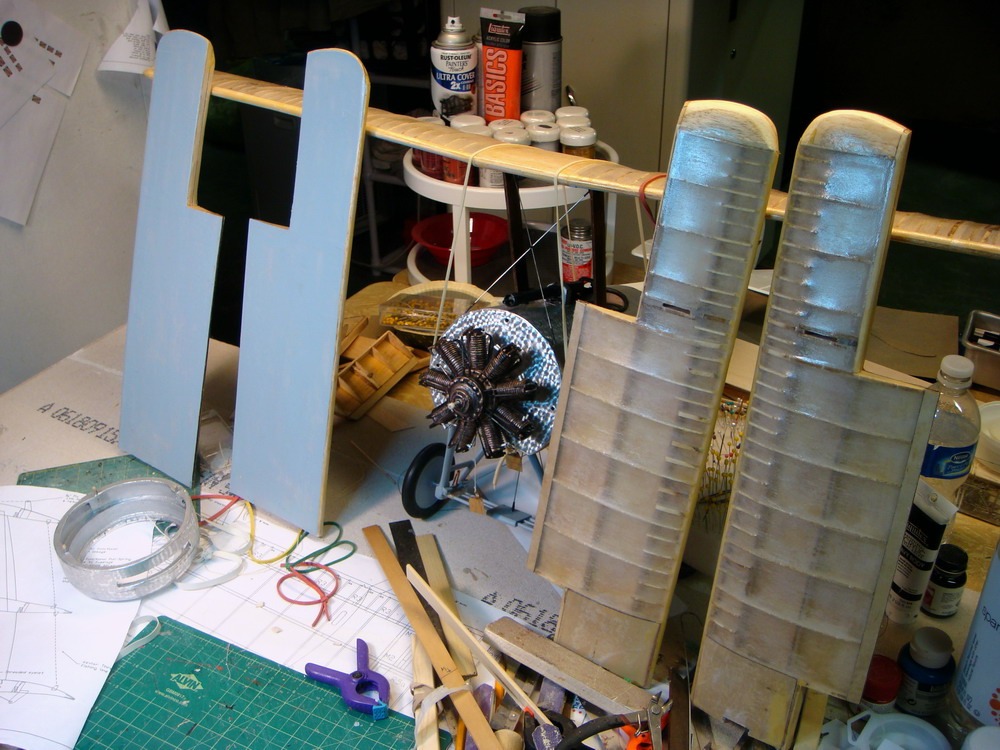
| John M Oshust, Image # 21397 | 01 Mar 11 16:42 |
Neat shop is not in my vocabulary when I am into a build stage. |
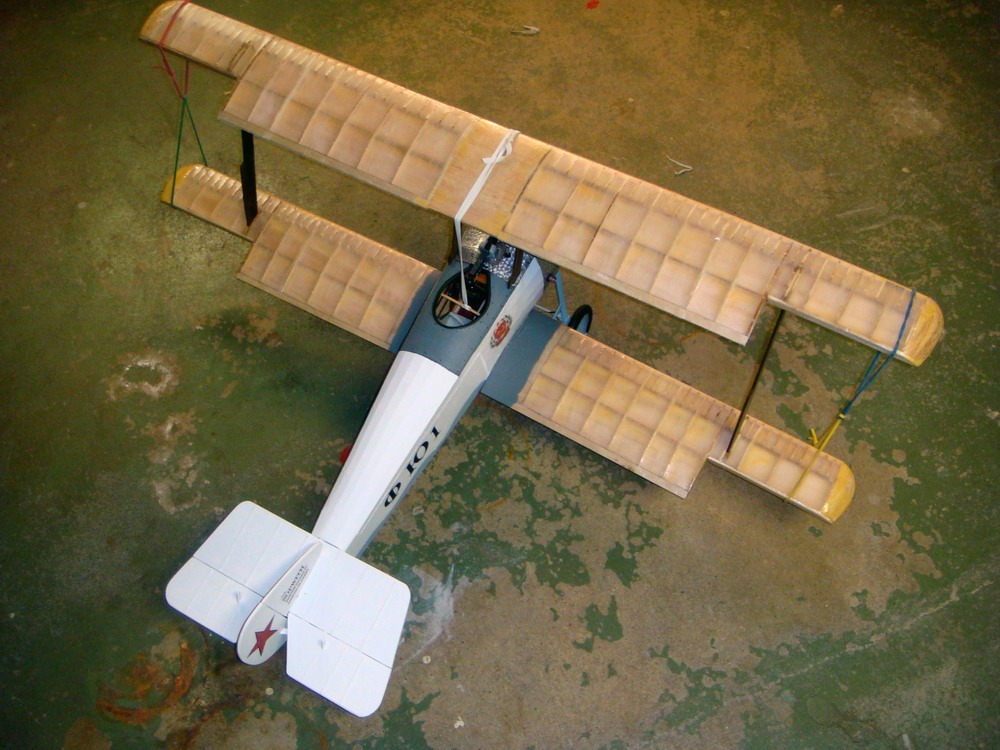
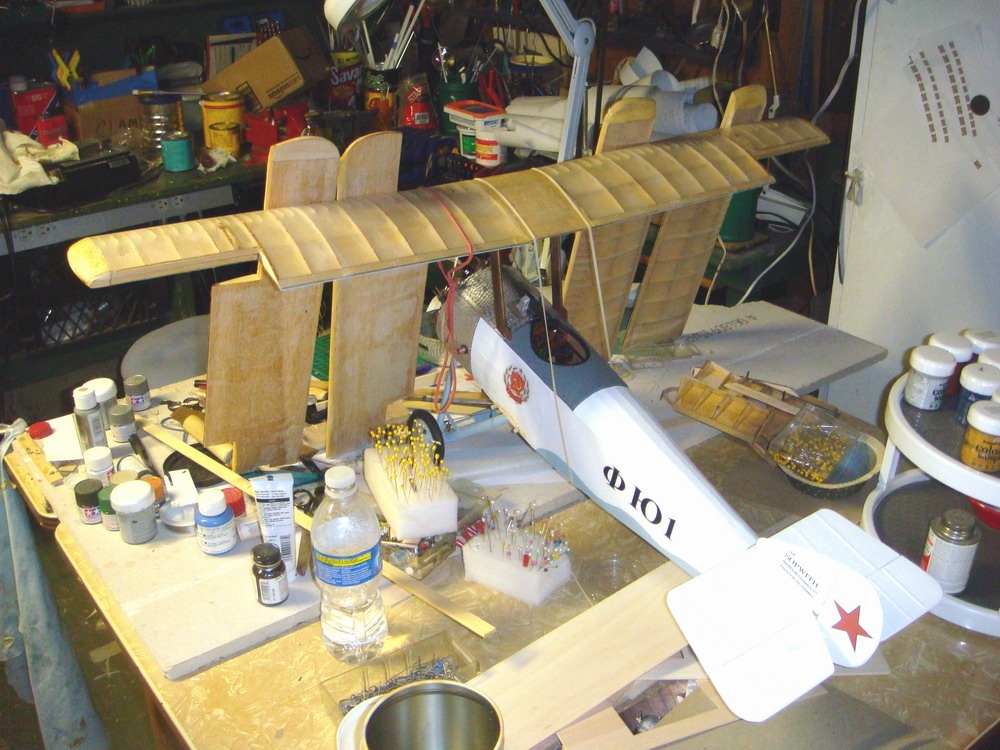
| John M Oshust, Image # 21396 | 01 Mar 11 16:41 |
I shall not be a happy camper until the lower wing is mounted permanently. |
| JohnG., Comment for image # 21363 | 27 Feb 11 18:00 |
| And the urinal tube...you are not overlooking that are you.... :-) |
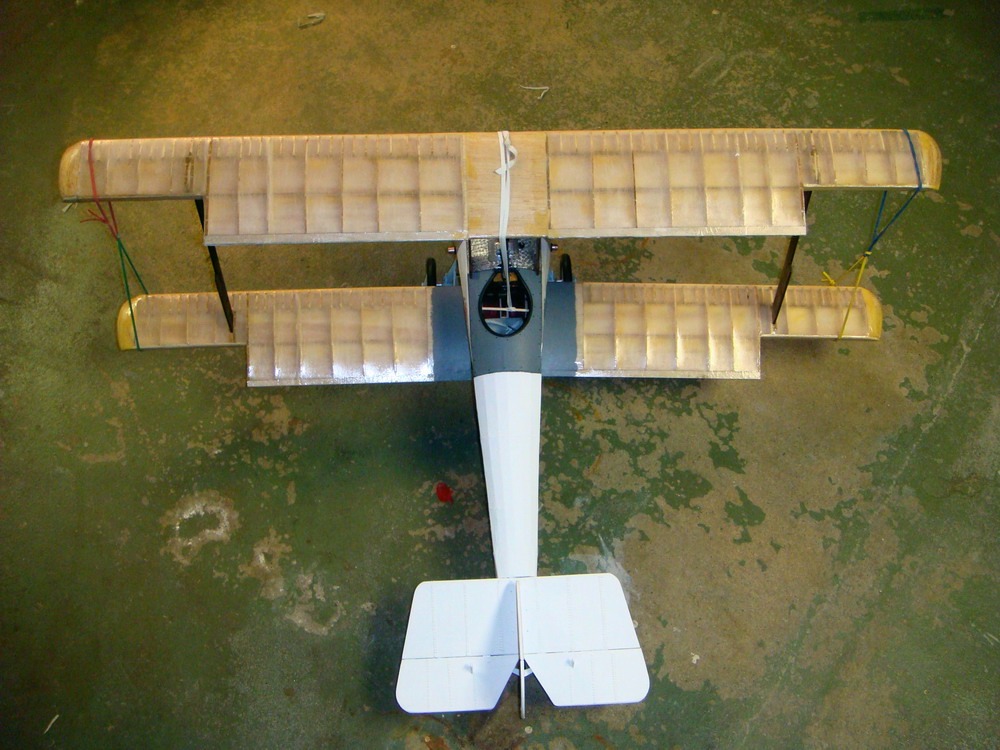
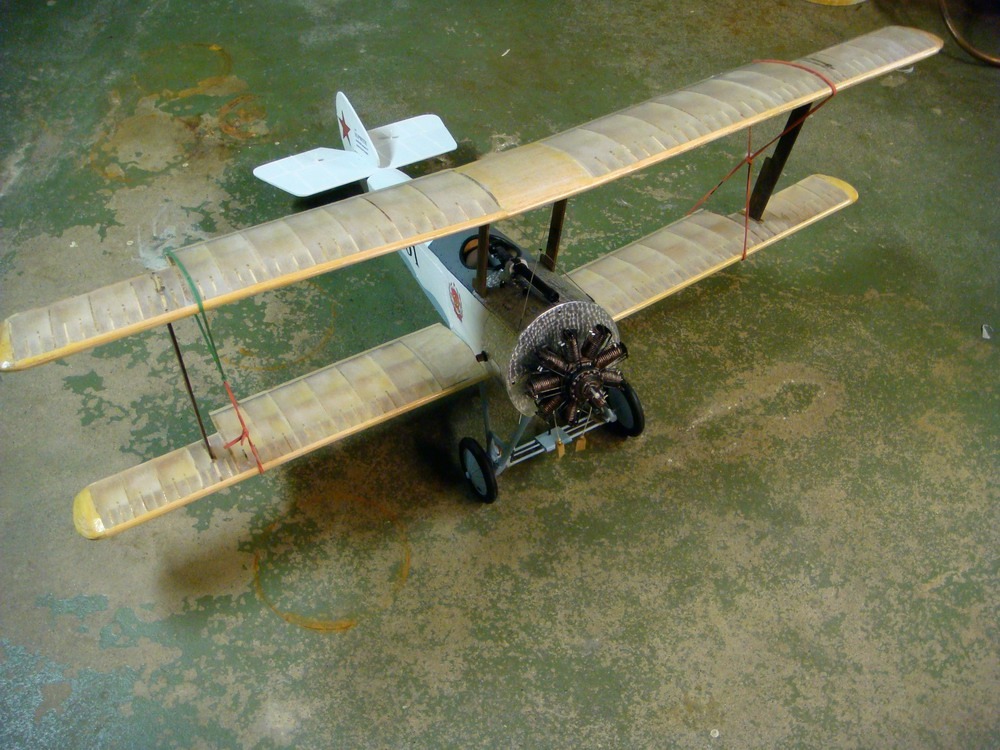
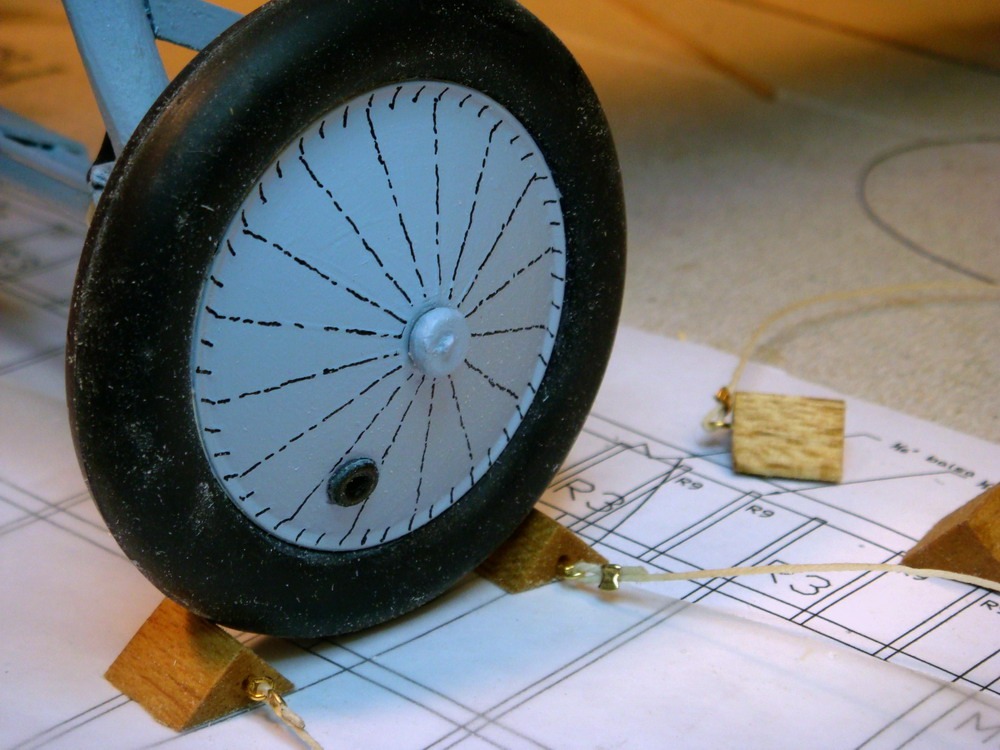
| John M Oshust, Image # 21365 | 27 Feb 11 16:01 |
The top wing is completed, covered with polyspan. Constuction on the other wings and ailerons complete. Now they must be covered. |
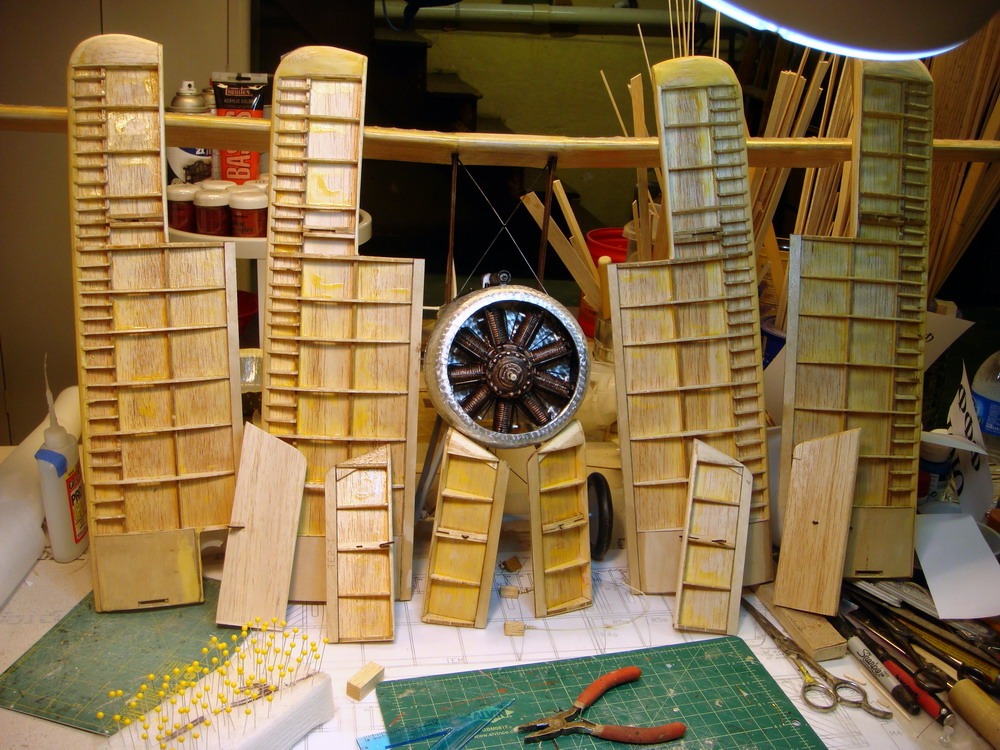
| John M Oshust, Image # 21363 | 27 Feb 11 15:59 |
Bout time the shop had a couple of sets of chocks to stop the planes from rollin around! |
| John M Oshust, Comment for image # 21342 | 26 Feb 11 18:38 |
| Good luck mainly....first I noticed my error, and second , I was able to correct it with out messing up what I already had built. |
| frwyflyer, Comment for image # 21342 | 26 Feb 11 18:35 |
| Great Craftsmanship! VERY NICE!! |
| John M Oshust, Image # 21343 | 26 Feb 11 15:52 |
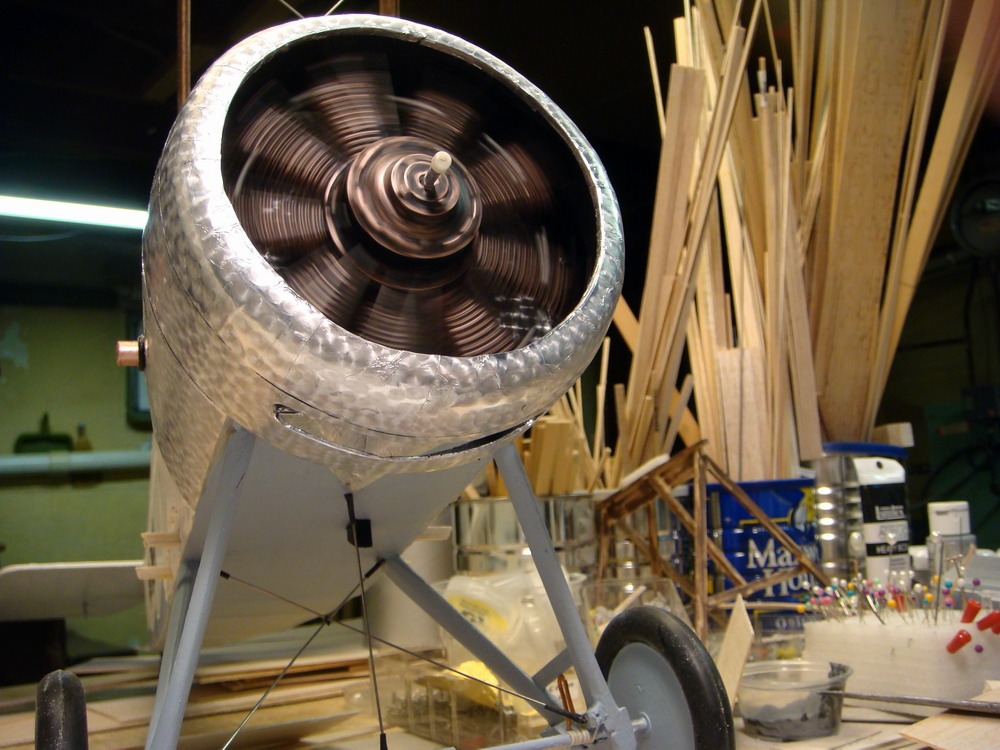
I found some castor oil in the medicine chest. Thought I give the Clerget a go. She started!!! I could not run at high throttle. W/O the prop there was a danger of over revving the engine. |
| John M Oshust, Image # 21342 | 26 Feb 11 15:48 |
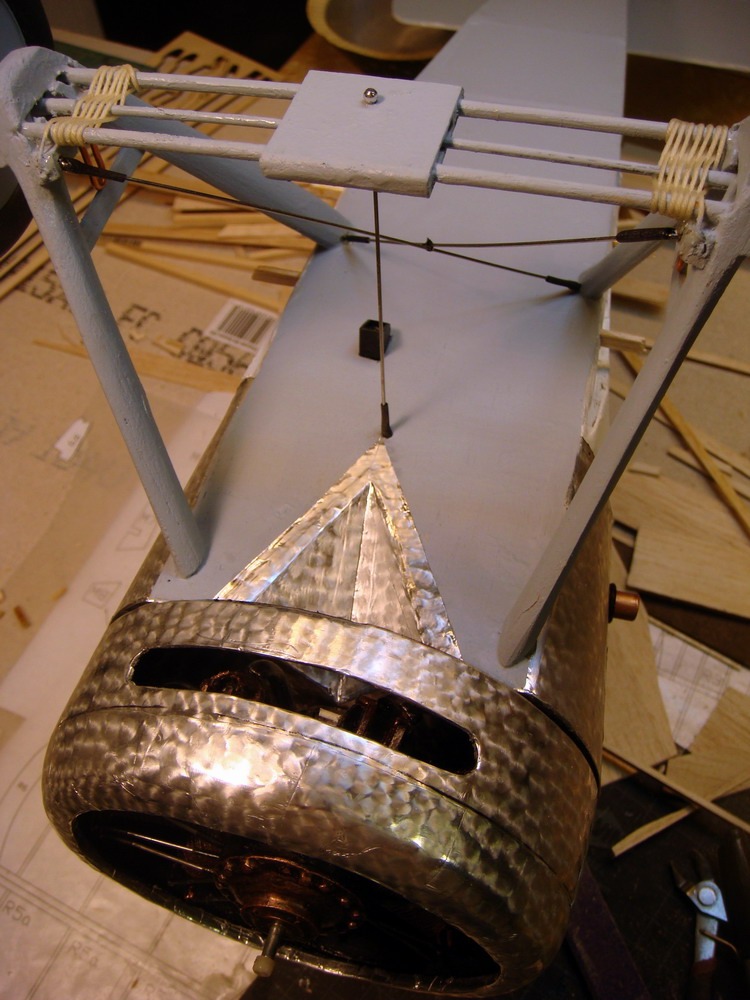
While study original rigging diagrams, I noticed that I neglected to install a vital part of the engine exhaust system. I was reluctant to slice and dice at this stage, fearing damage to the fuse. I could not let the Tripe go with half an exhaust...all worked OOKEE DO KEEE!!! |
| John M Oshust, Comment for image # 21338 | 25 Feb 11 17:59 |
| Yes a true adventure in wood. Not your basic 100 part model. Heck there are 200 parts in the engine! |
| Build Thread, Page :
<< 4 5 6 7 8 [ 9 ] 10 11 12 13 14 >> (423 posts, 20 posts per page, 22 pages in total)
|
[ < Prev ] [ Next > ] |
