| Build Thread, Page :
<< 5 6 7 8 9 [ 10 ] 11 (201 posts, 20 posts per page, 11 pages in total)
|
[ < Prev ] [ Next > ] |
| David Duckett, Comment for image # 2703 | 13 Apr 07 22:00 |
| Surely you know me better ;-) |
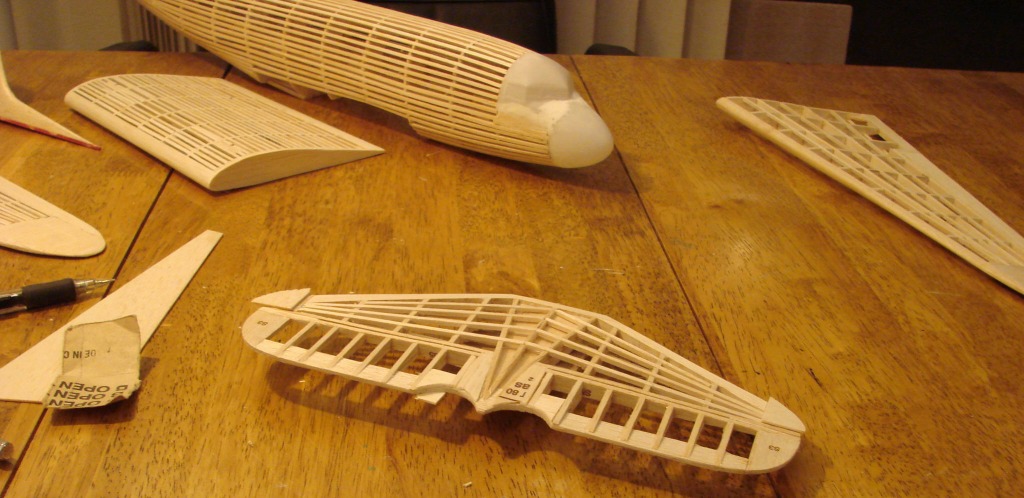
| David Duckett, Image # 2709 | 13 Apr 07 21:55 |
Stunning!! These plastic pieces actually fit!. |
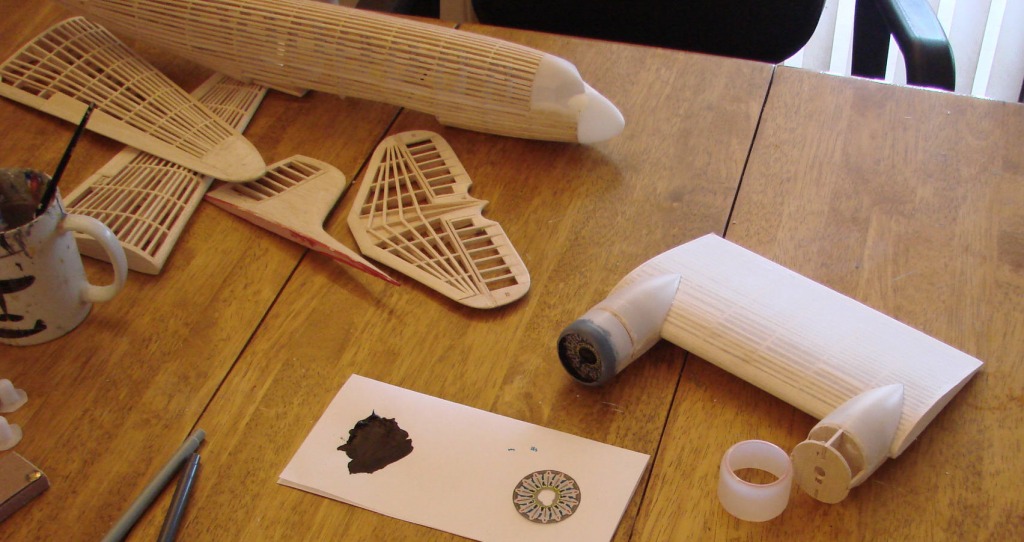
| David Duckett, Image # 2708 | 13 Apr 07 21:52 |
|
| moostang51, Comment for image # 2705 | 13 Apr 07 21:31 |
| Been there. Great place to experience these magnificent but truly scary (I would not have flown one back then) flying machines. Though most of the aircraft are reproductions from photos and plans from actual aircraft captured and recovered during WWI, if this is your cup of tea... bring a digitsl camera because your jaw will drop. When I visited in springtime back in the late 70's the weather wasn't too good so they didn't have any exhibitions or flights. But again they were truly works of art just sitting there. Got to see if I can find those old photos. |
| moostang51, Comment for image # 2703 | 13 Apr 07 21:10 |
| That's it??? |
| John M Oshust, Comment for image # 2705 | 12 Apr 07 20:47 |
| I live near Rhinebeck Aerodrome and I am making it a point to go there this spring to see their flying museum. |
| David Duckett, Comment for image # 2705 | 12 Apr 07 18:58 |
| www.jetphotos.net. This was taken last week in New Zealand. |
| John M Oshust, Comment for image # 2705 | 12 Apr 07 17:18 |
| My snail like computer repeated itself again. |
| John M Oshust, Comment for image # 2705 | 12 Apr 07 17:17 |
| Nice photo were did you find it? |
| John M Oshust, Comment for image # 2705 | 12 Apr 07 17:15 |
| Nice photo...where did you find it? |
| David Duckett, Image # 2704 | 12 Apr 07 07:22 |
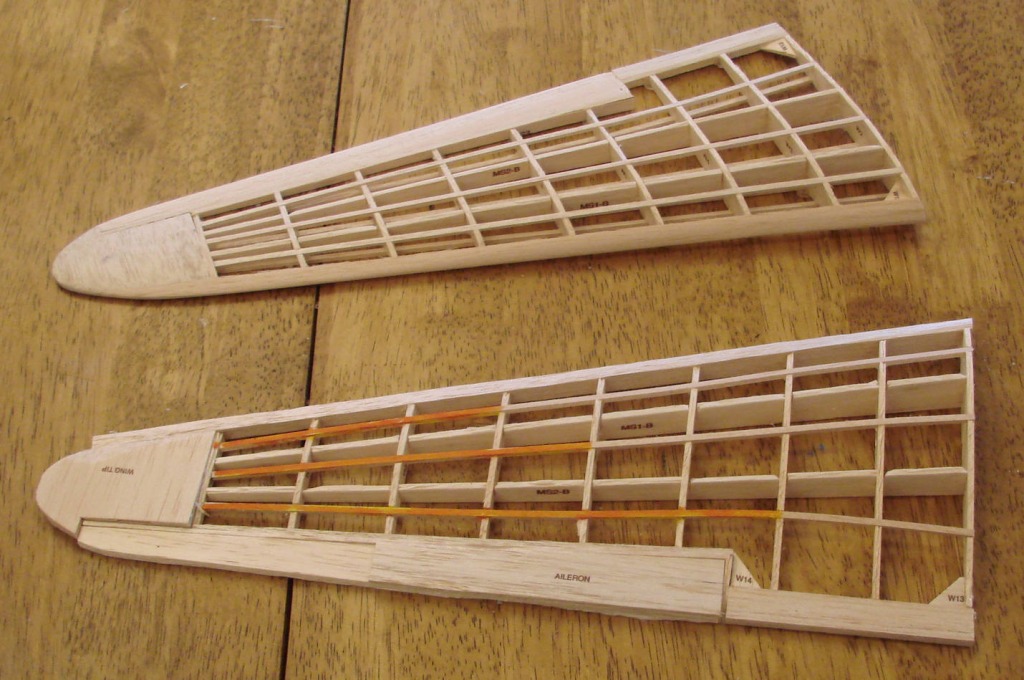
Bottom is the same. |
| David Duckett, Image # 2703 | 12 Apr 07 07:20 |
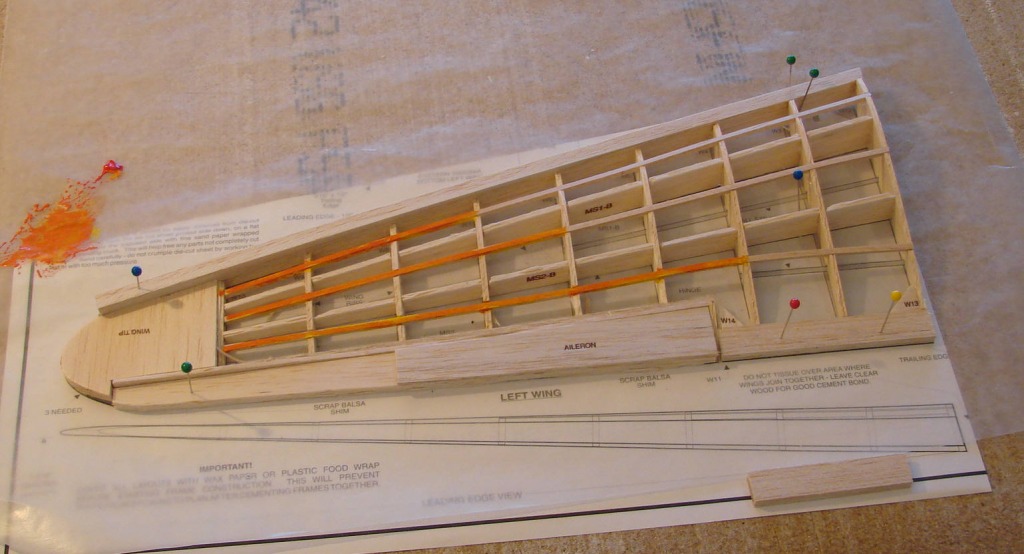
Per plan, orange is extra. |
| David Duckett, Comment for image # 2688 | 10 Apr 07 17:04 |
| Yes, because this is the most difficult piece to cover if you build per plans. This way it can all be shaped/sanded with a sanding block and fine tuned with some sandpaper in your finger. This is an issue with almost every fin/rudder on the bigger Guillow kits and getting this part right makes a lot of difference so I almost always make some major mods. It's not that hard and it's much easier to cover. Wet silkspan just naturally adheres to an "S" curve if you cut some tension breaks in it. Pics will follow, ;-) |
| lennyz, Comment for image # 2688 | 10 Apr 07 15:56 |
| Are you sheeting part of the tail vs stringers & tissue? |
| David Duckett, Image # 2688 | 09 Apr 07 23:13 |
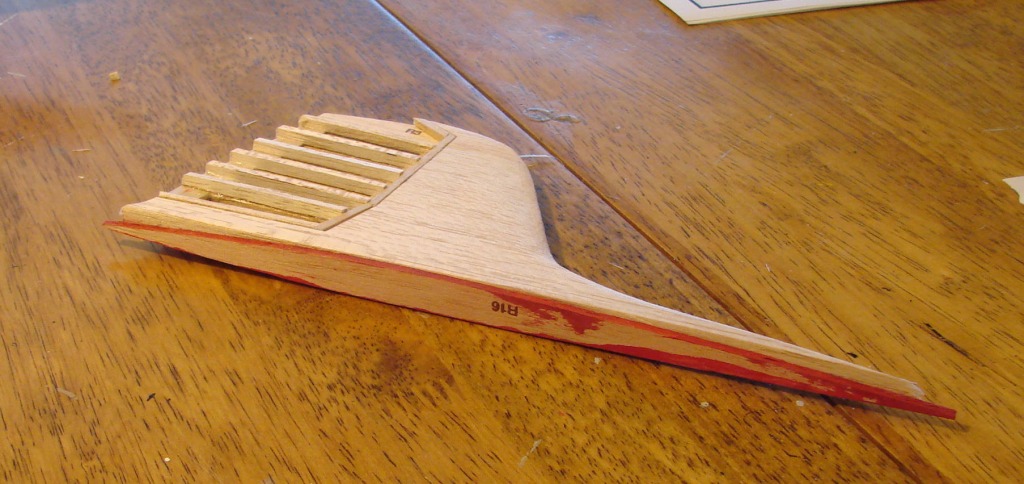
Painted red so I don't sand away too much. This is 1/8" added to each side of the basic fin construction. |
| David Duckett, Image # 2687 | 09 Apr 07 23:08 |

Unsanded per plans, red ones are my additions. |
| David Duckett, Image # 2653 | 07 Apr 07 10:47 |
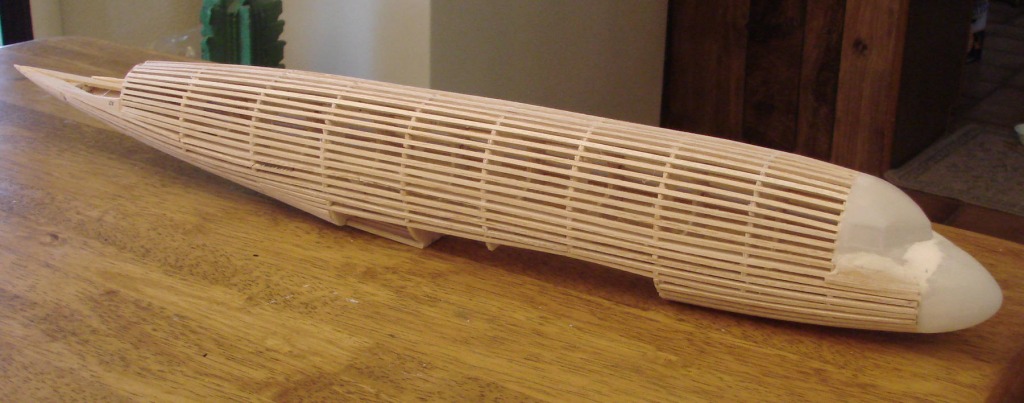
Before sanding |
| David Duckett, Image # 2652 | 07 Apr 07 10:45 |
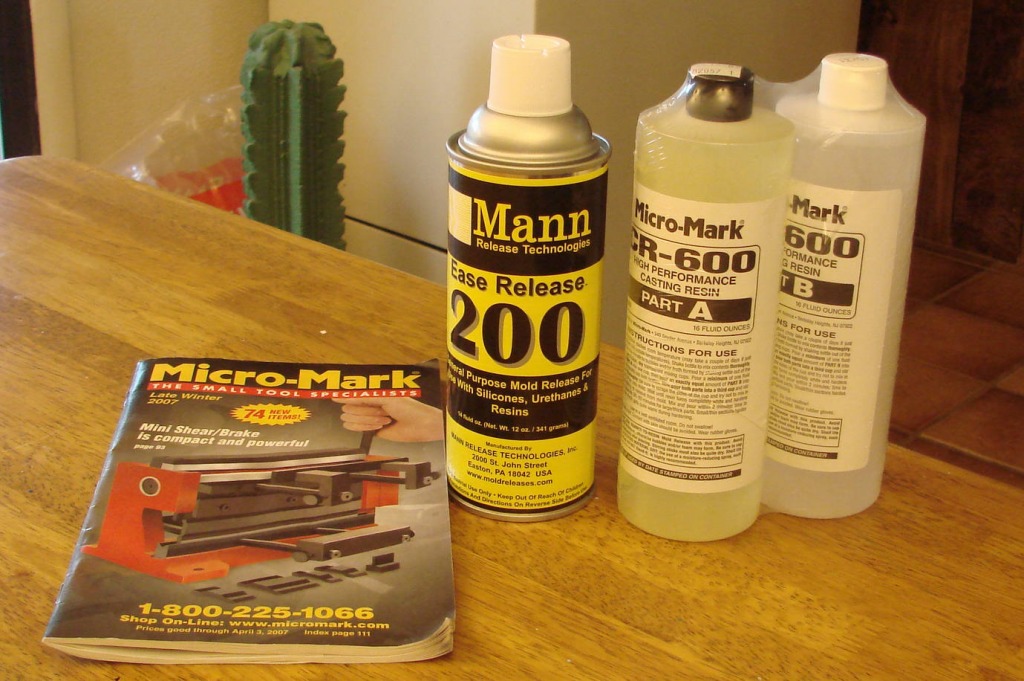
Casting materials, great catalog! |
| David Duckett, Image # 2640 | 04 Apr 07 02:45 |
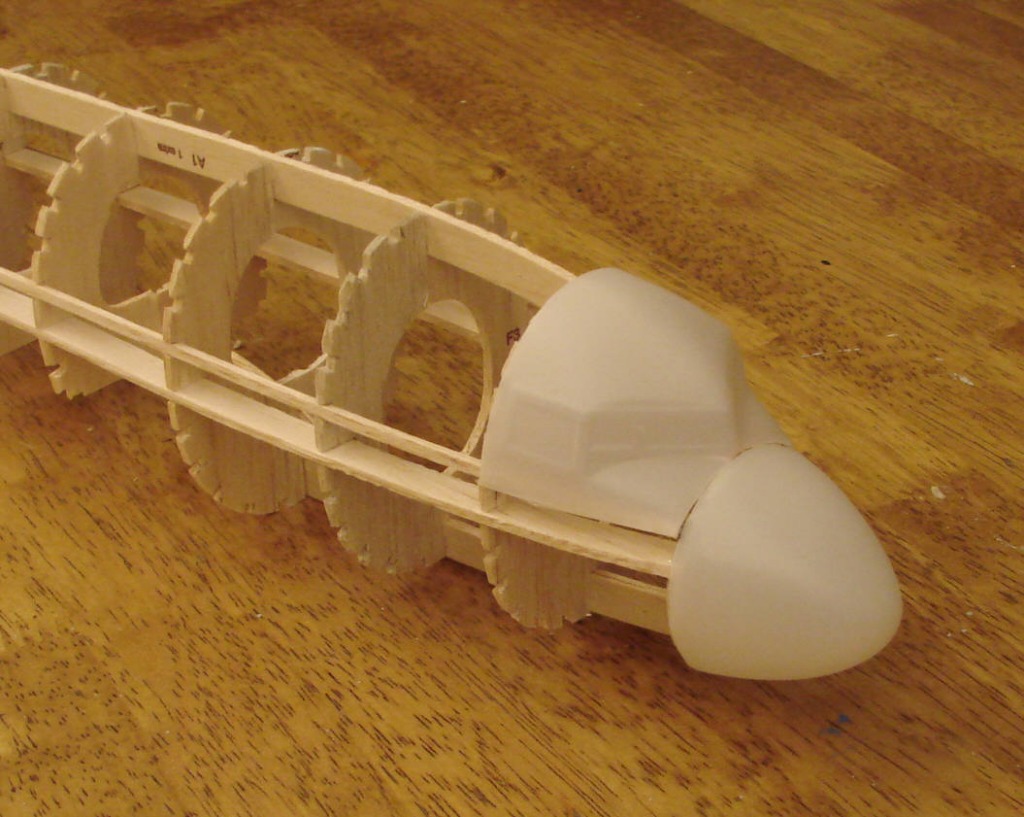
Plastic pieces glued on first, stringers will be made flush with these. Also, about 1/4" removed from back of top piece. |
| David Duckett, Image # 2638 | 04 Apr 07 02:25 |
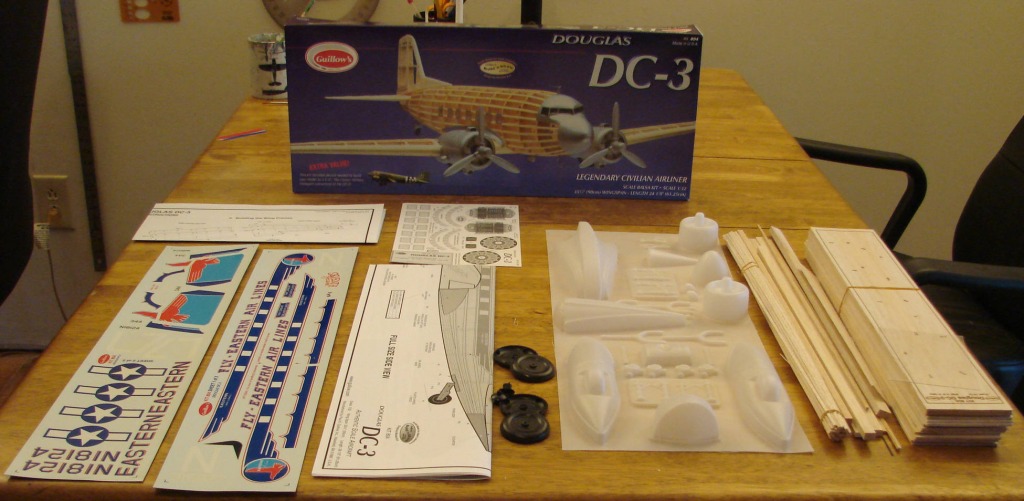
Kit contents |
| Build Thread, Page :
<< 5 6 7 8 9 [ 10 ] 11 (201 posts, 20 posts per page, 11 pages in total)
|
[ < Prev ] [ Next > ] |
