| Build Thread, Page :
<< 31 32 33 34 35 [ 36 ] 37 38 39 40 41 >> (851 posts, 20 posts per page, 43 pages in total)
|
[ < Prev ] [ Next > ] |
| Skyediamonds1985, Image # 35354 | 11 Jan 16 20:29 |

|
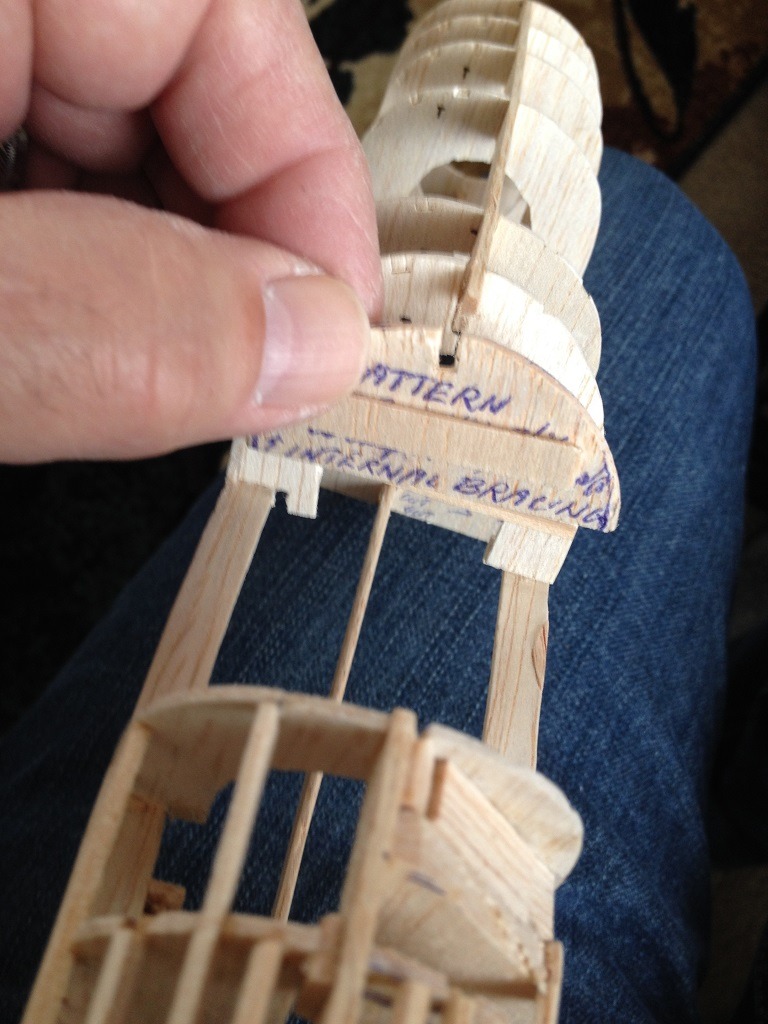
| Skyediamonds1985, Image # 35353 | 11 Jan 16 20:29 |
Laminated three thin strips of 1/32" ply around the scrap balsa former |
| Skyediamonds1985, Image # 35352 | 11 Jan 16 20:27 |
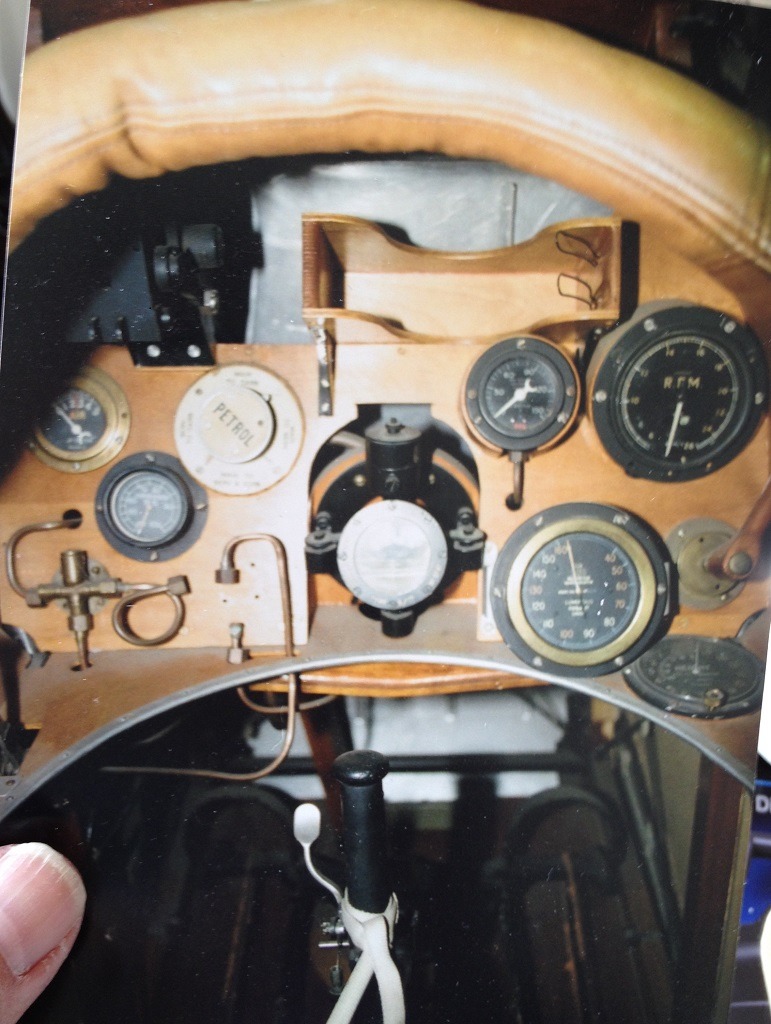
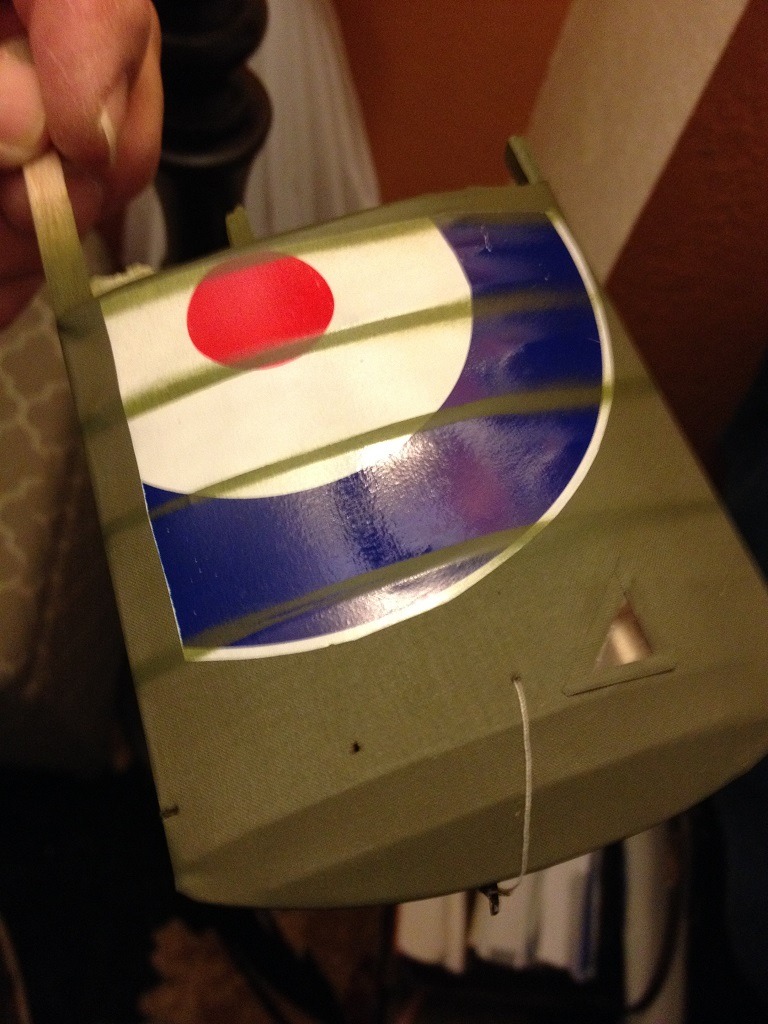
Instrument panel of real S.E. 5. Trying to observe the way the top of the panel is cut out as well as the absence of a bulkhead behind it. |
| Skyediamonds1985, Image # 35351 | 11 Jan 16 20:24 |
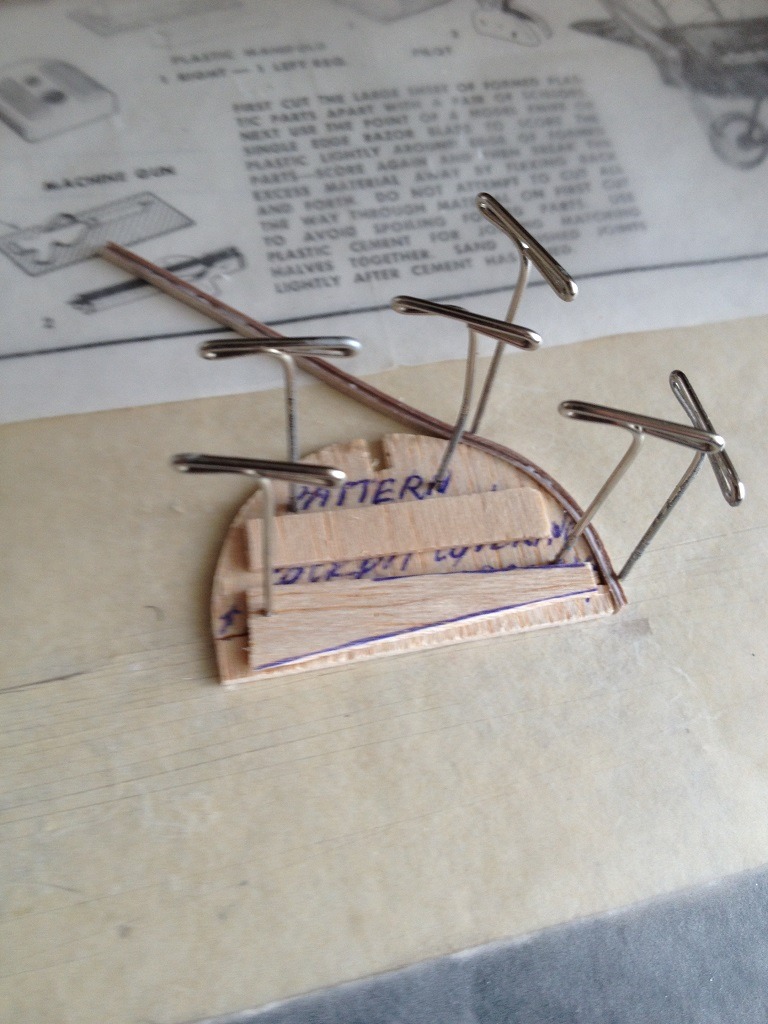
Carefully cut out on scrap balsa, an exact duplicate of the bulkhead |
| Skyediamonds1985, Image # 35350 | 11 Jan 16 20:23 |
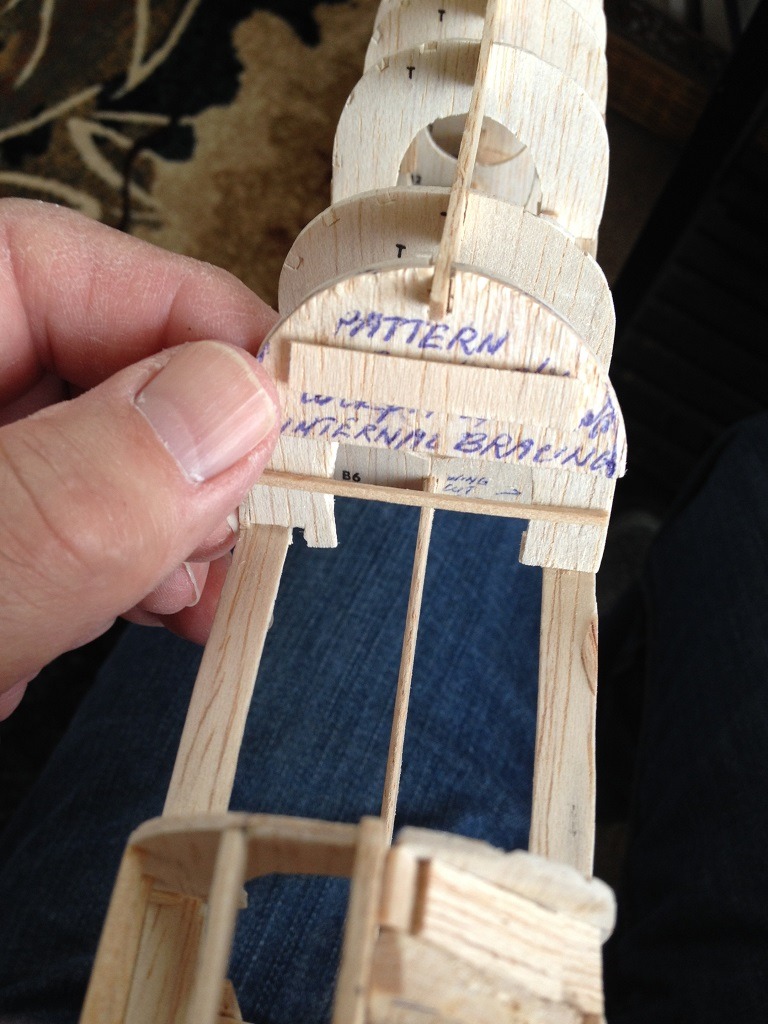
Good afternoon fellow modelers. Today, I was focusing on the framing around the instrument panel as well as cutting out one of the bulkheads just behind where the instrument panel will be located to help fit the Vickers machine gun as well as following the scale outlines of the real cockpit interior |
| Don C, Comment for image # 35325 | 09 Jan 16 11:21 |
| That does work! |
| Skyediamonds1985, Image # 35325 | 08 Jan 16 18:46 |
Remembering how I over sprayed the decal last time, I held the spray can away a bit more. This is the result. I liked the :soft edges from the loose masking. Another lesson learned. |
| Skyediamonds1985, Image # 35324 | 08 Jan 16 18:42 |
Loosely masked over the ribs with paper allowing for the pain to spray under just a bit to help give it a "soft" look. Living in a small apartment doesn't allow room for the convenience of spray guns along with compressors, air tanks, etc. This is where imagination kicks in... I think |
| Skyediamonds1985, Image # 35323 | 08 Jan 16 18:39 |
Another view of the quality of the decal over the covering. |
| Skyediamonds1985, Image # 35322 | 08 Jan 16 18:37 |
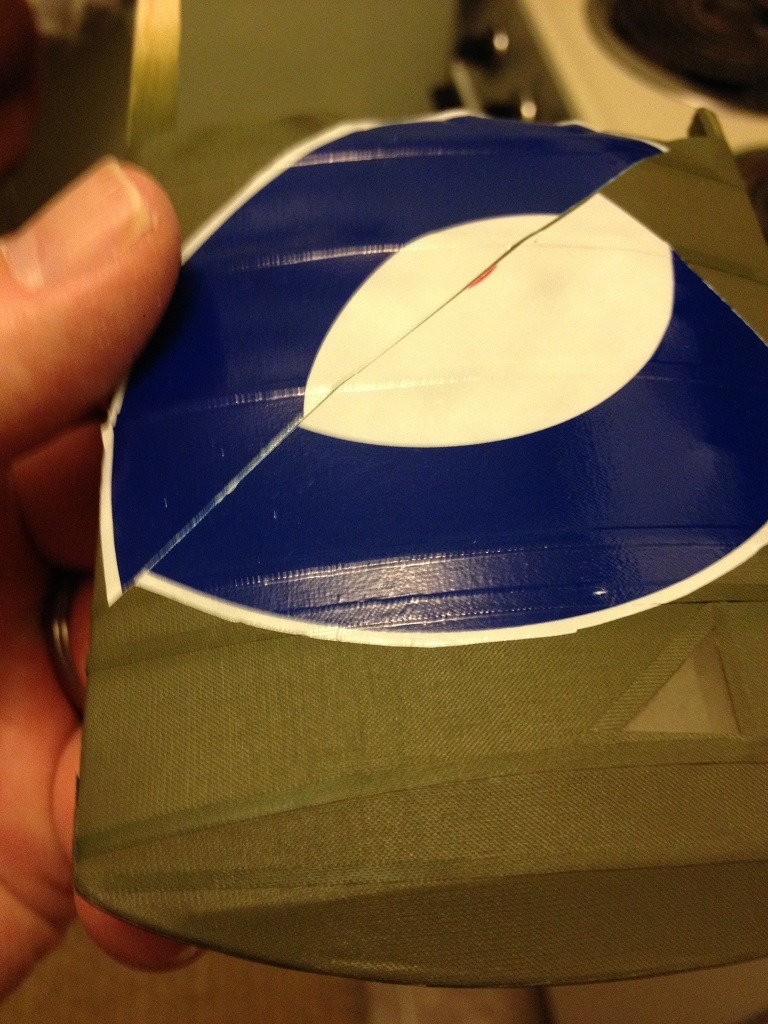
Reapplied what was left of the original decal from my first attempt. I was very happy to see the decals also conformed to the rib taping in addition to allowing the delicate weave pattern from the covering to show through. |
| Skyediamonds1985, Image # 35321 | 08 Jan 16 18:34 |
Removed the previous covering . Sanded frame smooth, then recovered. The difference, is that I installed the inspection window on the Solartex while laid on top of a table. This way, I gave it a firm base to glue it in place. The other way, I cut out the Solartex after it was covered. The result was a small hold that "gave away" when pushing down the inspection window frame. Didn't get a consistent adhesive. There were some small gaps. I also decided to lay down some rib tapes and paint over them with Tamiya spray can olive drab. |
| Skyediamonds1985, Comment for image # 35300 | 08 Jan 16 18:03 |
| Thank you Don and Rayl. Discovered that Solartex made a name for itself by offering this unique weave pattern in addition to other heat-shrink coverings to compete with other film manufacturers. I believe they originate from England. They have Balsa USA as their distributors. |
| Skyediamonds1985, Image # 35312 | 07 Jan 16 20:58 |
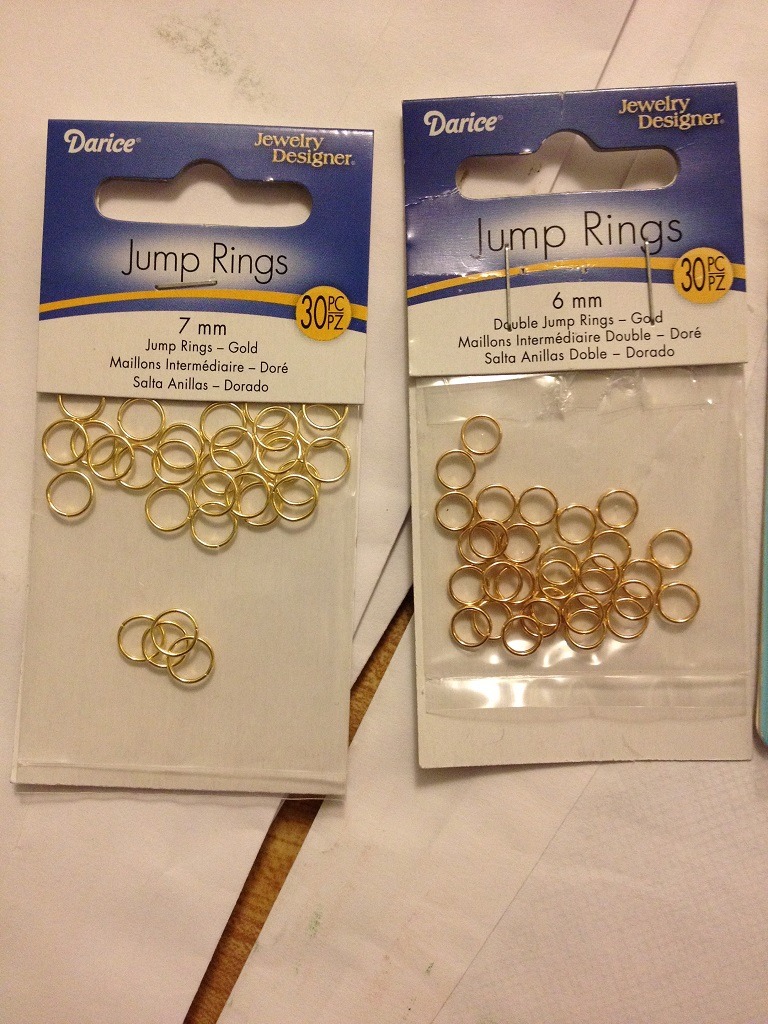
Potential instrument bezels. of different sizes. All from the same fabric store where I purchased the "turnbuckles." |
| Skyediamonds1985, Image # 35311 | 07 Jan 16 20:53 |
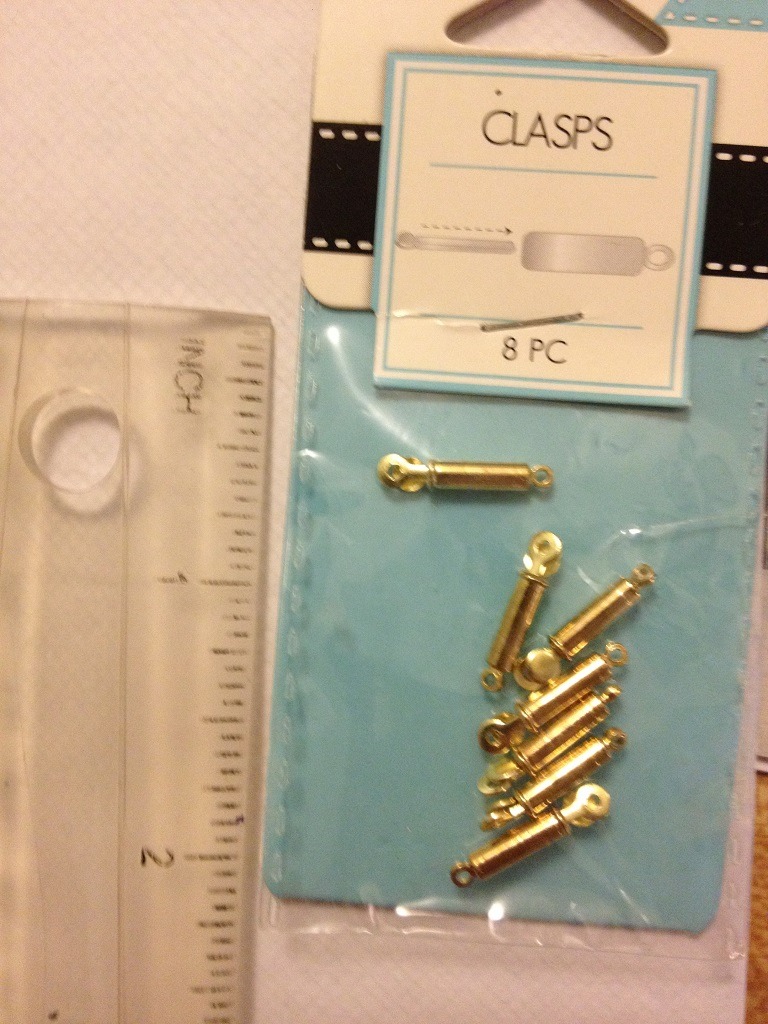
Guys, good afternoon. Just a bit of good news: While pursing through a local fabric store, came across a small package labeled "clasps." They really more closely resemble turnbuckles!! As you can see from the ruler I placed next to them each measures out to about 5/8th". Get this, you can pull out one of the ends to stretch it out to 7/8th" (or about from 15cm to about 23cm). They're most likely too big for the majority of the models by Guillow's, but for those who are scratch-building or constructing larger scales, this could work out. For a package of 8 "turnbuckles" they're retailed at only $2.50 . If you don't have easy access to a local store or through any online services at this price, let me know. |
| rayl, Comment for image # 35300 | 07 Jan 16 08:18 |
| Indeed, it looks like the way to go. I did not realize that that the Solartex had a weave pattern to it. |
| Don C, Comment for image # 35300 | 06 Jan 16 23:20 |
| That's slick. Very nice work. The real thing will no doubt be even better. |
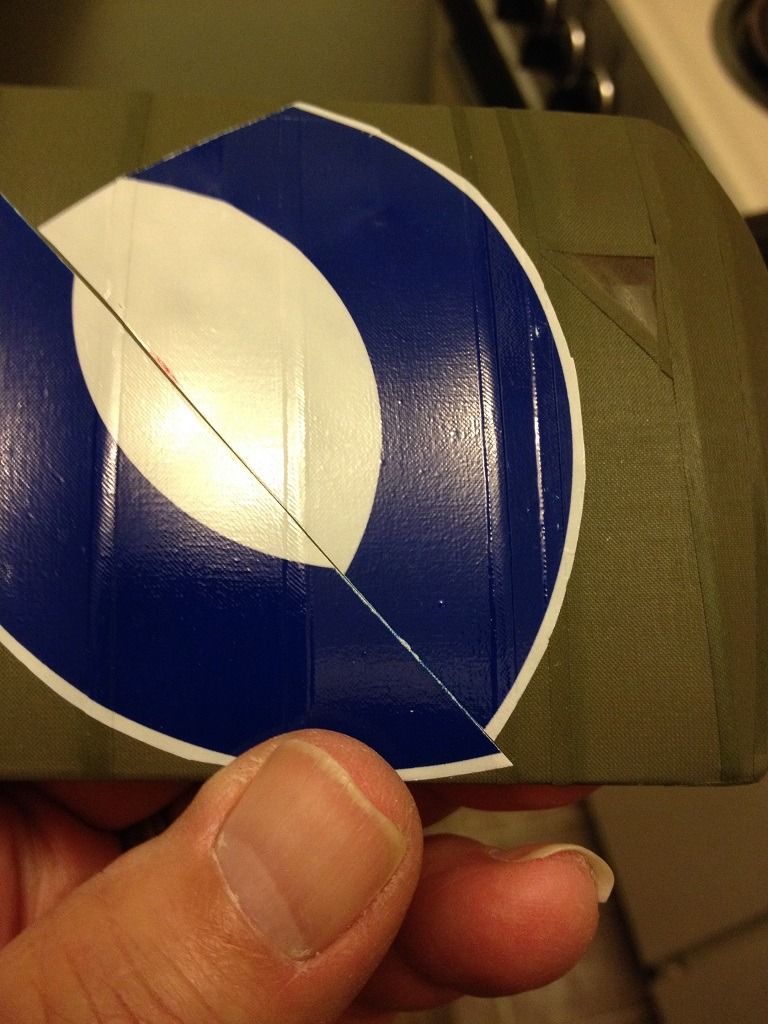
| Skyediamonds1985, Image # 35302 | 06 Jan 16 21:42 |
Another view. I just have to remember that the contrast between the paint and the decal is far greater than that of the film. Oh well, lesson learned. |
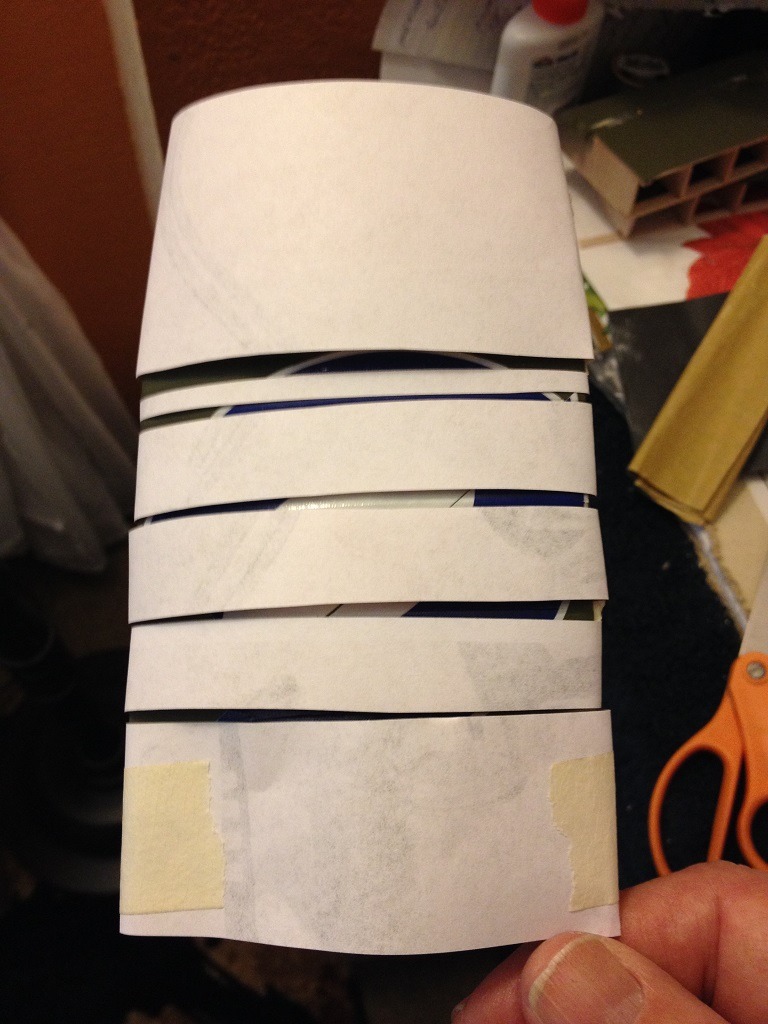
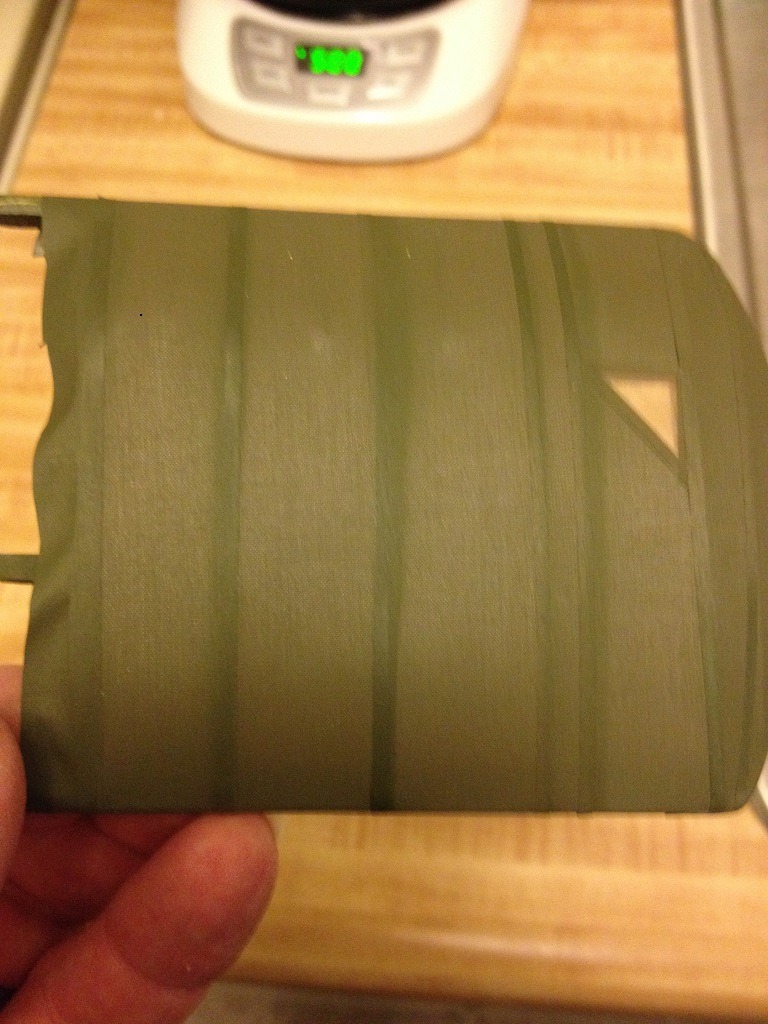
| Skyediamonds1985, Image # 35301 | 06 Jan 16 21:40 |
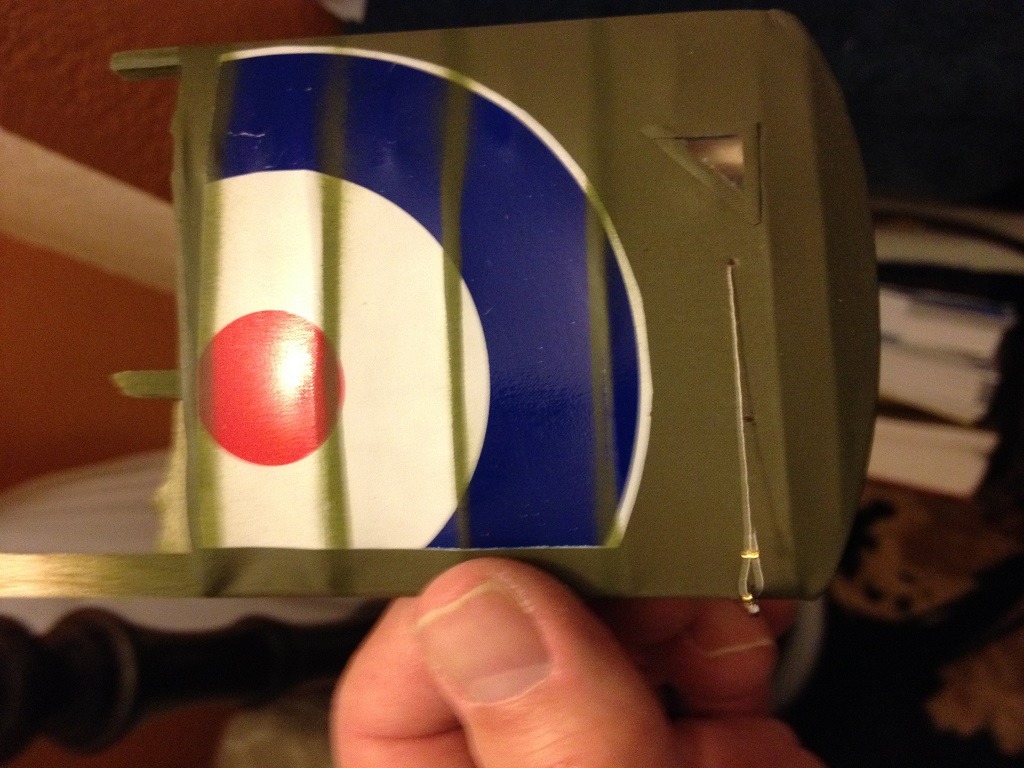
Thought I would experiment with a bit of rib spray over the decals. Works so good over the Solartex film, but need to lighten up a bit over the decal. At least this is a piece of working scrap wing |
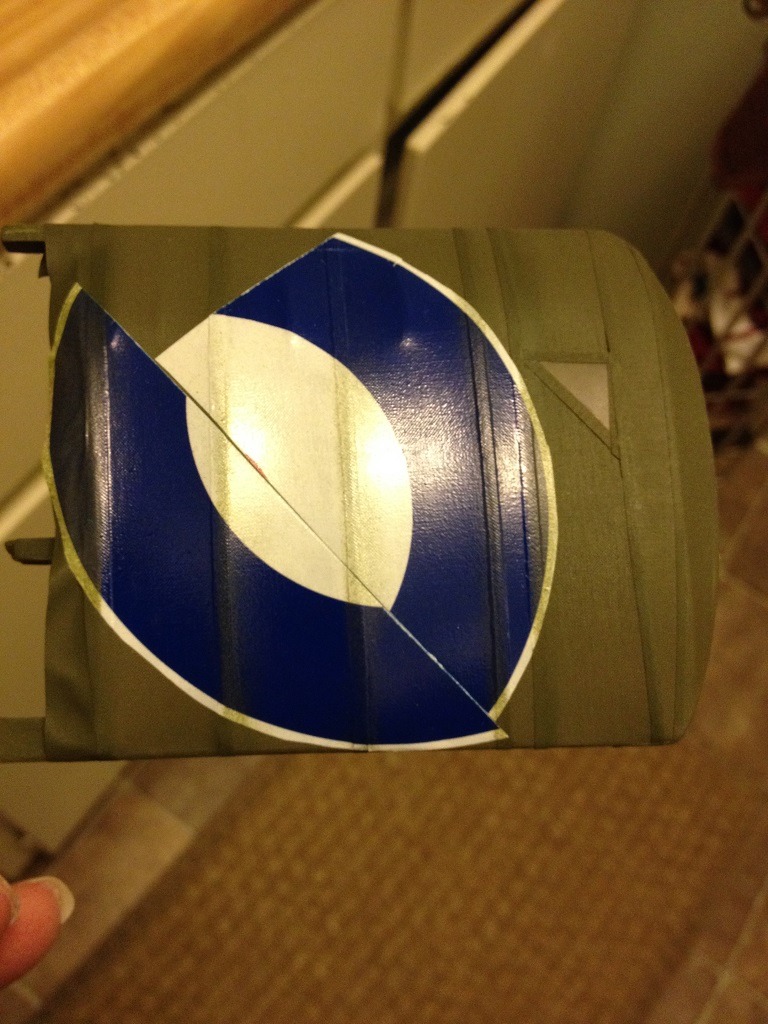
| Skyediamonds1985, Image # 35300 | 06 Jan 16 21:38 |

Good afternoon guys. While visiting RCGroup website, came across a gentleman who specializes in decals. They're thick enough that they won't easily tear, but with a bit of MicroSet solution, are thin enough to allow the delicate weave pattern of Solartex Film to show through. Check out: visions2001@att.net His name is John Brantley. His listing of decals numbers in the thousands of all types. Just thought I'd pass it on. |
| Don C, Comment for image # 35290 | 06 Jan 16 11:06 |
| But remember, on the dark side we have cookies! |
| Build Thread, Page :
<< 31 32 33 34 35 [ 36 ] 37 38 39 40 41 >> (851 posts, 20 posts per page, 43 pages in total)
|
[ < Prev ] [ Next > ] |
