| Build Thread, Page :
<< 33 34 35 36 37 [ 38 ] 39 40 41 42 43 (851 posts, 20 posts per page, 43 pages in total)
|
[ < Prev ] [ Next > ] |
| Skyediamonds1985, Image # 35193 | 21 Dec 15 22:29 |

Sorry if this seems repetitious but this is a 3/4 left view of a "typical" full scale S.E.5. |
| Skyediamonds1985, Image # 35192 | 21 Dec 15 22:25 |
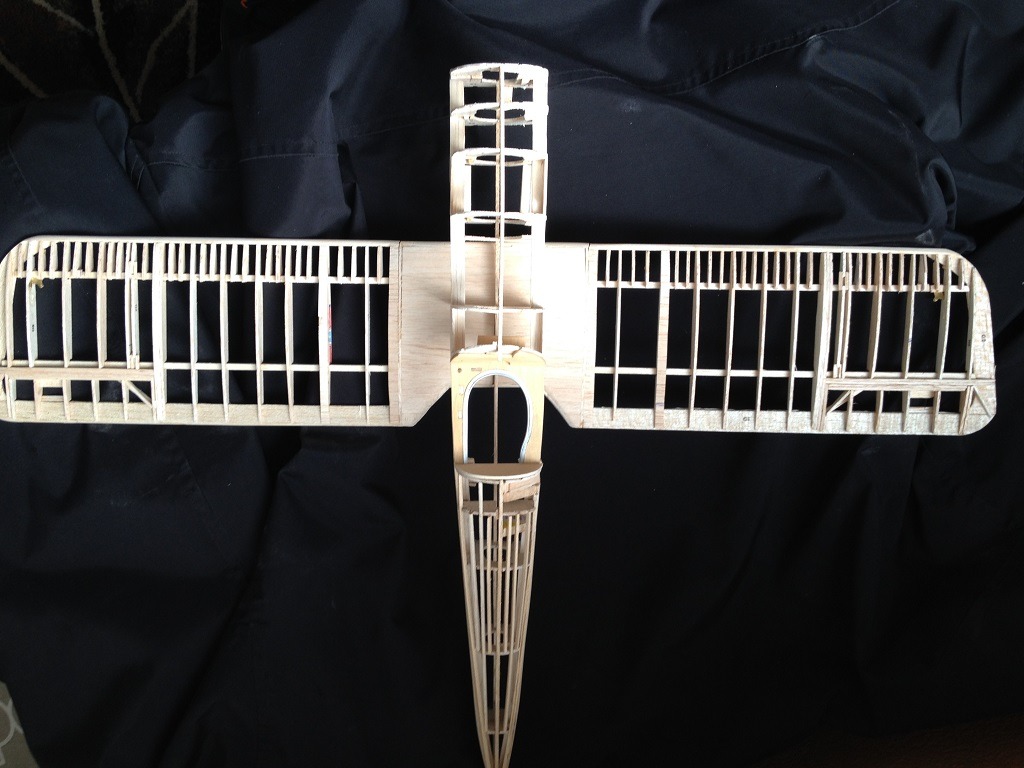
Lower wing and fuselage |
| Skyediamonds1985, Image # 35191 | 21 Dec 15 22:24 |
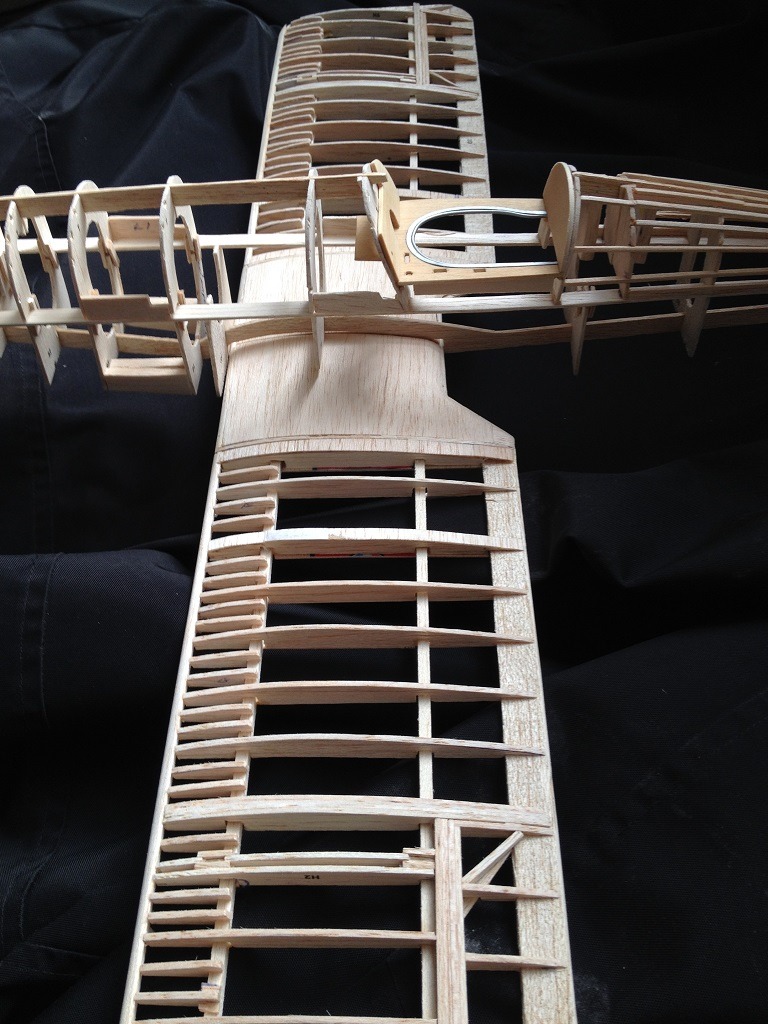
I would like to start off this posting by: acknowledging and expressing my sincere thanks and gratitude to DD. Sorry, but I had to say it on the forum. Now, more than ever, I can understand such professional modelers defer to him. Thank you, DD. In this view, I'm starting to do a couple of things. I've decided to photograph the airframe against a black background to help bring our some detailing. I've already planked the lower wing and test-fitting onto the fuselage. |
| Creosotewind, Comment for image # 35124 | 13 Dec 15 16:05 |
| Very nicely done. |
| meku, Comment for image # 35123 | 12 Dec 15 13:02 |
| Beautiful very faithfully done, great. |
| Skyediamonds1985, Image # 35124 | 09 Dec 15 16:30 |
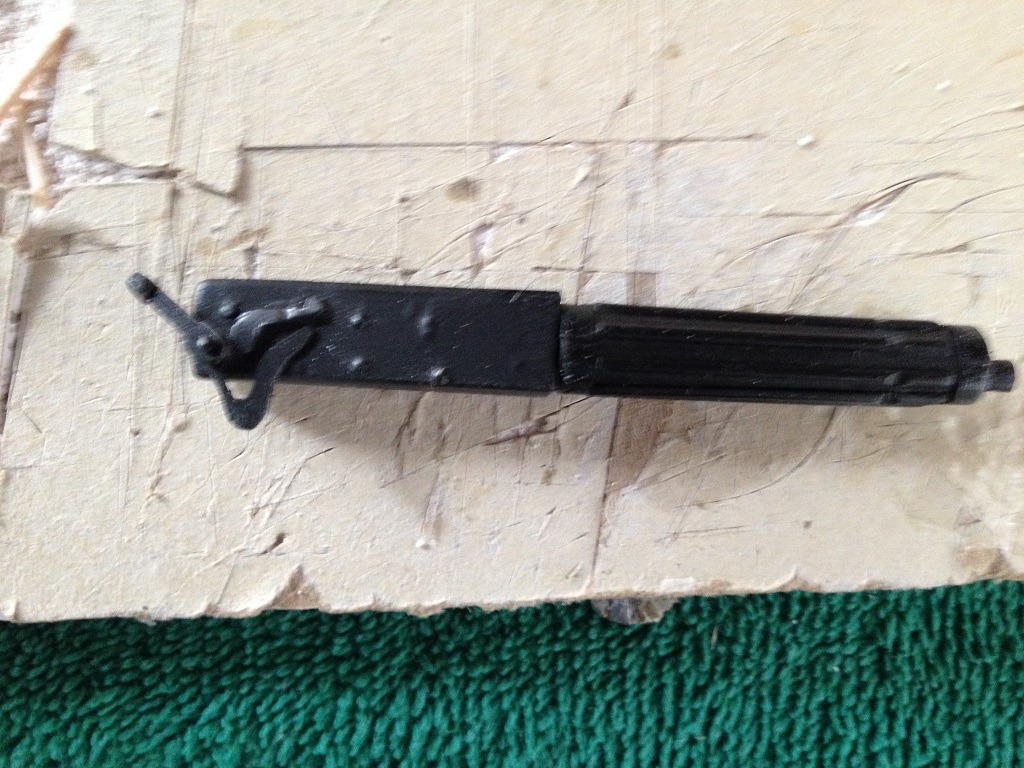
Finished Vickers machine gun ready for action |
| Skyediamonds1985, Image # 35123 | 09 Dec 15 16:21 |
I dipped a small paint brush into silver pain and dabbed it onto a paper towel until it was almost dry and then dry-brushed onto the stock accessories to give them some highlights. |
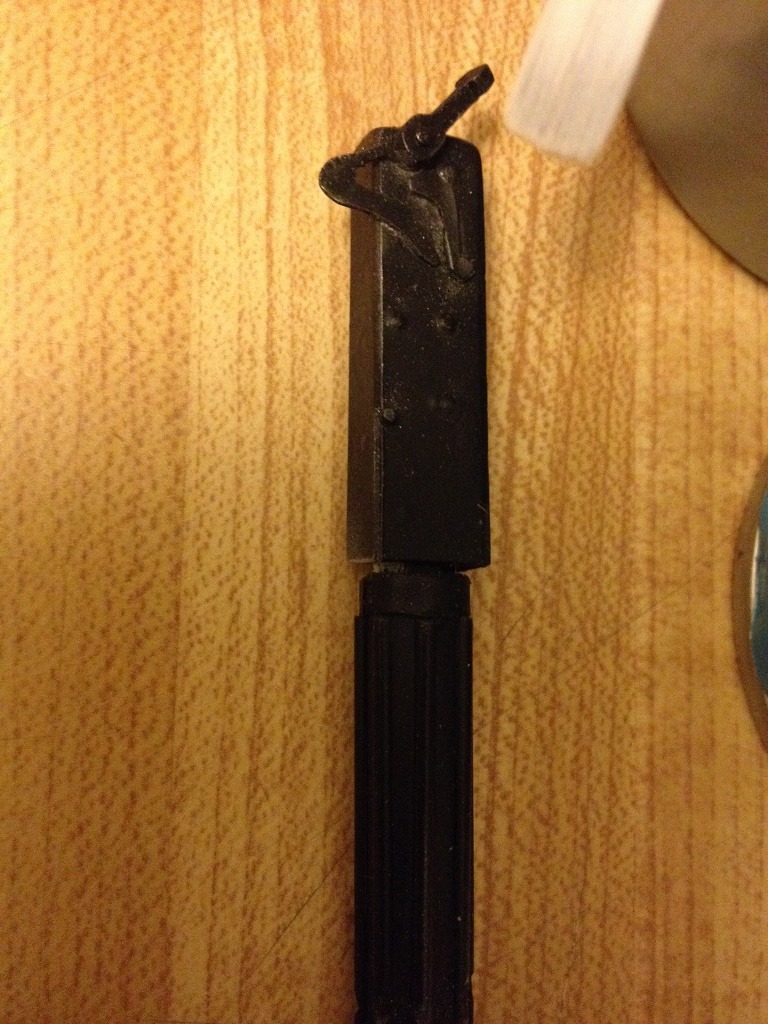
| Skyediamonds1985, Image # 35122 | 09 Dec 15 16:16 |
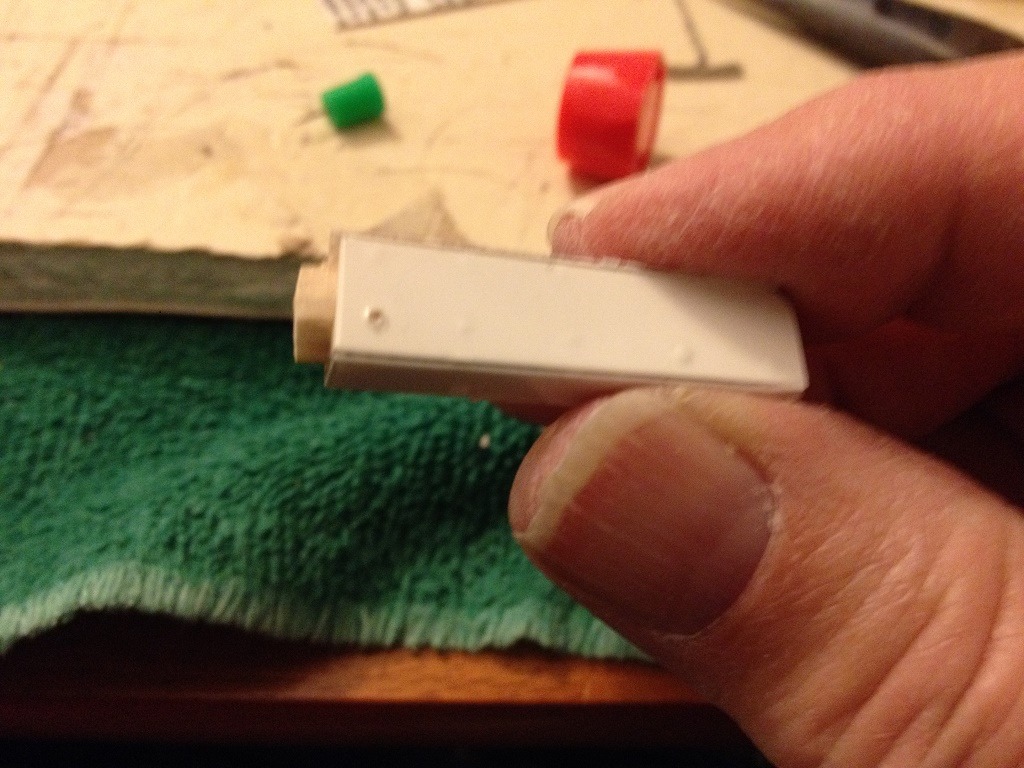
Cutting up some small accessories to the stock portion of the gun. |
| Skyediamonds1985, Image # 35121 | 09 Dec 15 16:12 |
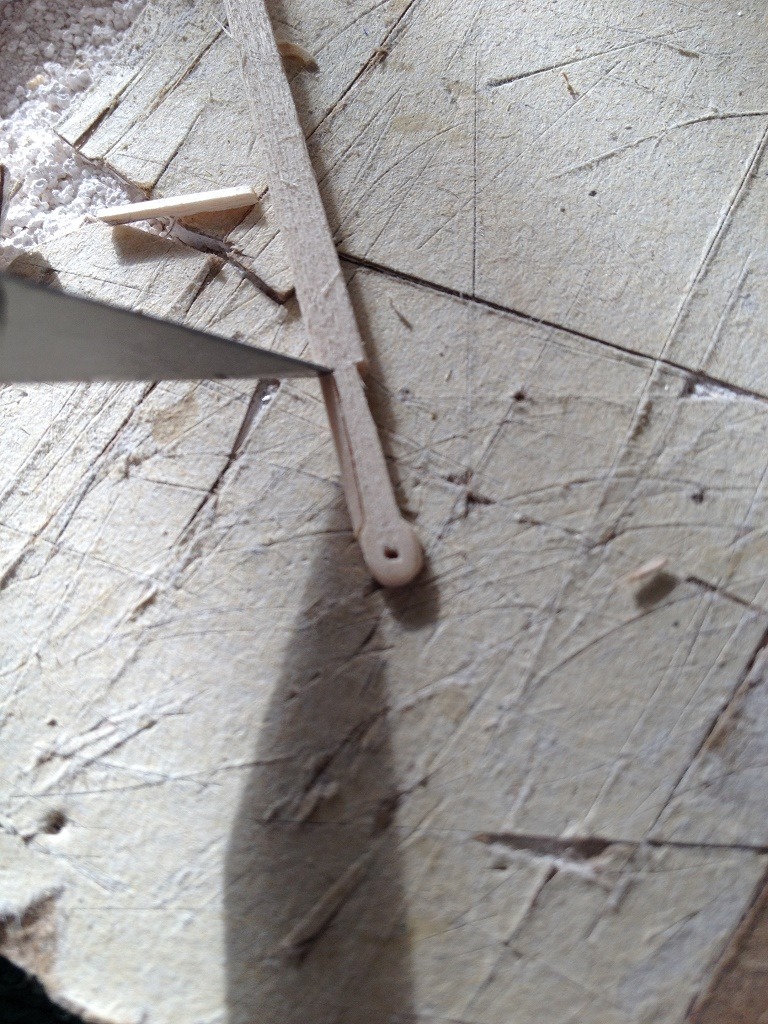
Stock of the gun. The hole is when I accidentally pushed the pin too far in my attempts to simulate rivets. this is okay, since this part will be hidden. I apologize for the slightly blurry image. |
| Skyediamonds1985, Image # 35120 | 09 Dec 15 16:07 |
Using my best guess (eyeballing), I figured the stock to the gun would be about j"just so big" and cut a block of balsa wood. Used left over plastic cut and scored to shape the stock. Then used a pin to push out some rivets. |
| Skyediamonds1985, Image # 35119 | 09 Dec 15 15:59 |
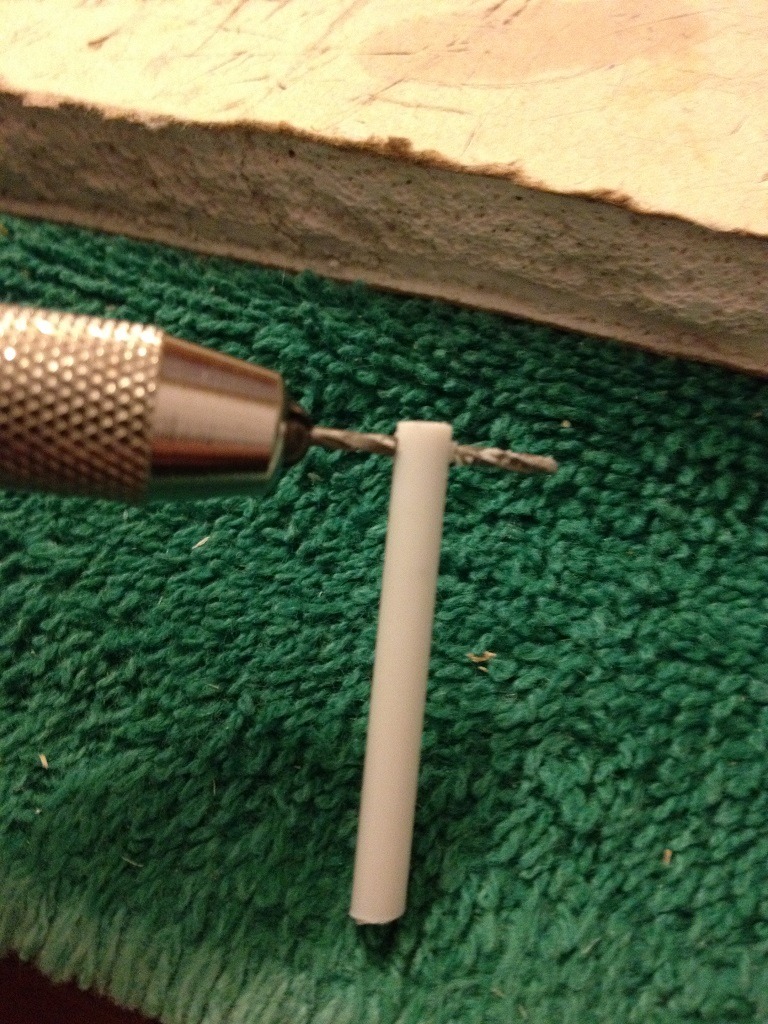
Small front end was made from tubular strips of plastic cut down short. Used a pin to help located the holes followed by using a pin vise. |
| Skyediamonds1985, Image # 35118 | 09 Dec 15 15:57 |
Starting to look like a Vickers... |
| Skyediamonds1985, Image # 35117 | 09 Dec 15 15:55 |
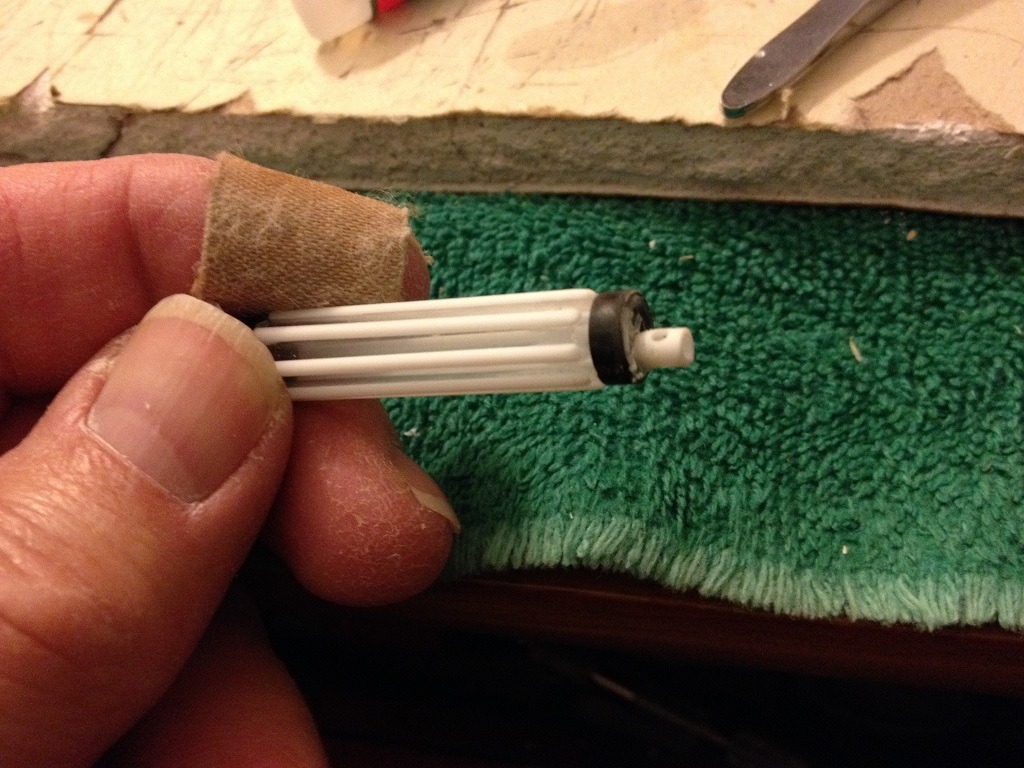
Super glued each strip until the whole barrel was covered. |
| Skyediamonds1985, Image # 35116 | 09 Dec 15 15:54 |
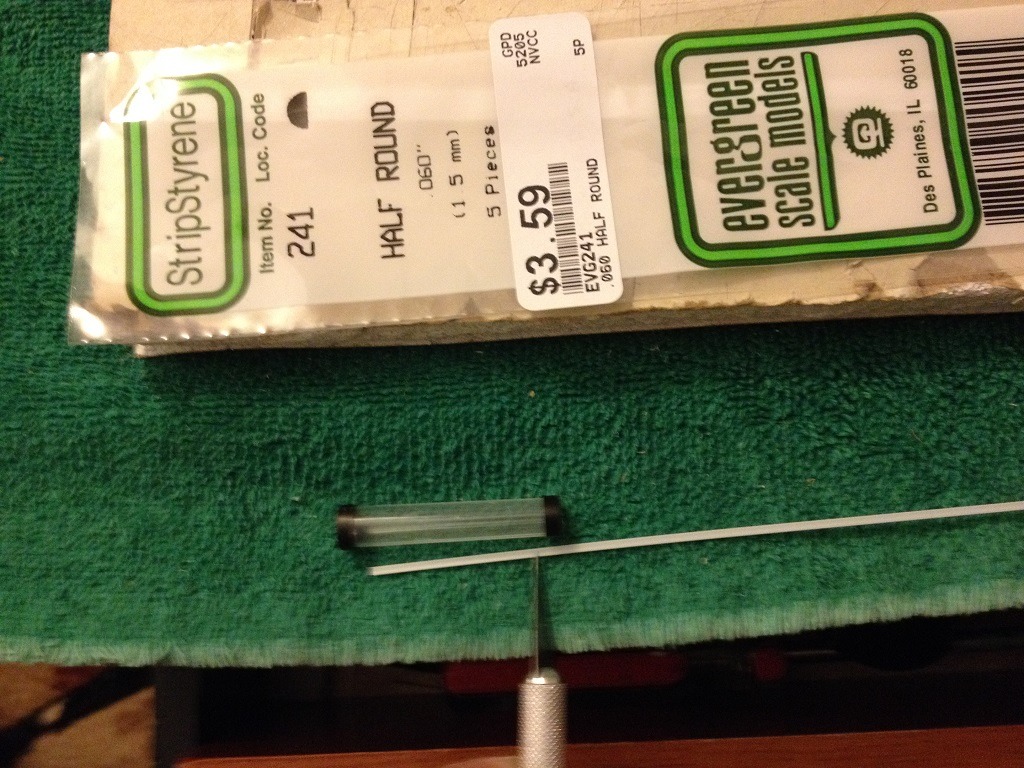
To simulate the long grooves on the main barrel, I cut short strips of .060" half-round plastic strips. The chose of thickness of the strips was purely arbitrary as it "looked just about right." |
| Skyediamonds1985, Image # 35115 | 09 Dec 15 15:49 |
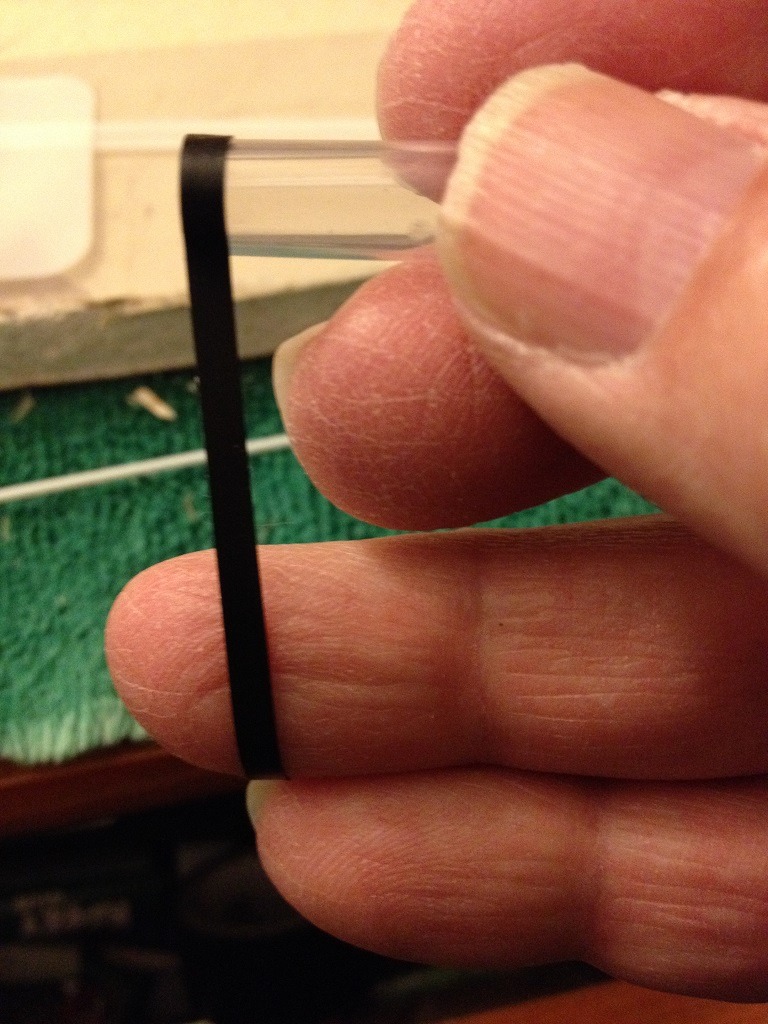
The tape was wrapped as many times necessary to achieve the desired thickness. In this case, it was just twice. |
| Skyediamonds1985, Image # 35114 | 09 Dec 15 15:48 |

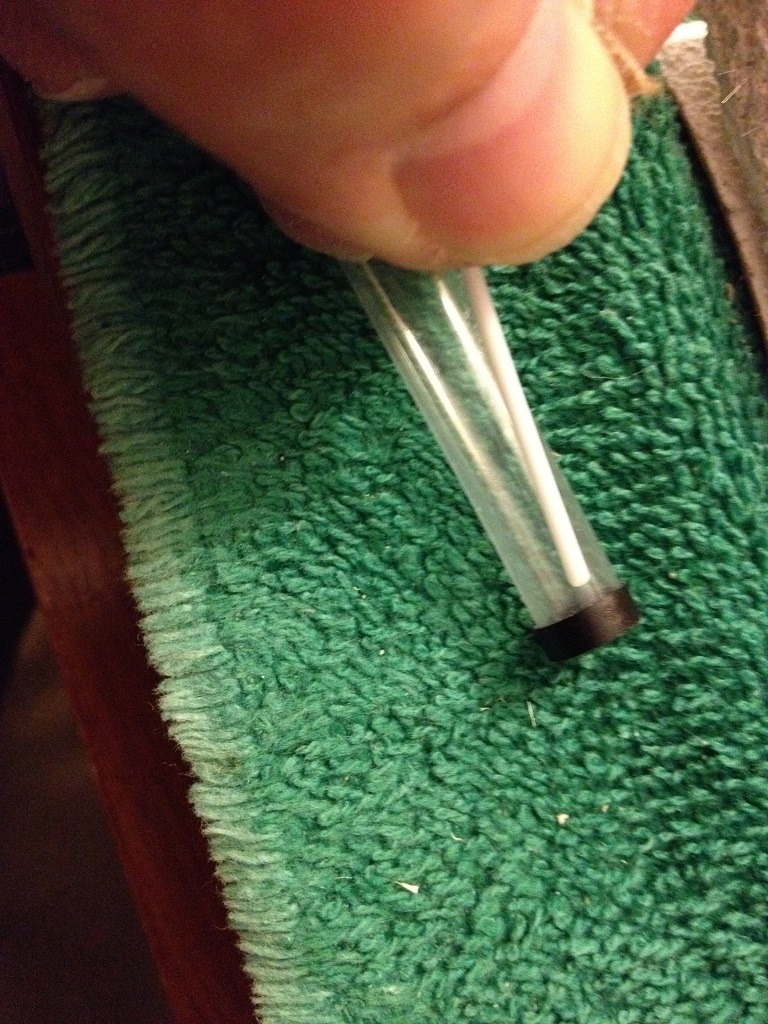
I noticed that the ends of the barrel were "capped." So, back to the cutting a thin strip from electrical tape. |
| Skyediamonds1985, Image # 35113 | 09 Dec 15 15:45 |

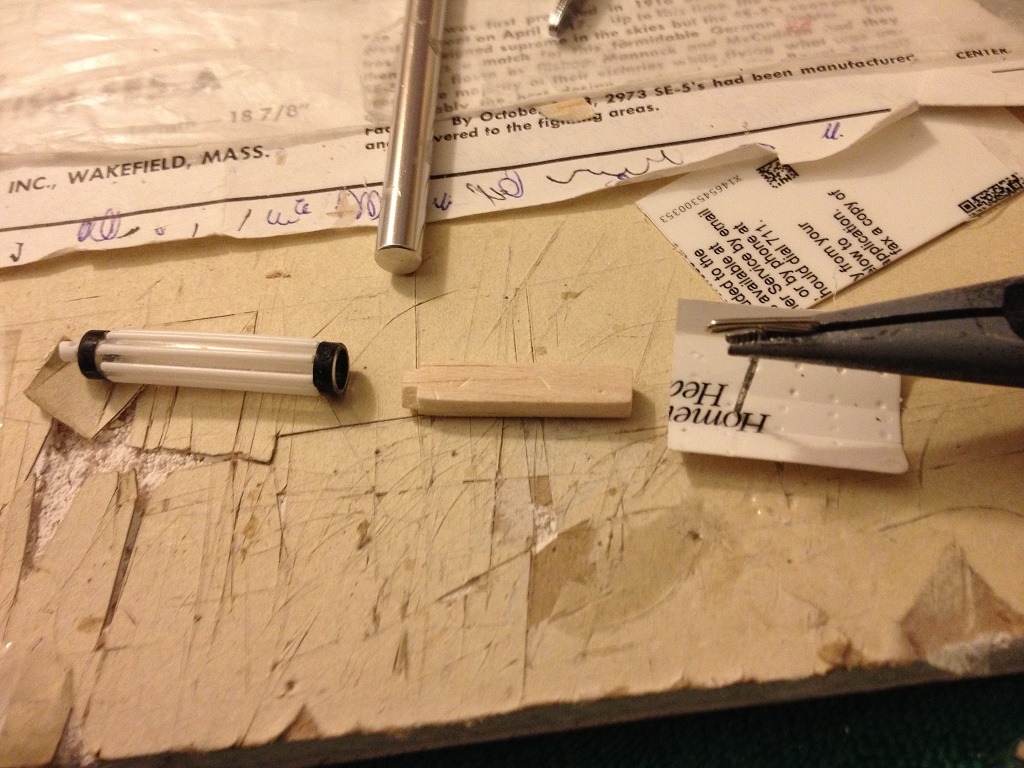
Using the drawings of the inboard and outboard profile drawings, combined with photos and the advertisement of the Vickers gun, it was just a matter of choosing the materials to start the build. In this case, I found a small cylinder_shaped piece of plastic to use as the main barrel. |
| Skyediamonds1985, Image # 35112 | 09 Dec 15 15:40 |

I apologize in advance for using this same image of the main instrument panel. Just using it as another source of reference to where the Vickers gun is to be located and how much of it will be visible |
| Skyediamonds1985, Image # 35111 | 09 Dec 15 15:37 |

Same can be said for the outside profile. This also gives me the perspective that most of the Vickers gun will be hidden |
| Skyediamonds1985, Image # 35110 | 09 Dec 15 15:35 |

The inboard profile helps to determine the relationship of the Vickers gun to the fuselage. |
| Build Thread, Page :
<< 33 34 35 36 37 [ 38 ] 39 40 41 42 43 (851 posts, 20 posts per page, 43 pages in total)
|
[ < Prev ] [ Next > ] |
