| Build Thread, Page :
<< 32 33 34 35 36 [ 37 ] 38 39 40 41 42 (851 posts, 20 posts per page, 43 pages in total)
|
[ < Prev ] [ Next > ] |
| Skyediamonds1985, Image # 35290 | 05 Jan 16 22:08 |
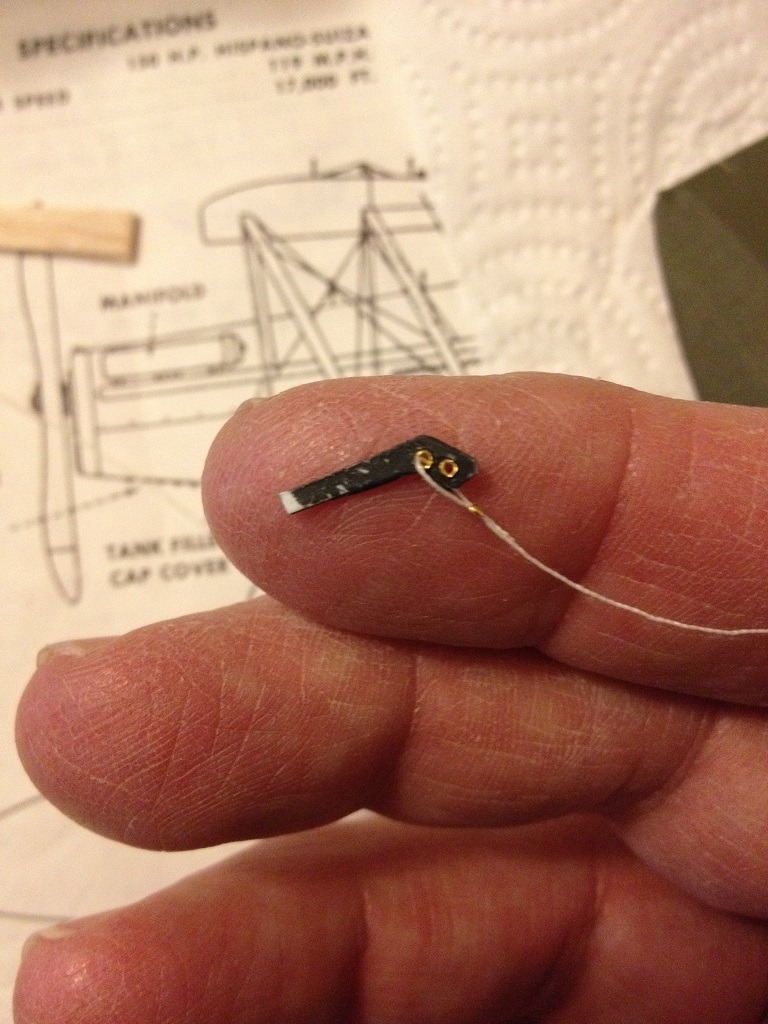
Here's q good view of the size of the control horn with the tiny bushes inside. I know what some of you might be thinking, and I couldn't agree with you more. There are people who enjoy modeling for the pleasure and rewards that comes with it, and then there are guys who well, might be a bit out on the fringes ... |
| Skyediamonds1985, Image # 35289 | 05 Jan 16 21:56 |

Well guys, I managed to find itsy bitsy tiny beads to serve as bushings for the control horns of the flying surfaces. In my next picture, you can see the scale of my fingers to the control horn and the "bushes." |
| Skyediamonds1985, Image # 35288 | 05 Jan 16 21:56 |
Well guys, I managed to find itsy bitsy tiny beads to serve as bushings for the control horns of the flying surfaces. In my next picture, you can see the scale of my fingers to the control horn and the "bushes." |
| Skyediamonds1985, Comment for image # 35265 | 04 Jan 16 16:18 |
| Don C, thank you for the reply. Actually, I'm trying to thread through the small bead. The bead itself would be embed in the control horn itself acting as a small bushing from which the threaded "cable" runs through. It's just a trial to see if it could be done. Truth be told, my eyeballs are a bit crossed from looking at something this small. Thank you again. -Sky |
| Don C, Comment for image # 35265 | 04 Jan 16 10:54 |
| Hit the button too soon. There are really small glass beads called "seed beads" you might check out. It's been a while, but I remember that I couldn't get a threaded needle through them. |
| Don C, Comment for image # 35265 | 04 Jan 16 10:47 |
| Skye. if you can see that, you're way ahead of me. |
| Skyediamonds1985, Comment for image # 35264 | 03 Jan 16 18:18 |
| One additional note: That small brass "bushing" was just roughly fitted and not glued in place. But you can see it's already falling out and the small control horn for this scale doesn't really allow much room for any elaborate types of rigging. Still hoping to hear any ideas. -Sky |
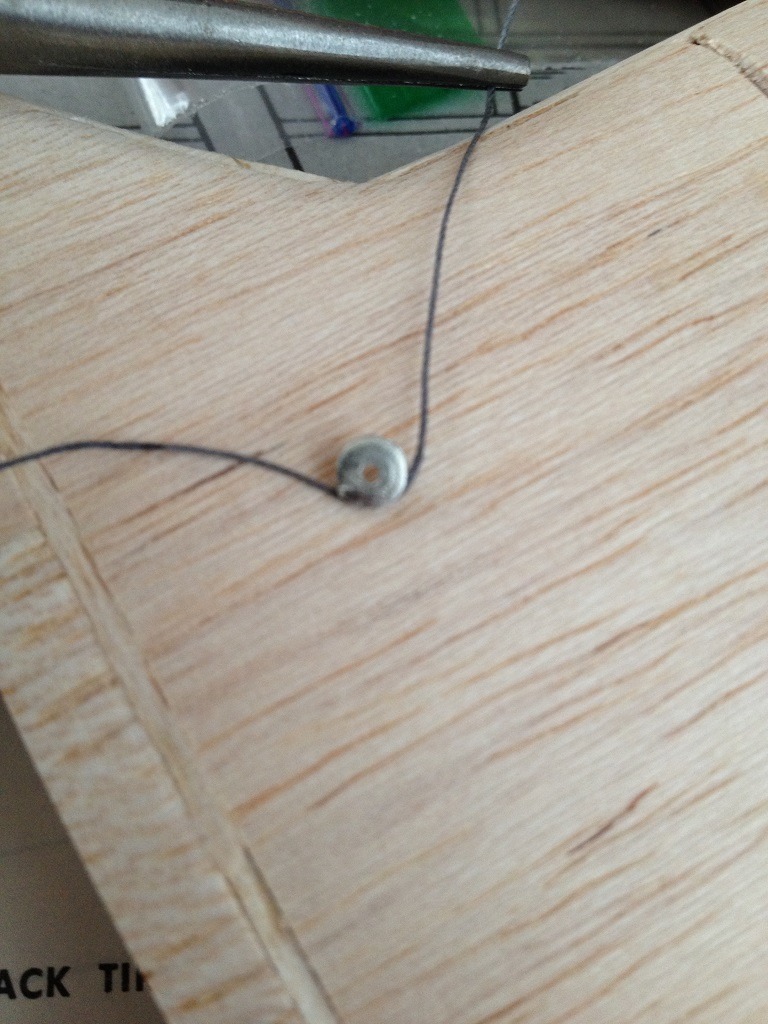
| Skyediamonds1985, Image # 35269 | 03 Jan 16 18:03 |

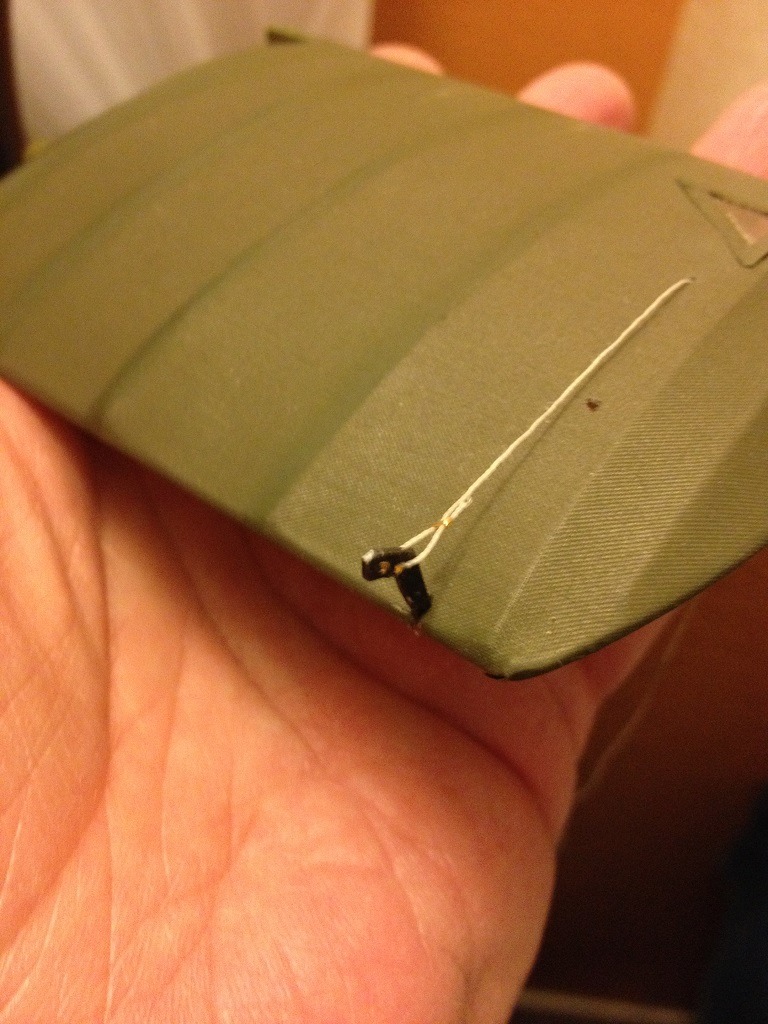
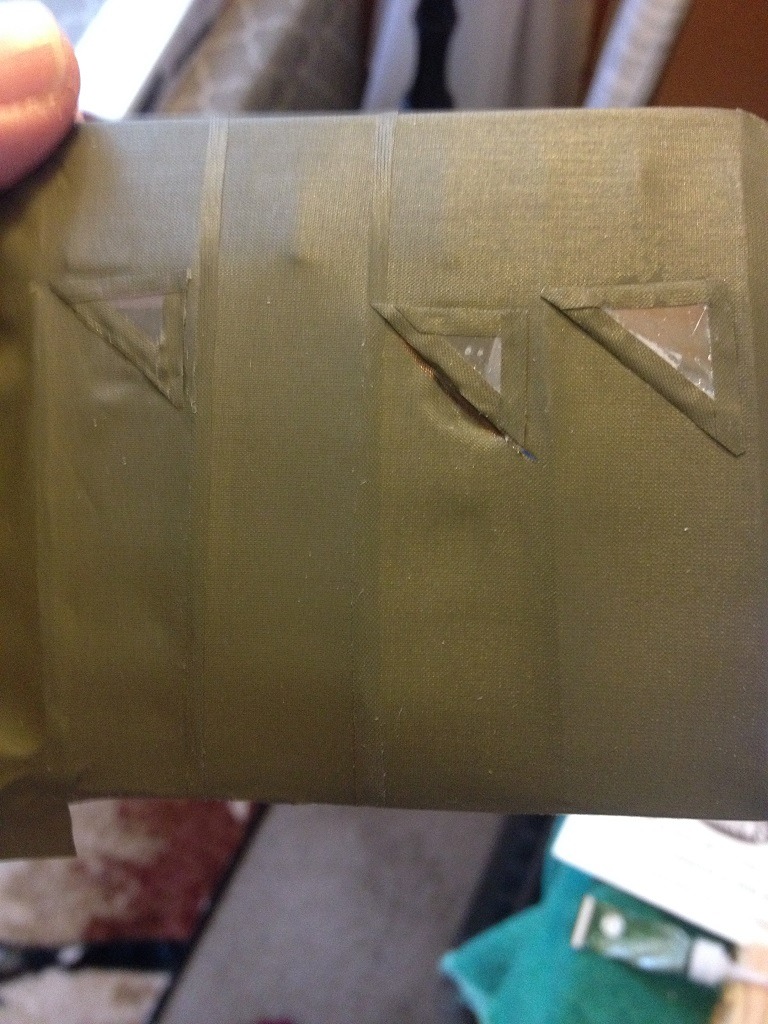
Here's the completed pulley assy for the left lower wing. The small "kinks" on the rigging lines will be hidden outside the boundaries of the triangular-shaped inspection window. Just hoping that all this detail stuff will even be noticed when peeking through the small window. We'll see. That's it for now. |
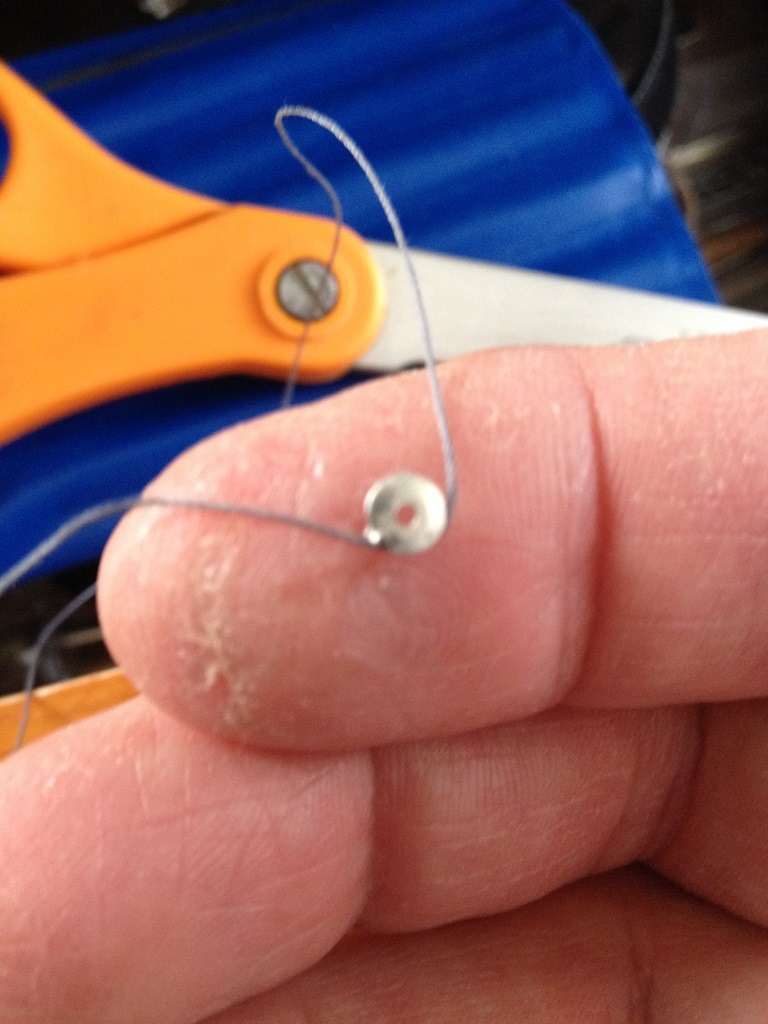
| Skyediamonds1985, Image # 35265 | 03 Jan 16 17:27 |
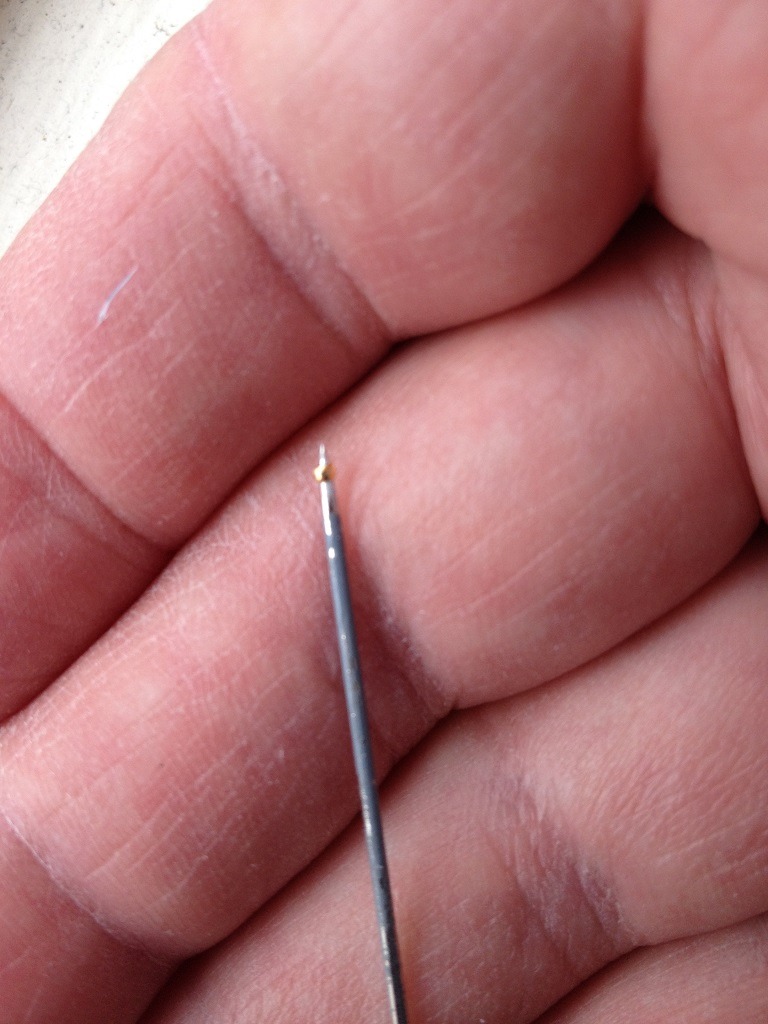
If you zoom up and look closely, you can see the small brass ringlet just near the tip of the needle, that I'm trying to replicate as bushing for the control horns and rigging. Unless I hear any suggestions, I think I'll have to accept reality of scale and take a more simplistic route. Any ideas? |
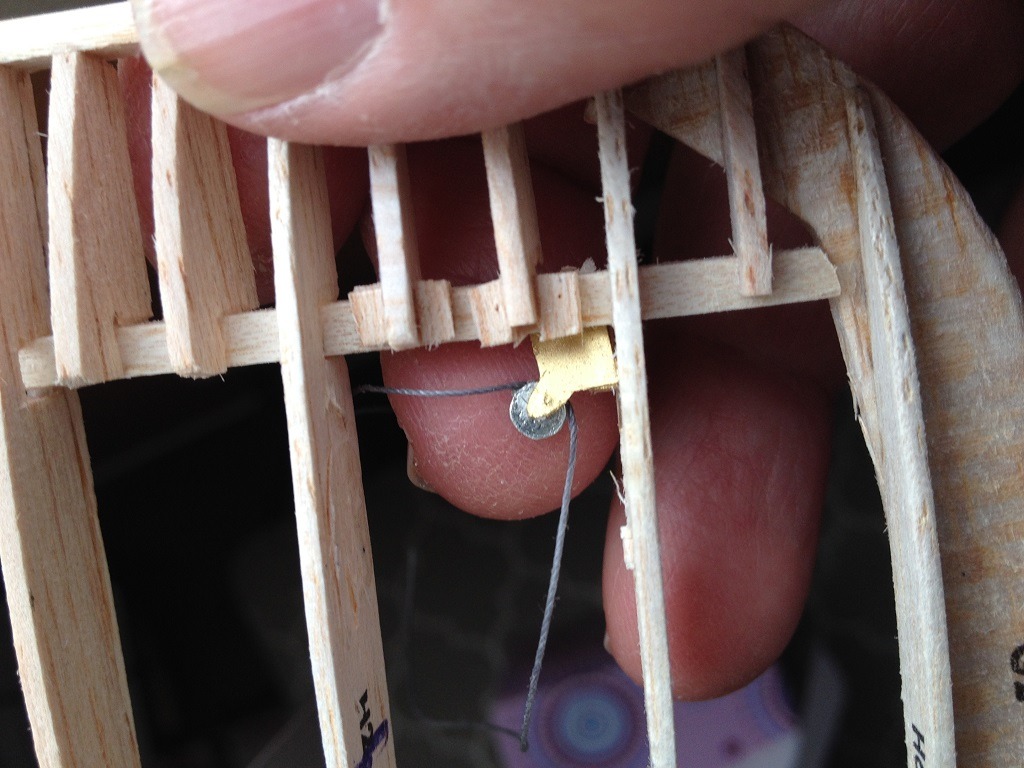
| Skyediamonds1985, Image # 35264 | 03 Jan 16 17:25 |
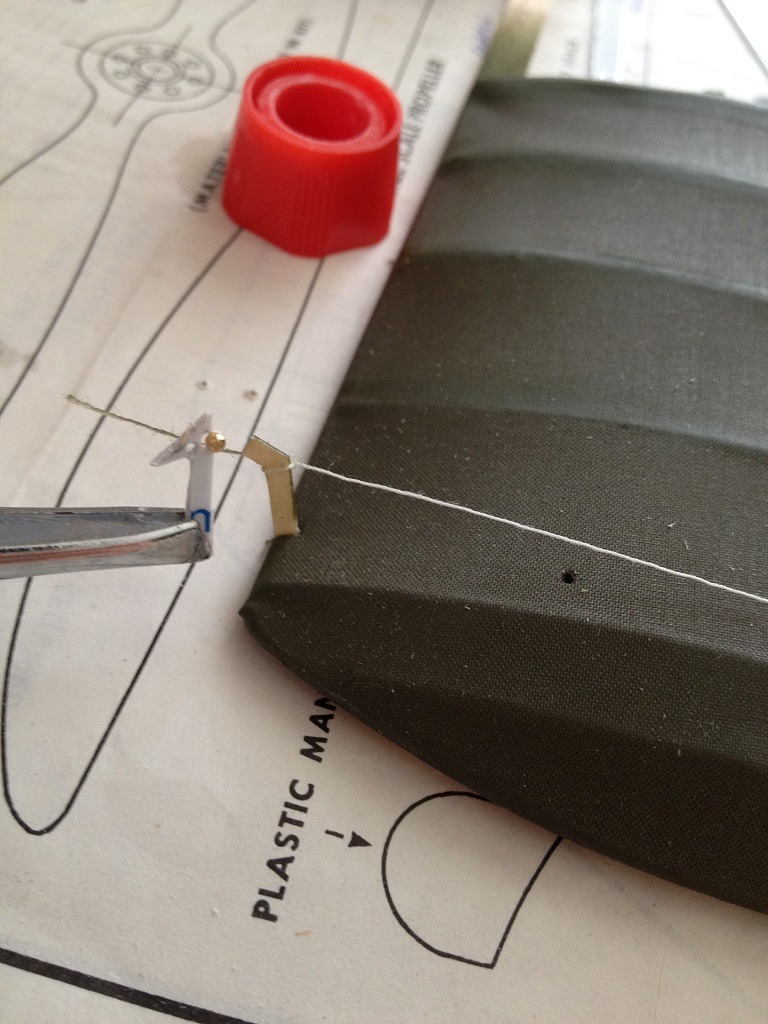
I'm also attempting to replicate the small control horns whose shape is unique to the S.E. 5. I'm using plastic cut from a discarded credit card. I'd like to use the small ringlets of .031" in dia (.8mm) as bushings for the rigging, but its getting awfully small and difficult to see, let alone trying to work with it. I'll upload another picture showing my hand for comparison. |
| Skyediamonds1985, Image # 35263 | 03 Jan 16 17:10 |
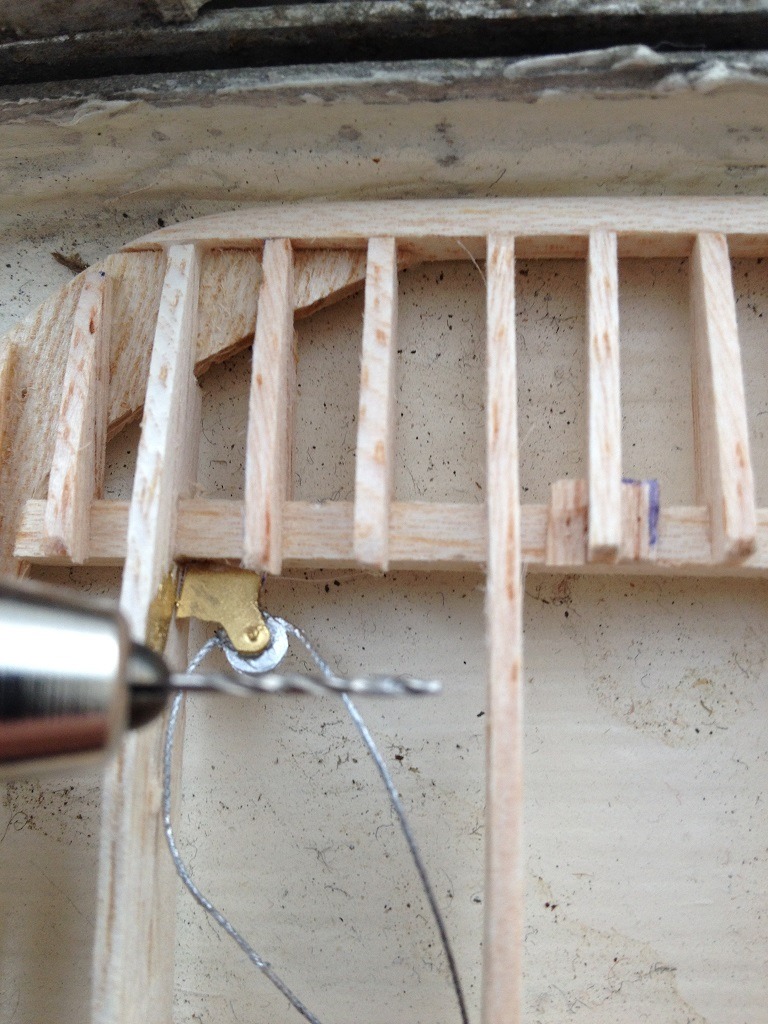
Used a small pin vice to drill a small hole for the faux cable to go through. Although it'll be hidden at this point. |
| Skyediamonds1985, Image # 35262 | 03 Jan 16 17:09 |
I epoxied the small pulley and cable to the wing's pulley support I set up previously |
| Skyediamonds1985, Image # 35261 | 03 Jan 16 17:06 |
This shows the perspective of the small pulley detail I'm attempting to work into the wings |
| Skyediamonds1985, Image # 35260 | 03 Jan 16 17:05 |
I purchased a small set of pulleys from BlueJacket. They've got lots of accessories that can be used in aircraft. |
| Skyediamonds1985, Image # 35259 | 03 Jan 16 17:04 |
Happy New Year to all. Just a brief recap. practicing the inspection windows on scrap piece of wing |
| Skyediamonds1985, Comment for image # 35194 | 29 Dec 15 12:41 |
| LoL.. Meku gave me his personal blessing. We've been exchanging emails on my progress. That "jog" on the right side of the instrument panel sure reminded me too, of those school desks designed for right-handed students. I'm left-handed myself, so I had to suffer the floating arm route. I'm rough sanding all of the major surfaces of the model at this point. Thanks for your input Creosotewind, its much appreciated. |
| poppy, Comment for image # 35192 | 23 Dec 15 09:42 |
| Beautiful "bones". |
| Creosotewind, Comment for image # 35194 | 22 Dec 15 12:31 |
| The "jog" in on the right side reminds me of the old school desks what were not designed for left-handed people. Speaking from experience....
And if Meku gives his blessing, you are good to go. |
| meku, Comment for image # 35191 | 22 Dec 15 09:07 |
| Very nice, a lot of new ribs in the wings looks very original, in the cockpit promises to be a lot of original details.
- Merry Christmas and Happy New Year to all. |
| Skyediamonds1985, Image # 35194 | 21 Dec 15 22:32 |
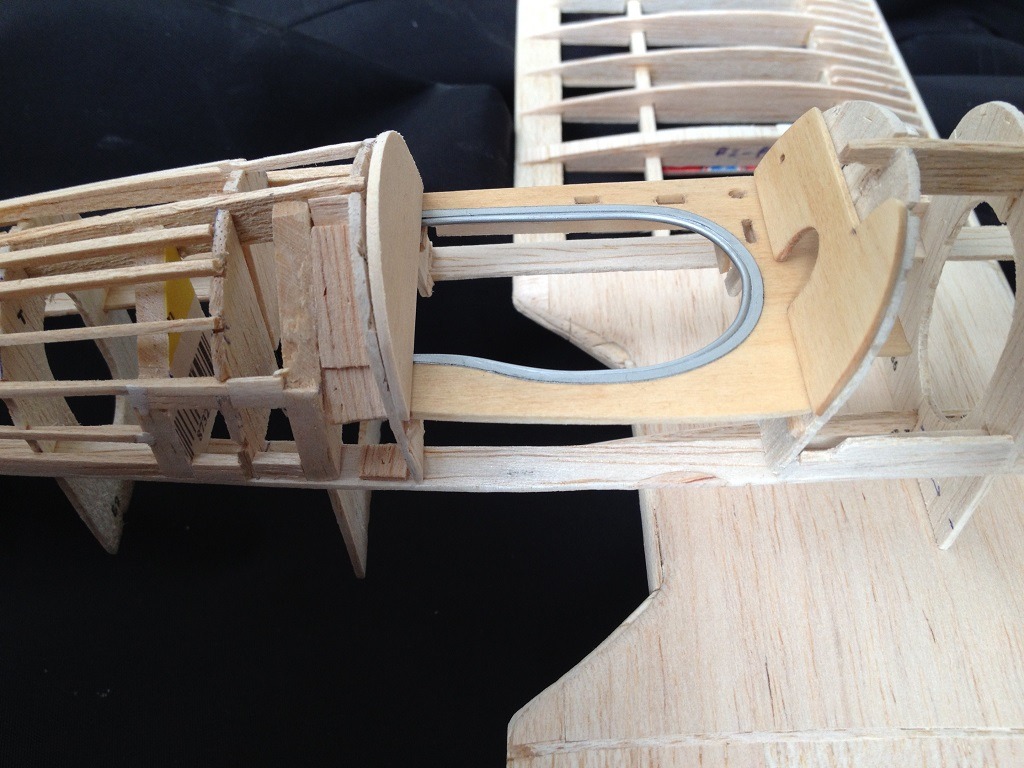
Compare this image with the previous one of the full scale aircraft. I'm trying to allow room for the additional wood gussets that run longitudinally along the cockpit stiffner. Finally, going to take a small break and wish everyone a Merry Christmas and best of health in the upcoming New Year. |
| Build Thread, Page :
<< 32 33 34 35 36 [ 37 ] 38 39 40 41 42 (851 posts, 20 posts per page, 43 pages in total)
|
[ < Prev ] [ Next > ] |
